How to Photograph Artwork: 9 Tips and Tricks
Last Updated on

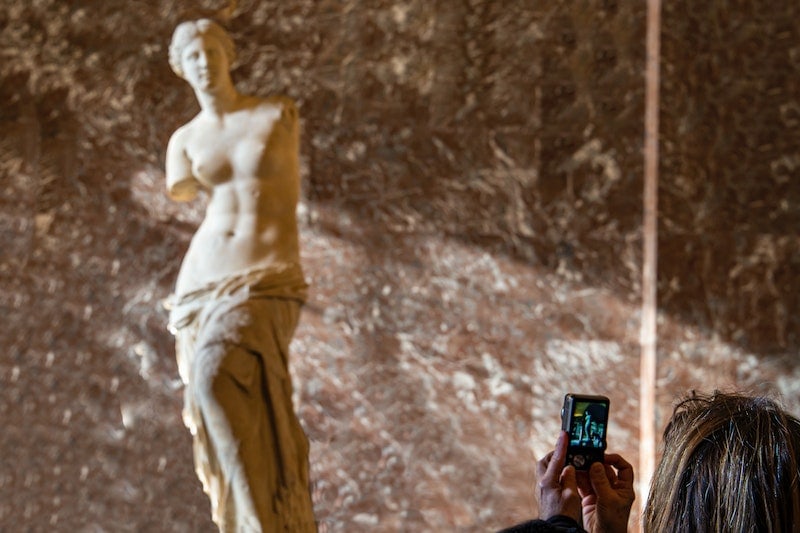
Artists spend quite a bit of time perfecting their craft. While the piece might look great in person, if you don’t take the time to photograph it properly, it won’t translate well in image form.
Photographing artwork is an art form in and of itself, which is why we wanted to highlight nine different tips and tricks that you can use to get the best possible picture!

Top 9 Tips to Photograph Artwork:
1. Get the Right Background

When you’re taking pictures of artwork, you want to focus on the artwork. That’s why you need to pick out the perfect background. If it’s a canvas or a similar style, go ahead and hang it up. Try to pick a wall with a neutral color and no patterns, as this can detract from the artwork.
If you’re photographing a sculpture or something similar, you still want to follow the same principles. Find a neutral background that won’t be distracting.
The artwork should be the focus here, not an iconic or unique background. Eliminate distractions, keep it simple, and keep the focus on the art.
2. Clean It Up
You’re photographing a piece of art here and you want to focus solely on it. If it’s behind glass, ensure that there are no smudges, streaks, or anything else dirtying it up.
For other types of art, make sure no dust, dirt, debris, or anything else will show up in the picture. Take the time to get everything in pristine condition before you start taking your pictures, and it’ll make a big difference in the final result.
3. Natural Light Is Best

While you can’t always use natural light, if you can, it will give you the best results. Natural light is easier for getting everything to balance out and illuminates all the right areas.
So, if you can take the artwork outside on a day with plenty of light, it’ll help you get great results. Of course, the tradeoff is that it’s not always easy to find a location to hang up the artwork or get the perfect background.
4. Light It Up!
If you can’t get natural light, the next best thing is plenty of artificial light. You want to get light coming from multiple angles so it evenly lights up different areas.
5. Turn Off the Flash

While more light is better, you need even lighting, and flash isn’t the best with this. It can produce glare and all other sorts of imperfections that you don’t want in your photo.
6. Tweak the Camera Settings
Practice, practice, practice! This is especially true if you’re using a DSLR camera that has many settings that you can change. From ISO to exposure length and white balance, there’s a great deal that you need to get right.
If you know how each setting works, you can tweak them to get exactly what you want from the photo. What better way to figure out what each one does than by changing it and seeing what it does to the picture?
7. Take a Level Shot

You don’t want any weird angles when you’re photographing artwork, except for extremely unique situations. Set up the camera with the artwork on a level plane so you’re not looking down or up at it. This makes for the most natural look, which leads to a better photograph that others can enjoy.
8. Use a Tripod
Even if you have an extremely steady hand, it won’t be quite as steady as when you use a tripod. We also recommend a remote shutter to take your pictures, but a delayed capture works too.
This eliminates any shaking or movement that might come when you’re pressing the shutter button to take the picture. Tripods keep everything perfectly still for the sharpest image possible.
9. Edit Away!

No matter how well you do everything, you will want to run the final pictures through photo-editing software. You’re not trying to change the artwork — you’re trying to optimize the photo.
Photo editing can perfect the lighting, white balance, and other imperfections of the photo-taking process.
Just because you’re editing a picture, that doesn’t mean you’re not capturing what’s actually there. You’re trying to highlight the best aspects, and editing is a big part of doing that.

Summing Up
Now that you know more about photographing artwork, all that’s left is for you to head out and practice! Nothing perfects a craft quite like practice, and photographing artwork is no different.
Pull out your camera and start taking pictures, and before long, you’ll have masterful photographs of artwork to show off.
Featured Image Credit By: Sara del Valle, Pexels
About the Author Robert Sparks
Robert’s obsession with all things optical started early in life, when his optician father would bring home prototypes for Robert to play with. Nowadays, Robert is dedicated to helping others find the right optics for their needs. His hobbies include astronomy, astrophysics, and model building. Originally from Newark, NJ, he resides in Santa Fe, New Mexico, where the nighttime skies are filled with glittering stars.
Related Articles:
How to Collimate Binoculars: 9 Expert Tips
How to Clean a Rifle Scope: 8 Expert Tips
How to Choose Binoculars for Bird Watching: 10 Expert Tips
How to Clean a Refractor Telescope: Step-by-Step Guide
How to Clean a Telescope Eyepiece: Step-by-Step Guide
Monocular vs Telescope: Differences Explained (With Pictures)
What Is a Monocular Used For? 8 Common Functions
How to Clean a Telescope Mirror: 8 Expert Tips
