
Optics Mag is reader-supported. When you buy via links on our site, we may earn an affiliate commission at no cost to you. Read more.
How to Clean a Refractor Telescope: Step-by-Step Guide
Last Updated on

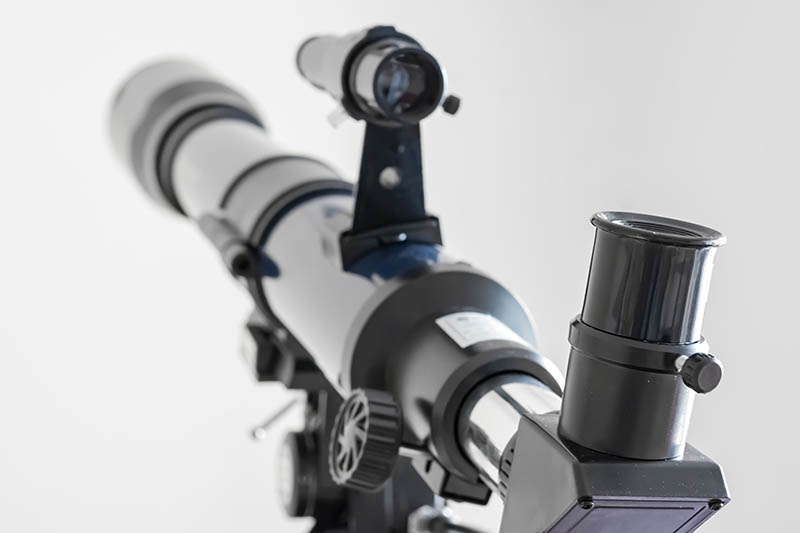
It’s important to note that a refractor telescope is not the same as a reflector telescope. The former magnifies distant objects by bending light, while the latter relies on mirror reflections to generate magnified images. That also means that a refractor telescope doesn’t have secondary mirrors that obstruct its light’s path.
We would have loved to share with you the rich history of this optical device, but unfortunately, today’s not that day. Instead, we’ll be walking you through the steps of how to effectively clean a refractor telescope, without damaging some of its components.
Let’s first look at the cleaning tools that you’ll need.

Refractor Telescope Cleaning Kit
- Pair of gloves
- Isopropyl alcohol solution
- High-power blower bulb (remove the brush end)
- Reading light
- Microfiber lens cleaning cloth
- Lint-free piece of soft cloth
- Q-tip swabs

Step-by-Step Guide on How to Clean a Refractor Telescope
1. Retract the Dew Shield
Back in the day, telescopes would collect lots of moisture while being used at night. To solve this problem, manufacturers started designing iterations with something called a dew shield.
In addition to sheltering the lens, the work of the dew shield is to protect the delicate internal components against the harmful effect of moisture, by providing small pockets of warm air. So, you’ll have to find a way to retract it if you want to get rid of all the dust on the lens surface.
Luckily, all refractor scopes have retractable dew shields. Even those that seem “unretractable” (or fixed) can still be retracted with a gentle turning action. Reach out to a professional if you don’t know how to go about it.
2. Blow the Dust Off of the Lens’ Surface
Once you’ve removed the dew shield, you’ll be able to gain access to the telescope’s primary lens. Put on a pair of gloves and then hold the device with its lens pointing downwards. Using the other hand, grab the blower bulb, and hold it close to the front section of the lens. We hope you remembered to remove the brush end of the blower, as we won’t be needing it.
Now, direct random blasts of air toward the lens’s surface to dislodge the accumulated dust particles.
3. Remove Any Grease Using an Alcohol-Based Cleaner
The blower won’t help you get rid of the fingerprints, grease, or some of the soluble particles. But the isopropyl alcohol solution will. Dab a clean Q-tip swab in some of it, and then start cleaning the lens from the center outwards. We advise against using paper towels or toilet paper because such items are known to leave lint behind.
If there’s a liquid residue left behind after you’re done cleaning the lens, grab a different swab. But this time round, don’t dab it in the solution. That dryness is what we need to absorb all of the liquid residues.
Just so you know, letting the liquid evaporate is a common mistake. The dissolved particles will recrystallize, forcing you to start the cleaning process from scratch.

4. Polish the Lens
We hope you have your microfiber lens cleaning cloth with you because you’ll need it for this next step. Otherwise, you won’t be able to effectively get rid of the smear that will be left behind by the swab.
Be gentle while polishing the lens. If you press too hard, you’ll inadvertently remove the coatings on the lens or damage it. Also, make sure the piece of cloth that you’ll be using for this cleaning process is washed using distilled water. Undistilled water has a lot of minerals, which can be transferred to the lens once it crystallize.
5. Examine the Lens
Using a bright source of light, examine the different sections of the lens, to make sure you’ve removed all the greasy marks and stubborn dust particles. If the lens is not clean to your preferred standards, repeat steps three and four as many times as you want.
6. Reinstall the Dew Shield
You have to take things back to where they were, before storing the telescope. That means reinstalling a clean dew shield as well as the dust caps. Wipe them all using any lint-free cloth that you can find—not the one reserved for cleaning the lens.
How to Store a Refractor Telescope
If these devices could talk, they would tell you that they love being stored in places that are not moist or damp. It’s a good idea to avoid environments that frequently experience high-temperature swings.
It’s okay to store the device in a garage, loft, or bedroom, on condition that you’ve taken the precautionary measures that will ensure it retains its top working condition. Covering the scope with a dust-proof and water-proof sheet is something that we like to do to keep the particles and moisture at bay. But you don’t have to do this if your refractor telescope already has a storage case.
Replace the sheets every so often to discourage spiders from building nests, and use some repellent to keep out the pests looking to build homes inside the device.
A dry indoor cupboard is a good location. Compared to other spaces, it tends to be less corrosive due to a lack of moisture. The availability of space is the only issue here since some telescopes are huge and heavy.
Conclusion
Prevention is way better than cure if we’re talking about cleaning a refractor telescope. We understand that it’s not easy keeping such a device in perfect condition but storing it while it’s unwrapped is a recipe for disaster.
If your scope doesn’t come with a storage case, look for dust- and water-proof sheets. They’ll protect your device against dust particles and moisture.
Also, don’t use water or any household cleaning solution to get rid of grease or oil on the lens. Water won’t be able to remove any of the greasy marks and our typical household cleaning agents have additives that could remove the lens’ coatings. Go for an isopropyl alcohol solution, which can be applied using Q-tip swabs.
- Related Read: How to Clean Your Telescope
Featured Image Credit: Miglena Pencheva, Shutterstock
About the Author Robert Sparks
Robert’s obsession with all things optical started early in life, when his optician father would bring home prototypes for Robert to play with. Nowadays, Robert is dedicated to helping others find the right optics for their needs. His hobbies include astronomy, astrophysics, and model building. Originally from Newark, NJ, he resides in Santa Fe, New Mexico, where the nighttime skies are filled with glittering stars.
Related Articles:
How to Clean a Telescope Eyepiece: Step-by-Step Guide
How to Clean a Rifle Scope: 8 Expert Tips
Monocular vs Telescope: Differences Explained (With Pictures)
What Is a Monocular Used For? 8 Common Functions
How to Clean a Telescope Mirror: 8 Expert Tips
Brightfield vs Phase Contrast Microscopy: The Differences Explained
SkyCamHD Drone Review: Pros, Cons, FAQ, & Verdict
8 DIY Laser Pointer Ideas You Can Make Today (With Videos & Pictures)