Optics Mag is reader-supported. When you buy via links on our site, we may earn an affiliate commission at no cost to you. Read more.
What is ISO on a Camera: Photography Basics Explained
Last Updated on
Modern cameras have a host of settings that can be confusing for someone new to photography. One of these is ISO, which stands for International Standards Organization.
When learning photography, understanding how ISO works and how it affects your photographs is crucial. At the most basic level, ISO refers to how sensitive your camera’s sensor is to light.
The lower the ISO setting, the less sensitive it is and, therefore, requires more light for a good exposure. A high ISO will make your sensor more sensitive to light, meaning that you can take photos in darker conditions without needing to use a flash or a tripod.
This article discusses ISO and how you need to set it for shooting in different light and settings.
What is ISO?
On a camera, ISO refers to the sensitivity of your sensor. The value determines how easily you can capture light in dark situations and is measured in terms of exposure value (EV).
Today, most cameras have an AutoISO function that makes it easy to find the right balance between brightness and noise levels when shooting without a tripod.
When this setting is turned on, the camera will automatically adjust the ISO according to your lighting conditions. It helps you keep constant exposure, even if you’re shooting in dark or bright situations.
Although Auto ISO is great for quickly capturing photos, it’s best to set the value manually when shooting with a tripod. When you have fine control over your shutter speed and aperture, you can set a lower ISO to minimize noise and achieve higher image quality.
If you want to get started with photography, it’s essential to learn how ISO works and what situations best suit different values.
Image Credit by: wilsan u, Unsplash
How Does It Work?
To understand how ISO works, you should know the common ISO values. ISO is measured in numbers, with a lower number meaning less sensitivity to light and a higher number meaning more sensitivity. The most common ISO values are 100, 200, 400, 800, 1,600, 3,200, and 6,400.
ISO 100 is the lowest ISO value that is commonly used. It is the base ISO value and is used in bright conditions. It is sensitive to light and will produce good-quality images.
However, you need to know several important things when using ISO.
First, higher ISOs will produce more digital noise in your photos, which can reduce image quality and make the photo look grainy or speckly.
Second, increasing your ISO setting can also increase the amount of blur in your photos. Again, it is because the camera is more sensitive to light now and can pick up on more movement.
Moreover, higher ISOs can also make colors look less saturated and reduce the overall contrast of an image.
How to Change the ISO on Your Camera?
The method of changing ISO settings will differ from one camera to another. However, here are some standard methods:
Set your camera to manual mode to set the ISO value as desired. In manual mode, go to the ISO setting on your camera and choose the value you want.
Alternatively, you can also change the ISO settings in program mode or automatic mode. In this case, you will need to use the menu system to find the ISO settings option and adjust it accordingly.
Some higher-end cameras have ISO buttons on the camera. You can change the ISO setting by pressing this button and spinning the wheel on the camera.
Meanwhile, some newer cameras have a wheel dedicated to ISO settings. The ISO units are marked on the wheel, making it easy to choose your preferred setting.
Image Credit by: Lavi Perchik, Unsplash
What Are the Different Values of ISO?
As mentioned earlier, you can choose different ISO values based on the type of light and environment where you’re shooting. Here are some standard settings:
ISO 100
This is the best setting for shooting under bright, sunny conditions. Since it allows a fast shutter speed to avoid overexposure, you’ll be able to take clear and crisp photos with high saturation.
ISO 100 also helps when you want to shoot in burst mode since it lets you easily capture several images quickly without having the camera well out of focus.
ISO 400
If you find yourself shooting in low-light conditions, you may need to increase your ISO setting to 400. It will help produce a brighter image with lower levels of noise and graininess.
However, increasing the ISO value can also affect the overall quality of your image. For example, it may cause some loss of detail and a decrease in color accuracy.
Consider whether you need the extra light from increasing your ISO setting or if the resulting photo will be worth any potentially negative consequences.
ISO 800
For even darker conditions, you can increase your ISO an additional stop to 800. It will help you capture a slightly brighter image with less noise than if you had kept your ISO at 400.
However, increased noise levels may be more noticeable in the image when using a higher ISO setting.
ISO 1,600
If you’re taking pictures in dim indoor light or outside at night, you should ISO 1600, especially if there’s movement in the picture. Couple the high ISO setting with a fast shutter speed to ensure that the image remains sharp and free of blurriness.
However, you may notice a significant amount of noise in your photo when using this setting. If you capture an important moment and don’t mind sacrificing some detail or color accuracy, it’s worth increasing your ISO to 1600.
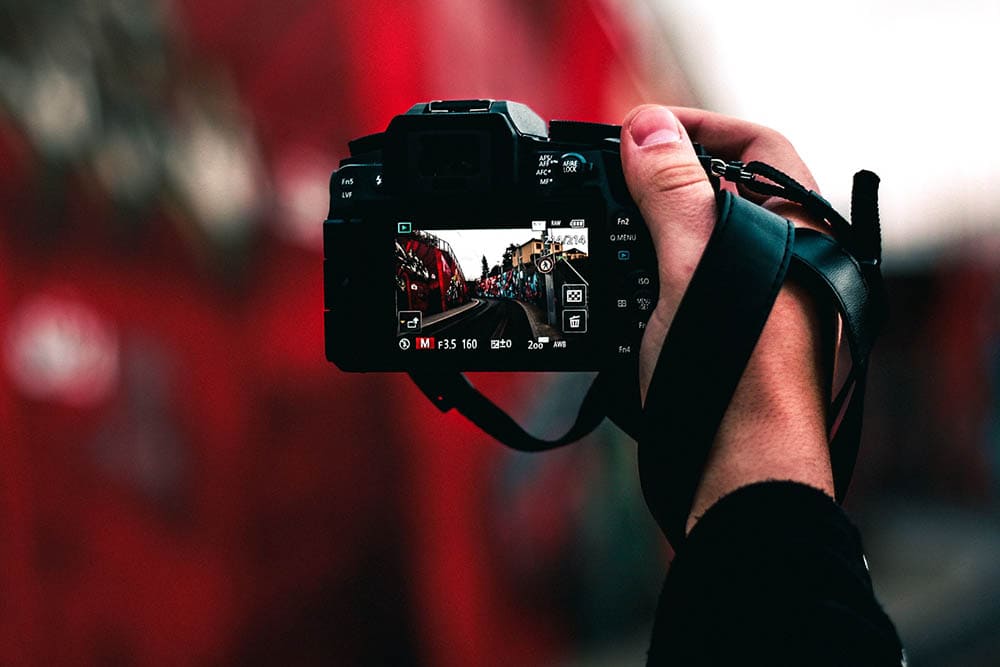
Image Credit by: Clément Rémond, Unsplash
Where Is High ISO Used?
If you keep your camera in auto mode, you will not get the same quality results as you would with a manual ISO setting. The latter gives you more control over how your image turns out.
Typically, shooting at the base ISO of 100 is fine for most light conditions. However, you have to increase the ISO in the following conditions.
Low Light
If you’re shooting in low light, you will need to increase your ISO. A higher ISO means that less light is needed to produce an image, which is why it’s ideal for low-light photography.
For example, if you’re shooting in a dimly lit restaurant, you may need to increase your ISO to 800, or even 1,600, to get a well-exposed picture.
Besides the ISO, you also need to change the shutter and exposure variables. When you’re using a higher ISO, it helps to widen the aperture and use a faster shutter speed.
It compensates for the higher ISO and prevents your image from looking too grainy. In this case, a tripod can also help reduce blur, as it stabilizes your camera.
Action Shots
If you’re trying to capture a fast-moving subject, you need to use a high ISO. A higher ISO allows you to use a faster shutter speed, which helps prevent motion blur.
For example, if you’re shooting a sporting event with a high-speed action camera, you may need to increase your ISO to use shutter speeds of 1/500 or higher.
Depending on the type of subject and lighting conditions, you may also have to experiment with different aperture settings and focus modes to get the best results.
Depth of Field
When shooting architecture or landscape, you want to have a deep depth of field. This is where the background is blurry and the subject is in focus.
You need to use a small aperture, or a large f-stop number, such as f/16 or f/22, to achieve this effect.
However, using a small aperture means less light entering the camera. So, you will have to use a higher ISO to compensate for the reduced light.
Image Credit: Miha Jan Strehovec, Unsplash
What to Consider When Using High ISO Settings
One of the disadvantages of using a high ISO is that it can introduce noise into your images. It is especially true if you’re using a camera with a small sensor.
The larger the sensor, the less noise you’ll see at high ISOs. So, for example, full-frame cameras generally have better high ISO performance than APS-C cameras.
You can try using noise reduction software, like Lightroom or Photoshop, to reduce noise.
You can also try using a lower ISO setting if possible, but keep in mind that you may have to use a slower shutter speed, resulting in motion blur.
Advantages of Adjusting ISO
Image Credit: ShareGrid, Unsplash
If you want to take well-lit photos, you must learn to adjust the ISO setting. There are quite a few benefits from learning how to do this.
Bright Photos in Dim Conditions
One of the most significant advantages of adjusting your ISO setting is that it allows you to capture bright and clear photos in low-light conditions.
Increasing your ISO level increases the amount of light that enters the camera sensor, making it easier for your camera to process images correctly. It will allow you to take great pictures in dimly lit rooms or at night.
Improved Image Quality
Setting the ISO right can improve the overall quality of your images. As you increase your ISO level, the camera sensor will respond faster to incoming light and capture sharper, clearer photos. Additionally, higher ISO settings will allow you to shoot at faster shutter speeds without losing image quality.
Shooting in Smaller Apertures
With an increased ISO, you will also be able to shoot in smaller apertures. Smaller apertures allow more light to enter the camera while reducing the depth of field. It can help you better focus on your subject and blur out the background.
Disadvantages of Adjusting ISO
Image Credit: Shutterbug75, Pixabay
Even though adjusting ISO is imperative in low-light situations, it has limitations. Some of these include the following:
Blurred Images
If you lower the ISO setting, the camera will require a longer exposure time. A longer exposure time can result in blurred images, especially if you are not using a tripod to stabilize the image.
Plus, you’ll have to use wide apertures. It will limit the depth of field, making the image blurry.
Inaccurate Colors
Shooting at medium ISO settings can produce inaccurate colors in your photos. The camera cannot correctly meter the scene, resulting in an incorrect white balance. It can be fixed in post-processing, but it’s still something to keep in mind.
Noisy Images
One of the main disadvantages of adjusting ISO is that it can result in noisy images.
If you increase the ISO too much, you’ll notice that the image is grainy. It can ruin an otherwise good photo.
Frequently Asked Questions (FAQs)
Image Credit: Kim Becker, Unsplash
Here are some frequently asked questions about ISO settings.
When Should You Use Low ISO?
Keep your camera at low ISO settings when shooting in bright conditions or when capturing images that don’t require a lot of image noise. An ISO setting of 100 or 200 is usually sufficient for these situations.
What Is the Ideal ISO Setting?
Ideally, you want to shoot at the lowest ISO possible without sacrificing quality. The higher the ISO, the grainier your images will become. In most cases, you can shoot at a base ISO of 100, which is the lowest ISO setting on your camera. Your sensor may have a maximum ISO of 3,200 or 6,400, but shooting at these ISO settings will make the picture very grainy.
What Is the Best ISO Setting for Night Photography?
For night photography, you’ll want to use a higher ISO setting to compensate for the lack of light. An ISO setting of 800 or 1,600 should work well in most cases.
How Do I Reduce Image Noise?
You can do a few things to reduce image noise in your photos. One of the easiest methods is to shoot at a lower ISO setting, as this will minimize the amount of noise that appears in your images.
You can also try reducing exposure time or using a narrower aperture, which will help prevent image noise from occurring. Finally, if you’re still struggling with noise, you can try using noise reduction software to post-process your photos.
Image Credit: Piqsels
What Is Image Noise?
Image noise is an unwanted byproduct of digital photography that appears as grainy or speckled pixels in your photos. It’s often caused by shooting at high ISO settings, but it can also occur when capturing images in low light conditions or at slow shutter speeds. While some noise level is inevitable, it’s essential to make sure that it doesn’t detract from the quality of your photos.
Is ISO the Same as Exposure?
No, ISO and exposure are not the same things. Exposure is a measure of how much light is allowed to reach your camera’s sensor, while ISO indicates how sensitive the sensor is to that light. Changing either one will affect the final image, but they are independent of each other.
Is Adjusting the ISO the Same as Brightening the Picture in Post-Processing?
While you can use Photoshop or whatever software you prefer to edit your photos, it’s important to know that ISO is not the same as brightening your pictures in post-processing. The main difference is that adjusting the ISO will affect the overall image quality, including the depth of field and general appearance. Post-processing won’t have the same results.
What Is the Difference Between Manual and Automatic ISO?
There are two main differences between manual and automatic ISO settings. Manual ISO allows you to choose a specific ISO setting, while automatic ISO will automatically adjust the sensor’s sensitivity based on various lighting conditions. Manual mode is typically preferable for shooting in low light or controlling image noise, while the automatic mode is better suited for general photography.
Image Credit: Billion Photos, Shuterstock
A Quick Reference Guide: ISO Cheat Sheet
ISO Setting
When to Use?
100
When a lot of light is available
200
Shade with plenty of light
400
Well-lit indoors or outdoors on an overcast day
800
An indoor setting with artificial light sources
1600
Shooting in poorly lit indoors
3200
Poor light conditions
6400
Dark conditions
Conclusion
To sum it up, ISO in photography is an important setting that determines the quality of your photo. A high ISO setting will make your photo appear grainy, while a low ISO setting will produce a high-quality image.
Experiment with different settings to see what works best for you.
In general, it’s best to keep your ISO as low as possible to avoid introducing grain into your photos. However, there are times when you need a higher ISO setting, such as when shooting in low-light conditions.
Jeff is a tech professional by day, writer, and amateur photographer by night. He's had the privilege of leading software teams for startups to the Fortune 100 over the past two decades. He currently works in the data privacy space.
Jeff's amateur photography interests started in 2008 when he got his first DSLR camera, the Canon Rebel. Since then, he's taken tens of thousands of photos. His favorite handheld camera these days is his Google Pixel 6 XL. He loves taking photos of nature and his kids. In 2016, he bought his first drone, the Mavic Pro. Taking photos from the air is an amazing perspective, and he loves to take his drone while traveling.