
Optics Mag is reader-supported. When you buy via links on our site, we may earn an affiliate commission at no cost to you. Read more.
How to Clean a Camera Sensor Safely – Step-by-Step Guide
Last Updated on

If you’re noticing dust spots on your photos and cleaning the lens just isn’t doing the trick, there’s a good chance that you need to clean your camera sensor.
But while cleaning your camera sensor is an important part of maintaining your camera, it can also quickly lead to expensive damages if you don’t know what you’re doing. That’s why we developed this guide, to help you clean your camera sensor without damaging any of its components. It’ll walk you through every step to clean your camera sensor.
What You’ll Need
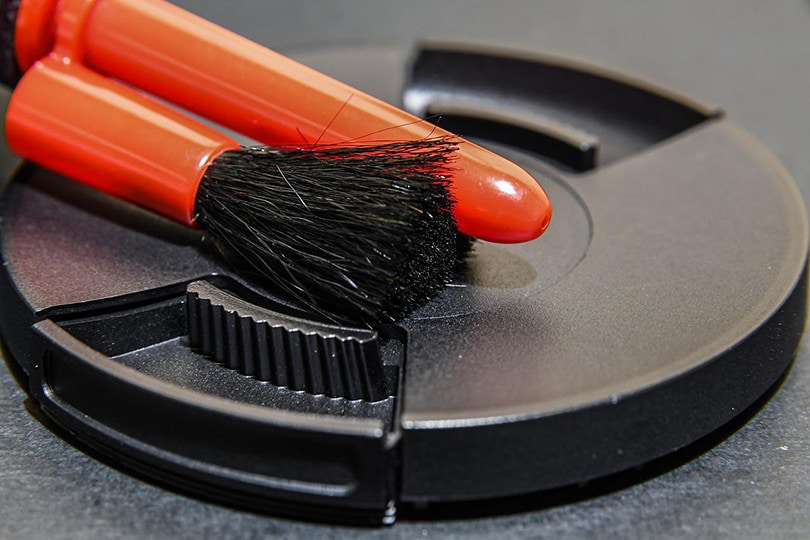
The last thing that you want is to get halfway through the job only to realize that you don’t have everything you need. While you don’t need many tools to clean a camera sensor, if you want to do it safely, you will need to get a few specialty tools. Here is everything that you’ll need:
Tips and Tricks to Follow
Cleaning a camera sensor safely can be a tricky process if you don’t know what you’re doing. Here are a few different tips and tricks to follow if you want to do the job right without damaging your camera.
1. Find the Right Place
When you’re cleaning your camera sensor, you need to find the right place to do the job. Look for a clean environment that is free of dust and other particles that can float up when you’re moving around and cleaning.
If you try cleaning your camera sensor in a location with floating particulates around, like pet hair, dust, or pollen, you’ll likely end up with a sensor that’s dirtier than when you started!
2. Use High-Quality Products
You need to use the right high-quality products when cleaning your camera sensor. Your camera is an expensive piece of equipment, so don’t risk damaging it by trying to save a few bucks or by not purchasing sensor-specific cleaning products.
3. Avoid Compressed Air
Those cans are convenient, but if you use compressed air, you could be doing more damage. Not only can the force behind compressed air damage the sensor, but when the gas liquefies momentarily on the sensor, it can also stain and ruin it.
4. Charge the Battery First

With DSLR cameras, you need to put the camera itself into cleaning mode to move the mirror and gain access to the sensor. This isn’t a big deal, but as soon as the camera shuts off, it moves the mirror back into place.
So, if you’re in the middle of cleaning the camera and the battery dies, the mirror will slap back into place. If there’s anything in there when this happens, there’s a good chance that it’ll cause damage.
5. Clean the Outside First
You may be focused on cleaning the sensor, but if the outside of the camera is dirty when you’re working, there’s a good chance that some of that dirt, dust, and grime will work its way inside and lead to more stuff to clean up.
6. Know What You’re Working With
While the basic steps of cleaning a camera sensor are the same, getting to the sensor can be different depending on the type of camera that you have. For instance, with a DSLR, you need to put the camera into a cleaning mode, but with a mirrorless camera, all you need to do is open the lens!
Knowing what kind of camera you have and how to access the sensor is a key part of the cleaning process, so know what you’re working with before you start.
How to Clean a Camera Sensor Safely: Step-by-Step Guide
Now that you know a few tips and tricks to help you clean your camera sensor, it’s time to move on to the cleaning! It’s a straightforward process, but you should follow all the steps in the right order to prevent any damage.
1. Put Your Camera in Cleaning Mode
If you have a DSLR, the first thing that you need to do is put the camera in the “manual” cleaning mode. This moves the mirror out of the way so you can clean the sensor.
Once it’s in a cleaning mode, aim the camera down, so any dust or debris that you move off the sensor will fall to the ground.
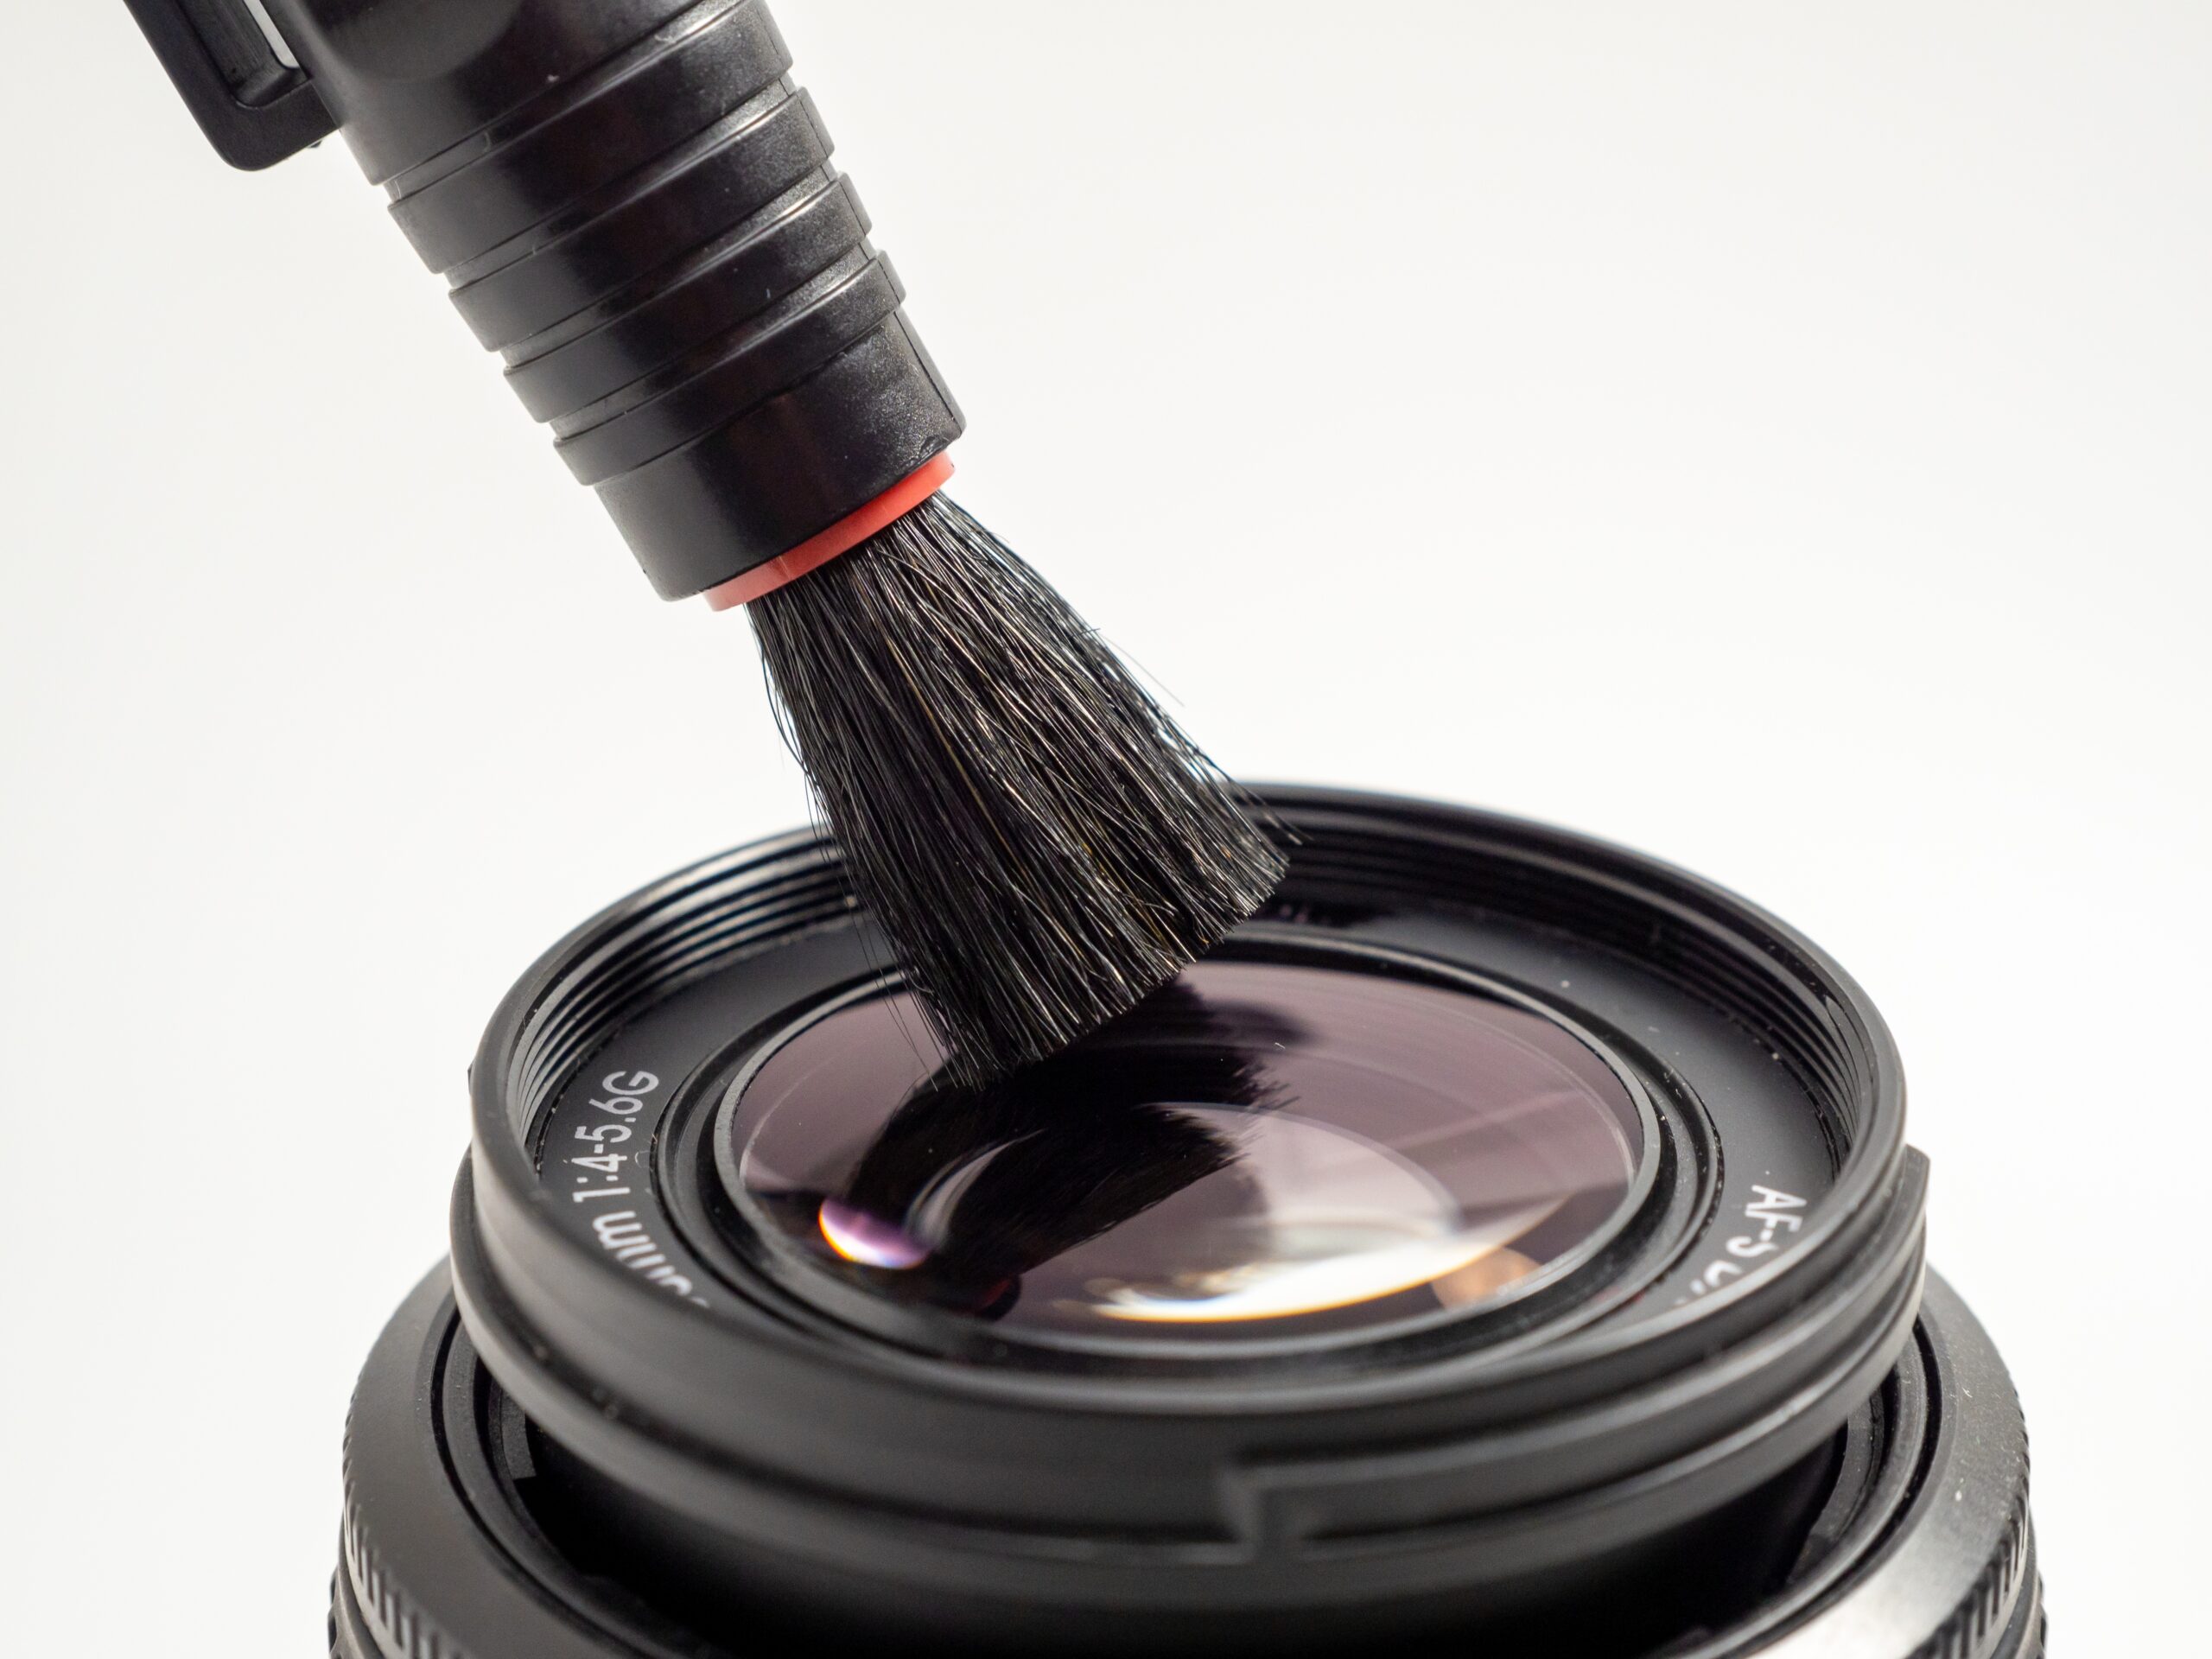
2. Air Blow the Sensor
Once you have access to the sensor, the first thing that you want to do is use a manual air blower to try to move any dust off the sensor. Don’t stick any portion of the air blower inside the camera; if you touch the sensor with this, you can easily damage it.
You should be able to get enough air pressure with the air blower outside the camera to get the job done.
3. Clean the Sensor Swab

Before you stick the sensor swab into the camera to clean the sensor, ensure that it’s perfectly clean and that it didn’t pick up any dust or lint. Use your manual air blower to clean the sensor swab itself.
4. Add Solution to the Swab
Once you have a clean sensor swab, it’s time to add the cleaning solution. Add two drops of the cleaning solution to the end of the swab to moisten it without getting it too wet. This ensures that you have enough to clean the sensor, but not too much that you’re leaving residue behind.
- See also: 7 Types of Video Cameras
5. Gently Swab the Sensor
Now it’s time to clean the sensor. Be careful not to apply too much pressure, but ensure that you clean every part of the sensor when doing this. You don’t want to move the dust from one area to another, and by cleaning the entire sensor, you eliminate this problem!
6. Inspect and Repeat If Necessary
After cleaning the sensor, it’s time to inspect your work! Use your sensor scope to look for any dust or debris that might still be on the sensor and evaluate if you need to repeat any of the cleaning steps.
See also:
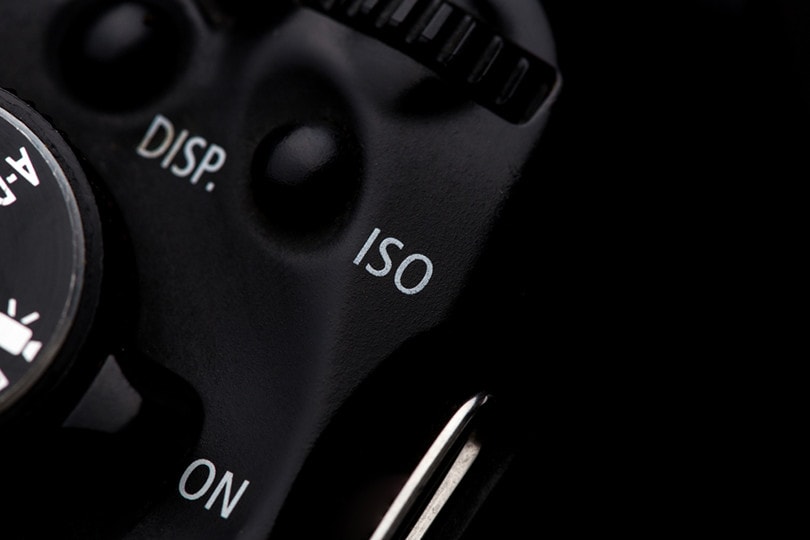
- What is ISO on a Camera
- 10 Best Cameras for Photography
- 7 Types of Video Cameras
- 10 Types of Digital Cameras
Final Thoughts
Don’t settle for subpar photos because you’re too afraid to clean your camera sensor. As long as you’re careful and follow the tips and tricks highlighted here, you can safely clean your camera sensor and get your photos back to perfect condition in no time!
Featured Image Credit: Brunox983, Pixabay
About the Author Robert Sparks
Robert’s obsession with all things optical started early in life, when his optician father would bring home prototypes for Robert to play with. Nowadays, Robert is dedicated to helping others find the right optics for their needs. His hobbies include astronomy, astrophysics, and model building. Originally from Newark, NJ, he resides in Santa Fe, New Mexico, where the nighttime skies are filled with glittering stars.
Related Articles:
How to Clean a Refractor Telescope: Step-by-Step Guide
How to Clean a Telescope Eyepiece: Step-by-Step Guide
How to Clean a Rifle Scope: 8 Expert Tips
Monocular vs Telescope: Differences Explained (With Pictures)
What Is a Monocular Used For? 8 Common Functions
How to Clean a Telescope Mirror: 8 Expert Tips
Brightfield vs Phase Contrast Microscopy: The Differences Explained
SkyCamHD Drone Review: Pros, Cons, FAQ, & Verdict