
Optics Mag is reader-supported. When you buy via links on our site, we may earn an affiliate commission at no cost to you. Read more.
How to Photograph Real Estate: 6 Tips and Tricks
Last Updated on

One of the smartest ways to monetize your photography skills is to take pictures of homes for sale. Of course, we don’t mean you should snap photos of random houses – but rather, to find listings and real estate agents that need your help to sell properties. This is a lucrative business with tons of opportunities, but how do you exactly go about photographing real estate? Is it any different from other forms of photography?
To give you the answers, we’ve put together a guide outlining a handful of tips and tricks you can use to start your real estate photography endeavors!

Before You Start
Plan Your Shots
Before you even get to the property, you should first determine what kinds of shots you’ll be taking. If you don’t have a vision in mind, it’s unlikely you or the client will be satisfied with the results. Many clients may entail what they are looking for in terms of the work, but if not, you may need to practice in your own residence to get a feel for what looks good and what doesn’t.
Outline Your Work
You MUST explain to your clients what the details of your work are. Whether spoken or written in a contract (the latter is recommended) you should always be explicit with how much time will be spent in the location, how much you will charge (usually by property size) and if there will be revisions. Don’t skimp on this; you might end up walking away with no money at all if there isn’t a legal agreement!

Clean Up Loose Belongings
Something that goes unnoticed in real estate work is the clutter you’ll see lying around the property. If there are random items lying around on tables or beds, you will need to move them out of the way to make things look tidy. This isn’t really what you’re being paid for, so it might be wise to contact the owner or agent to ask if the area is free of clutter and, in turn, ready to be photographed.

Top 6 Tips to Photograph Real Estate:
1. Artificial Lighting
The first thing you need to realize with real estate photography is that you should always take advantage of artificial lighting to control the exposure of your photos, whether you’re taking photos inside or out. It’ll mostly apply indoors, as natural lighting and light fixtures may not provide sufficient brightness for the setting. It’s also important to maintain the correct white balance of these lights because they ultimately reflect that color onto furniture and especially white walls. Scrims and diffusers could be necessary so you can cut out the harshness of the highlights as well. You may already have a flash too, but make sure to point it at a wall or the ceiling to bounce the light and control its extremity.

2. Exposure Bracketing
It’s extremely important that you use your camera’s bracketing feature. This parameter enables the camera to take a series of photos, usually 3-5, at separate exposure levels. Generally, this means that there will be an underexposed (-0.3), a properly exposed (+0.0), and an overexposed photo (+0.3). When you get to the post-processing process, it’s best practice to merge these photos to retain highlights and keep shadow details. This is especially the case with shots that have windows which will enable viewers to see what it looks like outside. Otherwise, windows will have blown-out highlights.
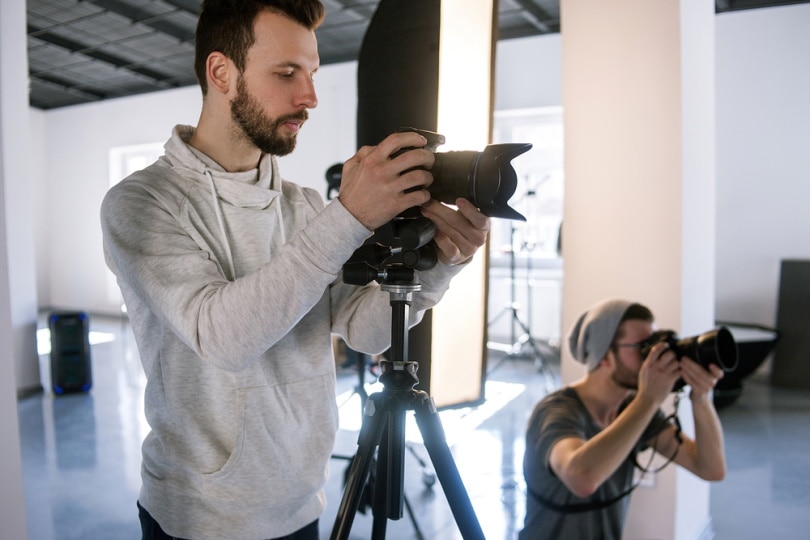
3. Use a Tripod
Due to the fact that you’ll be taking bracketed exposures, you’ll need a sturdy tripod to help keep everything stable and solid. Even outside, this will be vital in case a client requires you to take some photos at dusk. In this case, you’ll be able to slow your shutter speed and capture more light. For outdoor scenes, a tripod can be non-negotiable in windy conditions which may be the case if you’re helping clients that have listings in coastal areas. Another benefit is that you can take photos at different heights, which may be necessary to achieve certain perspectives for your clients’ needs.
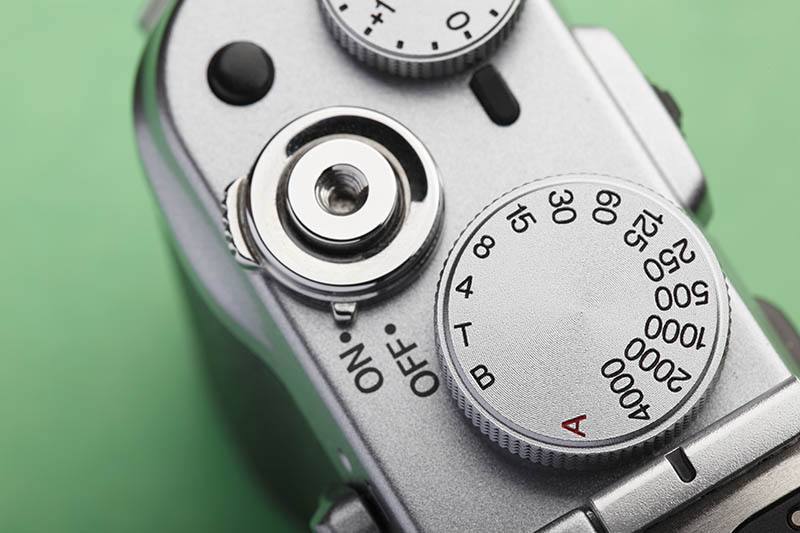
4. Find the Right Shutter Speed
When it comes to indoor shooting, you can pretty much use any length shutter speed you want – so long as you have that tripod, as we mentioned earlier. Since there aren’t any moving objects inside, you won’t have to worry about motion blur. However, if there are trees that can be seen outside of a window, this could be problematic and your shutter speed may need to be faster. Outdoor photos may need to follow this rule as well, as there may be wind blowing the bushes or trees.
5. Wide-Angle Lens
After a tripod, the next-most important piece of gear for real estate photographers to invest in is a wide-angle or ultrawide-angle lens. Houses typically have tight spaces – hallways, bathrooms, kitchens, closets, and bedrooms. Not only that, but most areas you’ll be shooting will require a lot of the scene to be captured. Therefore, wide focal lengths are necessary to get the job done. This might range from 10 mm all the way to 35 mm, but there is a caveat.
Wide and especially ultrawide lenses typically suffer from distortion issues, which can warp the lines in a photo. For example, the cabinets in a kitchen may look crooked or the edges of the house’s exterior won’t come out straight – this is when you’ll have to fix the issue in photo-editing software. Unfortunately, there is only so much that can be done, so we recommend investing in a zero-distortion or ‘zero-d’ lens to get around this.
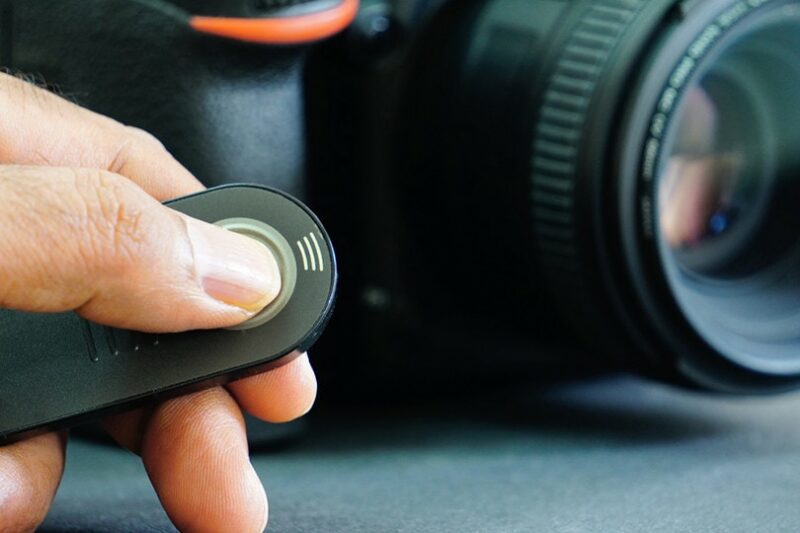
6. Self-Timers and Remote Shutters
Another great tool for photographing properties is a remote shutter. Yo
u can find these for less than $30, and they will ensure that your camera doesn’t shake when you press the shutter button. Many DSLR and mirrorless cameras now have built-in self-timer, which essentially do the same thing. All you’ll need to do is set the self-timer to 5 or 10 seconds, press the shutter, and let the camera do its work.
Final Thoughts
Making money with real estate photography is often overlooked, but it deals with a high-ticket sale and is bound to be valuable to clients who want to make a great impression on their listing. That’s why you should practice your indoor (and outdoor for that matter) photography skills so you can nail every shot and have a plan to make your work look professional. All in all, these six tips and tricks are sure to get you on the right track; now, you just need to get out there and put it into action!
Featured Image Credit: Francesca Tosolini, Unsplash
About the Author Robert Sparks
Robert’s obsession with all things optical started early in life, when his optician father would bring home prototypes for Robert to play with. Nowadays, Robert is dedicated to helping others find the right optics for their needs. His hobbies include astronomy, astrophysics, and model building. Originally from Newark, NJ, he resides in Santa Fe, New Mexico, where the nighttime skies are filled with glittering stars.
Related Articles:
How to Collimate Binoculars: 9 Expert Tips
How to Clean a Rifle Scope: 8 Expert Tips
How to Choose Binoculars for Bird Watching: 10 Expert Tips
How to Clean a Refractor Telescope: Step-by-Step Guide
How to Clean a Telescope Eyepiece: Step-by-Step Guide
Monocular vs Telescope: Differences Explained (With Pictures)
What Is a Monocular Used For? 8 Common Functions
How to Clean a Telescope Mirror: 8 Expert Tips