What Is Shutter Speed: Photography Basics Explained
Last Updated on
What Is Shutter Speed?
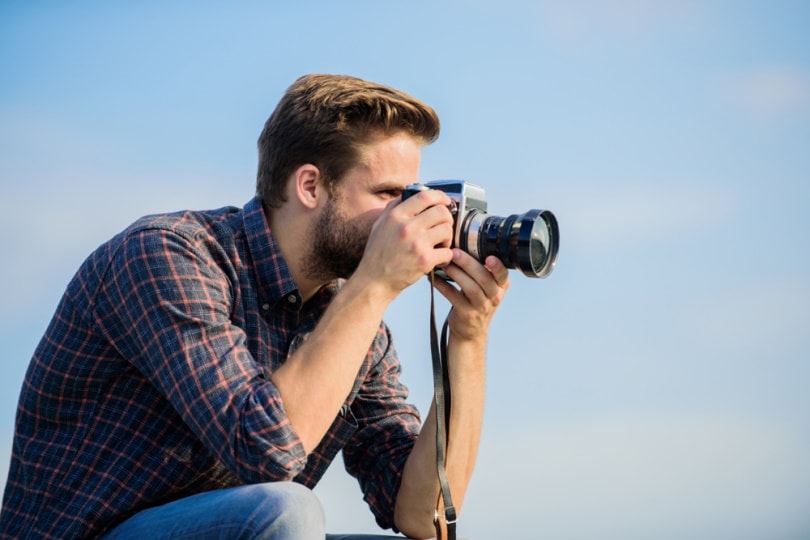
To understand shutter speed, you first need to know what a shutter is and the function it serves in a camera. Cameras take pictures by exposing a digital sensor or film to light, while the shutter is the barrier between the sensor and light. When you snap a photo, the button on top of the camera releases the shutter and lets light hit the sensor, which turns the light into a photo.
Depending on the shutter speed, it can close within mere milliseconds, or take as long as several minutes to close. Depending on the speed, different visual effects, like blur, can be used to enhance photos or capture moments in a special way.
Shutter speed is one of three key elements that determine exposure, which means how light or dark your photos turn out. By slowing shutter speed, you let in more light and get a brighter photo, while speeding it up will make photos darker.

How Is Shutter Speed Measured?
Shutter speed is measured in fractions of a second to seconds or even minutes. Most cameras can switch between 1/8000 (of a second) all the way up to 30 seconds. What can get a little confusing is the terminology used, such as how the speeds are abbreviated.
Most shutter speeds are fractions of a second, but in an effort to save space, most camera makers cut off the initial number and slash. For example, a 1/800 shutter speed would be shortened to 800. If the speed is longer than a second, a quote is used after the number to signify that. An 8-second speed would simply be 8”, and a 1-second speed would be 1”.
If your camera has an LCD screen on the top, the shutter speed is typically displayed there. For DSLR and mirrorless cameras, you can find the shutter speed within the viewfinder itself and the back LCD screen.

Why Is Shutter Speed Important?
We already talked a bit about exposure, which determines how light or dark your photos turn out as a result of shutter speed and other factors. Well, it gets a bit more complicated. During panoramic night photography, you’ll ideally want a very slow shutter speed to avoid the shot getting too dark. Similarly, a daytime picture of a desert calls for a faster shutter speed to avoid glare and oversaturation.
The other major thing shutter speed affects is how you capture motion. High shutter speeds (500 and above) effectively freeze motion. This means you can capture a flitting hummingbird or a diving eagle with extreme precision and little to no blur.
Conversely, a slow shutter speed blurs motion, which can be used to deliberately blur certain elements in a photo. For static images, a low shutter speed is preferable, while a high speed would blur the image or lose some of its detail.
Lastly, we need to talk about camera shake. Unless you’re using a tripod, we assume you’re holding your camera with your hands. With slow shutter speeds, hand shaking will become very noticeable, which is why long exposure photos are usually done with a tripod. This isn’t as important for fast speeds, which freeze motion very effectively.
Low Shutter Speed Pros and Cons
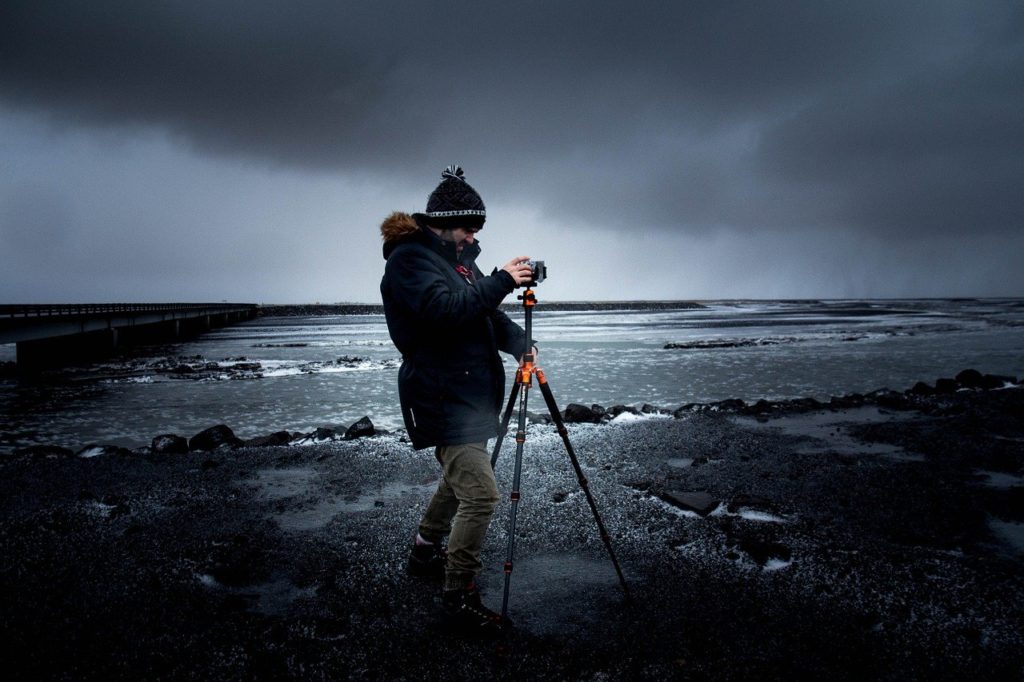
Most people consider 1/10 the fastest of the slow shutter speeds, while 30 seconds or even 2 minutes are considered extremely slow. Of course, there are slower speeds, but they’re very rarely used. Let’s check out the pros and cons of slow shutter speeds so you get a better idea of their strengths and weaknesses.
- Illuminating dim or dark scenes
- Blurring elements for artistic effect
- Better for static images
- With long exposure shots, you can create effects like light painting
- Can imply speed of motion
- Very low speeds demand a tripod for best results
- Poor at crisply capturing people, animals, or objects in motion
- May make bright photos come out too bright or oversaturated

High Shutter Speed Pros and Cons
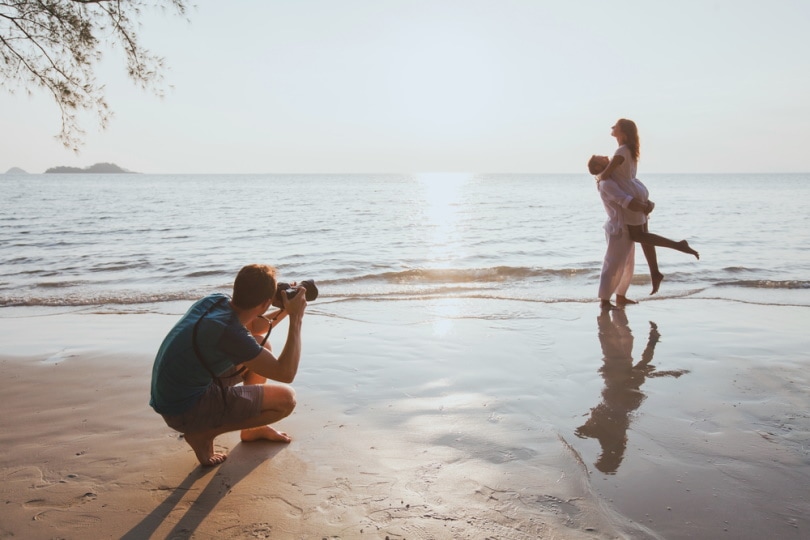
High shutter speeds are most common when photographing people, animals, or objects in motion. It helps capture the scene in crisp detail with minimal blur, which is highly desirable in several niches like sports photography and nature photography. For slow motion, 1/100 to 1/200 is perfectly fine, while faster speeds like 1/500 can freeze racecars or birds in flight. Let’s check out the main pros and cons of high shutter speeds so you can get an idea of what they can and can’t do.
- Capturing motion in detail with minimal to no blurring
- Can imply motion if used correctly
- Handshaking minimally affects photo clarity
- Great for handheld shooting
- Can make bright settings too bright
- Capturing detail in extreme clarity, even undesirable elements
- Can’t create exposure tricks
Mechanical vs. Electronic Shutter: What’s the Difference?
Mechanical shutters are the standard, utilizing plastic blades to form a shutter “curtain” that closes and opens to expose light to your camera’s sensor and take photos. Notably, mechanical shutters have an upper shutter speed of 1/8000, which is plenty fast enough for most needs. DSLR and mirrorless cameras almost always have mechanical shutters.
Electronic shutters are becoming more common with advancements in smartphone camera tech and digital camera tech. The difference is that electronic shutters don’t have physical shutters to control light exposure. Instead, the shutter is a component that reads and interprets the data received by your camera sensor. Electronic shutters are capable of faster shutter speeds than mechanical shutters because they’re not limited by the shutter’s physical speed.

Frequently Asked Questions (FAQs)
What is the best shutter speed?
There’s no single best shutter speed for all situations. For best results, you’ll need to adjust your shutter speed based on the amount of light and motion in the scene. A dim, fast-moving city crowd would be best captured with a fast shutter speed of 1/250 or so, or you could use a slow speed to deliberately blur the people. On the opposite end, a bright, relatively

What other factors affect exposure?
Besides the shutter speed, your aperture and ISO are the primary factors that affect your exposure. Aperture refers to the size of the opening where light hits your camera’s sensor, and ISO describes how sensitive to light your sensor or film is.
A larger aperture setting will allow more light to hit the sensor, resulting in brighter photos. In a lot of cases, this would call for a faster shutter speed to prevent too much light in the photo. On the other hand, a smaller aperture needs more light to avoid turning out dim or dark. Of course, the angle of the light and the type of effect you’re going for will greatly affect how you adjust aperture and ISO settings too.
How light hits your subjects will affect these settings, too. For a portrait photo, you can use a narrow aperture with a long shutter speed and moderate ISO to focus light on the subject while turning the background blurry and unfocused. Experimenting with shutter speed, ISO, and aperture settings is essential to growing your skillset as a photographer.

Conclusion
Photography is a true art form, with many elements converging and clashing with every photo you take. Shutter speed, or how fast the shutter opens, is an integral part of adjusting exposure and controlling the light in your shots. Experimenting with it in conjunction with ISO and aperture settings is crucial to becoming a better photographer.
Featured Image Credit: Just dance, Shutterstock
About the Author Codee Chessher
Codee Chessher is a freelance writer with extensive knowledge on a variety of subjects that include travel, sound engineering, automotive, optics, DIY, pets, and more. He has a colorful past that includes building schools and commercial driving, but the written word was always his first love and continues to be his passion. He believes there's nothing a well-worded sentence can't accomplish.
Related Articles:
What Is the Best Binocular Magnification for Hunting? Optical Features Explained
How to Clean a Refractor Telescope: Step-by-Step Guide
How to Clean a Telescope Eyepiece: Step-by-Step Guide
How to Clean a Rifle Scope: 8 Expert Tips
Monocular vs Telescope: Differences Explained (With Pictures)
What Is a Monocular Used For? 8 Common Functions
How to Clean a Telescope Mirror: 8 Expert Tips
Brightfield vs Phase Contrast Microscopy: The Differences Explained
