24 Portrait Photography Ideas to Get You Inspired
Last Updated on

One of the most rewarding types of art is portrait photography. Not only can you capture all types of beautiful faces in different ways, but it’s also one of the best ways to tell a story through a photograph.
As with all photography, the more portraits you snap, the better you’ll get at capturing striking photographs that convey meaning and expression. Don’t be afraid to experiment and try as many techniques as you possibly can. Change your background, switch your angles, add light, remove light, and play with your camera settings. Portrait photography is your chance to have fun.
In this article, we’ll share 24 interesting and fun ways to elevate your portrait photography into complete pieces of art, using different techniques, settings, props, tricks, and more.

The 24 Portrait Photography Ideas to Get You Inspired
1. Create a Frame
By shooting your portrait through an object, you can create all kinds of frames for your photographs. Use different items for different effects and to tell different stories. For example, shoot through a ring of autumn leaves for a fall theme or a tube made from a book page for a literary theme. Another idea is to shoot through a plastic bottle by cutting out the top and bottom to create a tube.
The same technique can be applied to natural framing. Instead of objects, shoot through frames that are already available, such as doorframes, window frames, arches, or even gaps in trees.
2. Play with Dappled Shade

Dappled shade can add beautiful patterns to your models to create a soft look. If you take your photographs on a sunny day with your model standing beneath a tree, the light filtering through the leaves will create large areas of dappled shade.
You can experiment with patterned shade by using materials such as netting and mesh for different looks. By holding the object that’s obstructing the light closer to the face, the patterns of shadow and light will become more defined.
3. Use Bubbles to Add Magic

By filling the air surrounding your model with bubbles, you can immediately add magic to your photograph. The bubbles will float around reflecting light, colors, and images. You may even be able to use their reflections to create lens flares, which can look especially striking in portrait photography.
Adding bubbles to your photo shoot doesn’t have to be costly either. Simply fill a bucket with soapy water and ask some helpers to create bubbles while you shoot your perfect photo!
4. Try Silhouette Photography

Silhouette photography is extremely effective when used for portraits. It can be achieved by photographing your model standing against a bright background. The method works especially well against a sunset.
Some iconic silhouette portraits are snapped on sand dunes and beaches at sunset. The reason for this is that the waning light creates brilliant hues of red, blue, and purple, that contrast with the dark outline of the model perfectly.
This method is sometimes used to capture portraits of dancers, with bright stage lights as the backdrop.
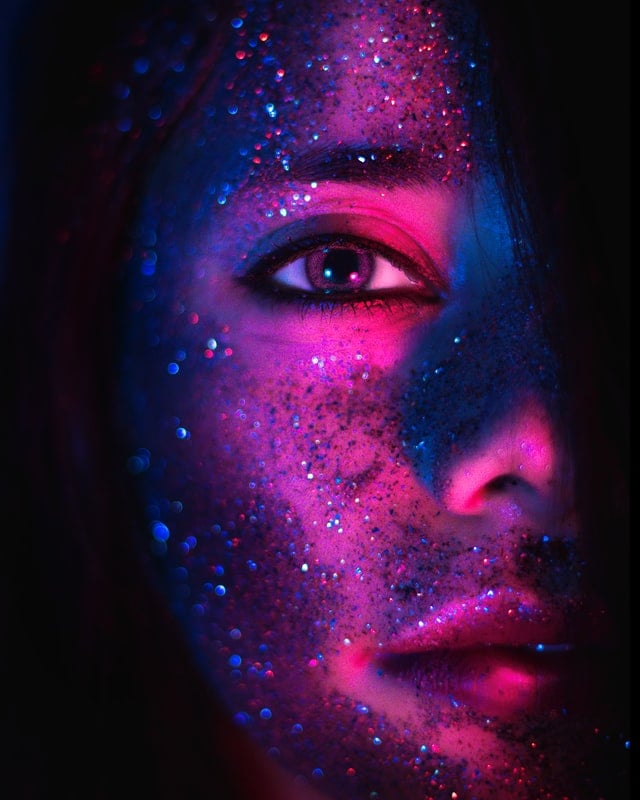
5. Have Fun with Glitter

Glitter can be used in your portrait photography to add a dash of sparkle. The small glitter particles dramatically reflect light. You can use one color, for example, gold, to emphasize your theme, or multiple colors for fun and energy.
Glitter can be applied to your model and used in a stationary way or thrown into the air while the photo is being taken.
Using glitter in your photography is one of the messier techniques out there, but it’s also fun and rewarding.
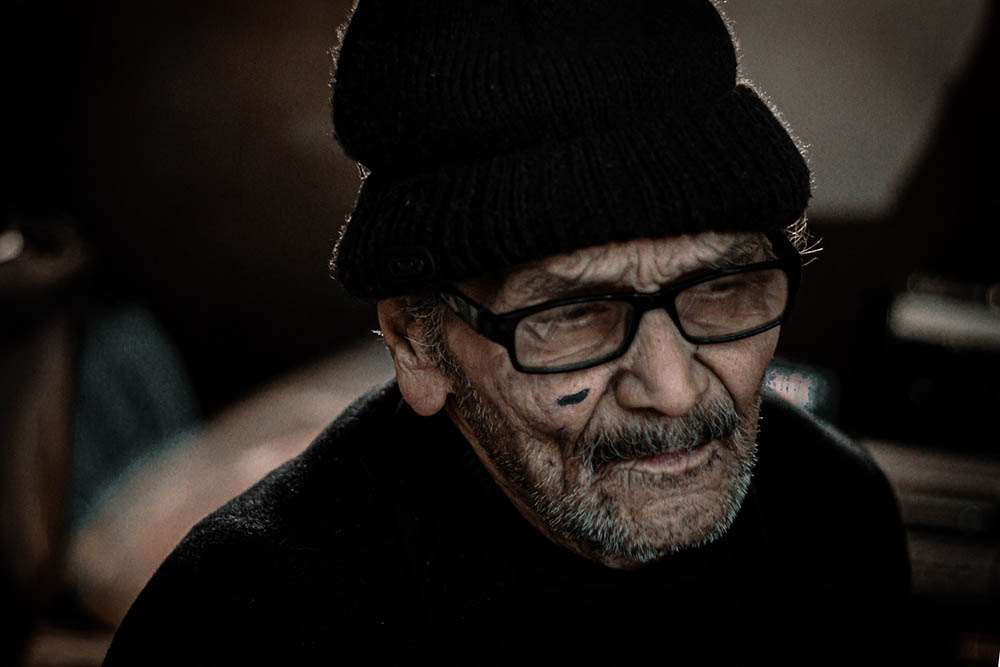
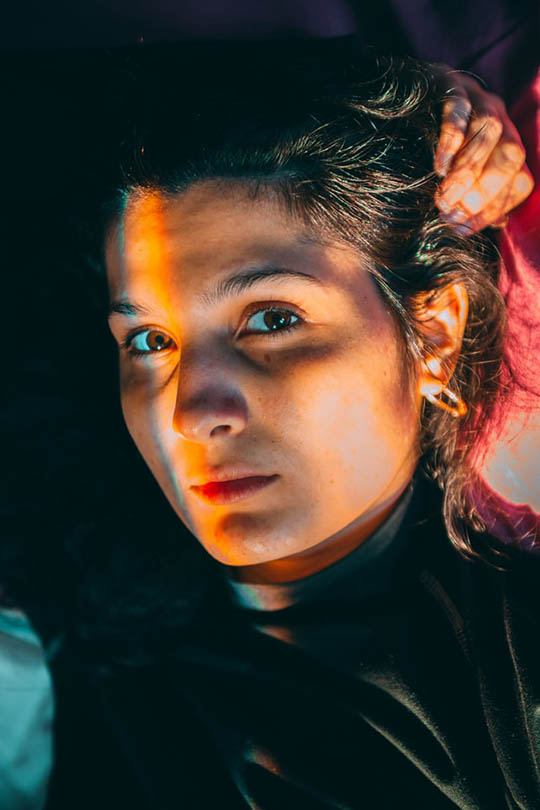
6. Chiaroscuro Photography

Chiaroscuro is the art of using strong contrasts of light and dark within your photograph. Capturing a portrait in this lighting will result in a dramatic image that’s both classical and emotional.
In chiaroscuro portraits, part of the face is emerging from obscure darkness. By using one strong source of lighting, you can create this highly impactful portrait. The advantage of chiaroscuro photography is that it can be done on a small budget. If you don’t like your setting, plunging it into darkness so that only your model’s face will be lit in the photograph, will obscure anything unsightly.
7. Fairytale Portrait
The fairytale aesthetic can be easily achieved, yet it makes for timeless, romantic photographs. Use props such as headdresses, tiaras, flowers, flowing dresses, and bold makeup to achieve this look.
Pick an outdoor setting for your photography session, preferably in the woods, with lots of tall trees and greenery. Experiment with your light source to create dust particle reflections and flares for an extra dreamy look. A shallow depth of field works best for the fairytale look.
8. Black & White

Try shooting in black and white for a change. If you’re looking to add instant drama to a portrait, you can try removing color. It will force you to think more about your lighting, and the results can be striking.
Black and white portraits work best with a shallow depth of field. Try creating a soft bokeh in the background, while keeping your model’s face crisp and clear. Create areas of light and dark contrast to make the photo pop.
9. Use Mirrors and Reflections

By shooting your model’s reflection through a mirror, you can create all kinds of interesting compositions.
You could simply photograph their reflection in a mirror, making it appear as though they’re in a framed portrait. Another option is for your model to hold a mirror, and depending on how it’s positioned, create many different outcomes.
Mirrors are also a great way to practice some self-portraits. For example, you could try laying a circular or oval mirror in medium to long grass and take a photo of yourself standing over it.
10. Experiment with Angles

It’s easy to fall into a pattern of taking portrait photographs at eye level, but that doesn’t mean it will always result in the best photos. Try some high-angle shots by standing on a ladder and pointing the camera down towards your model, or swap it around so you’re below, and they’re high up.
You could try twisting the camera, or even tilting it, to create different results. A fun angle to try out is to lie flat on the ground and keep your camera flush to the floor pointing in the direction of your model.
11. Use Windowpanes

Windowpanes can be used very creatively to take portrait photographs that tell a story. By taking a photo of your model standing on the other side of a windowpane, it conveys a feeling of them being an onlooker, trying to see in. The same can be achieved the other way, with the model positioned inside, looking out.
You can cover the windowpane in water droplets, use light reflections, and even fog up sections of the glass to manipulate the portrait into exactly what you want. A fun experiment would be to fog up the window and rub one section out to make a frame, or even write a message.
12. Rainbow Light Reflections

Rainbow light reflections against your model’s face can add an instant burst of color and creativity to your portraits. This technique is fairly easy to try, too. All you need is a prism and a light, which you then position strategically.
If you don’t have a prism, you can achieve the same results by shining a light source at an old CD.
The technique works especially well in low lighting, with the rainbow colors contrasting against the dark.
13. Turn It Upside Down
We’ve already established that having fun with angles is essential to portrait photography, but upside-down portraits deserve a place of their own. By turning your camera upside down, you create a world where the sky is below, the ground is up, and your model instantly looks as though they’re defying gravity.
This kind of portrait will immediately pull the viewers’ eyes towards it, as it takes their minds a moment longer to process what’s happening. It makes for a fun portrait that’s sure to work as a talking point.
14. Nighttime Photography

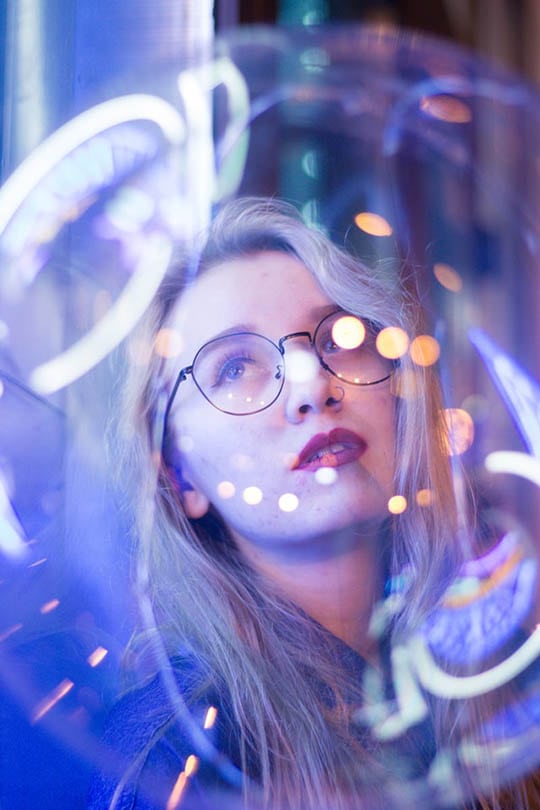
Portraits are easier to take in bright daylight, but that doesn’t mean you shouldn’t try nighttime portrait photography.
By taking your portraits at night, you can take advantage of low-key lighting from fairy lights, neon signs, streetlights, lanterns, and more. The resulting shots are often soft and dreamy.
Nighttime photography works especially well in urban settings. One thing to experiment with is a slow shutter speed. By decreasing your shutter speed, and asking your model to stay incredibly still, you can capture the movements of people and cars in the background.
15. Shallow Depth of Field

Experimenting with depth of field is crucial in portrait photography. By creating a shallow depth of field, the background of your portrait will become a soft blue, while your model will remain crisp in the foreground.
Try adding an object between the camera and your model. Then, adjust the depth of field so that only your model remains in focus. Both the object in the foreground and the background will blur slightly, resulting in a technical shot that looks great.
16. Milk Bath Photography

Try filling a bathtub or a small pool with milky water. The amount of milk you add will depend on the effect you wish to achieve. Once your milk bath is ready, add flower petals, flowers, and leaves. Your model’s face will emerge from the milk bath to create a striking portrait.
The natural diluted color of the milk mixed with flower petals and green leaves creates a beautiful backdrop for your partially submerged model, but you can also try adding food coloring for more impact.
17. Use Flowers and Props

One of the most fun aspects of portrait photography is the chance to dress your model with flowers and props. Use big, statement flowers that complement your model’s skin tone and makeup. Dress them up as fascinating characters. Give your model the opportunity to dress like a queen, a knight, a witch, or a wizard.
Portrait photography is about expression, so give your model the opportunity to express themselves in the best way they can through outfits and props.
18. Experiment with water
Because of its reflective qualities, and the way it moves, water is fascinating when used in photography
One of the best ways to use water in photographs is to capture its movement. Crank up your shutter speed and have your model make a splash. Combine this technique with low-key lighting to create some fantastic, visually appealing portraits.
Another way to use water is to have your model waist-deep in a still pool or lake. This way, you should be able to capture them, and their reflection at the same time.
19. Use Nature

A lot of portrait photography is done in a studio with controlled lighting and backdrops, but one of the most beautiful settings you can use for portrait photography is nature. Use different colored leaves and different textures to achieve the look you want.
Orange and red leaves in autumn make for perfect fall portraits, well green cornfields are perfect for the summer. Yellow fields and meadows work equally well. Another fun way to include nature and play with perspective is by creatively positioning your model near plants that are either miniature or very large with giant foliage.
20. Embrace Lens Flares

Many photographers try to avoid accidentally creating lens flares, which happen when light reflects off your camera’s lens. But lens flares can be used to add a dreamy, artistic effect to photographs.
Try creating a lens flare for your next photography session by positioning your model in a way that will allow you to point your camera directly towards the light source. Reflective surfaces such as water and glass will increase your chance of achieving lens flares.
21. Experiment with Poses
There’s no right or wrong way to pose for a portrait, and depending on your model, or models, their sizes, what they’re wearing, and how they feel most natural, the perfect pose will vary.
Sometimes, a portrait with the model looking directly into your lens is just right, but that’s not always the case, especially when you’re capturing a portrait with more than one person. In couple and family portraits, encourage your models to interact with one another.
22. Experiment with Composition
Composition is something that will come more naturally the more photographs you take. Your best shots will not always feature your model in the center of your frame. Use the rule of thirds in photography to position your model in the most visually appealing way.
Most modern digital cameras will have a grid overlay option that can be turned on. The digital grid can be used to practice the rule of thirds. Try positioning the focus point of your portrait in one of four intersections. In most photographs that utilize the rule of thirds, the point of focus will be positioned in the top left or top right intersection of the grid.
23. Top View
When taking a top view portrait of your model, they lie flat on the ground so you can arrange their hair, clothes, and props exactly how you wish before hitting the shutter. The result will give the illusion of the viewer floating directly above them.
Top view portraits can be used in various ways to create optical illusions too. For example, by laying a child vertically with their arms held up, and their parents horizontally against the child’s hands, it will give the illusion of the child holding up their parents.
24. Capture movement
Movement in photography immediately draws the eyes, and there are various ways to use it. By slowing down your shutter speed, movement will be captured in a blur that can be traced. Meanwhile, by using a high shutter speed, you can capture a frozen moment.
Flowing materials, long hair, water, and powder all convey movement in photographs perfectly. Try increasing your shutter speed and photographing your model running, her hair and dress dancing behind her, or a dancer kicking up a thin film of water as they flow through their movements.

Conclusion
That concludes our list of 24 portrait ideas to get you inspired. From lighting and angles to composition and movement, there are countless ways to create the perfect portrait. As with all photography, practice, experimenting, and determination are crucial.
When you’re planning your next portrait photo shoot, think about the story you want to tell with your pictures, and look out for natural frames and perfect backdrops!
Featured Image Credit: Khashayar Kouchpeydeh, Unsplash
Table of Contents
- The 24 Portrait Photography Ideas to Get You Inspired
- 1. Create a Frame
- 2. Play with Dappled Shade
- 3. Use Bubbles to Add Magic
- 4. Try Silhouette Photography
- 5. Have Fun with Glitter
- 6. Chiaroscuro Photography
- 7. Fairytale Portrait
- 8. Black & White
- 9. Use Mirrors and Reflections
- 10. Experiment with Angles
- 11. Use Windowpanes
- 12. Rainbow Light Reflections
- 13. Turn It Upside Down
- 14. Nighttime Photography
- 15. Shallow Depth of Field
- 16. Milk Bath Photography
- 17. Use Flowers and Props
- 18. Experiment with water
- 19. Use Nature
- 20. Embrace Lens Flares
- 21. Experiment with Poses
- 22. Experiment with Composition
- 23. Top View
- 24. Capture movement
- Conclusion
About the Author Cheryl Regan
Cheryl is a freelance content and copywriter from the United Kingdom. Her interests include hiking and amateur astronomy but focuses her writing on gardening and photography. If she isn't writing she can be found curled up with a coffee and her pet cat.
Related Articles:
How to Clean a Refractor Telescope: Step-by-Step Guide
How to Clean a Telescope Eyepiece: Step-by-Step Guide
How to Clean a Rifle Scope: 8 Expert Tips
Monocular vs Telescope: Differences Explained (With Pictures)
What Is a Monocular Used For? 8 Common Functions
How to Clean a Telescope Mirror: 8 Expert Tips
Brightfield vs Phase Contrast Microscopy: The Differences Explained
SkyCamHD Drone Review: Pros, Cons, FAQ, & Verdict
