
Optics Mag is reader-supported. When you buy via links on our site, we may earn an affiliate commission at no cost to you. Read more.
What Aperture Do I Use for Portrait Photography? What Is Aperture?
Last Updated on

If you’re a photographer on a quest for the perfect portrait, then using the correct aperture setting on your camera is vital. Luckily, there are clear tried and tested aperture ranges at which portraits work best. Below you will find a quick guide to help you decide which f-stops you should use depending on your subject. We’ll then dive deeper into the hows and whys of aperture and depth of field in portrait photography.

Ideal Aperture Range for Portraits
- For individual portraits: f/2 to f/2.8
- For couples, especially wedding and engagement portraits: f/2 to f/3.2
- Small group portrait: f/4
- Group portrait: f/5.6
- Large group portrait: f/8
These numbers may seem specific, but the truth is, depending on the look you’re going for in your photograph, you may opt to adjust the aperture differently. Keep reading to find out exactly what aperture is, the effects of adjusting the aperture settings on your portrait photography, and how you can achieve different results.

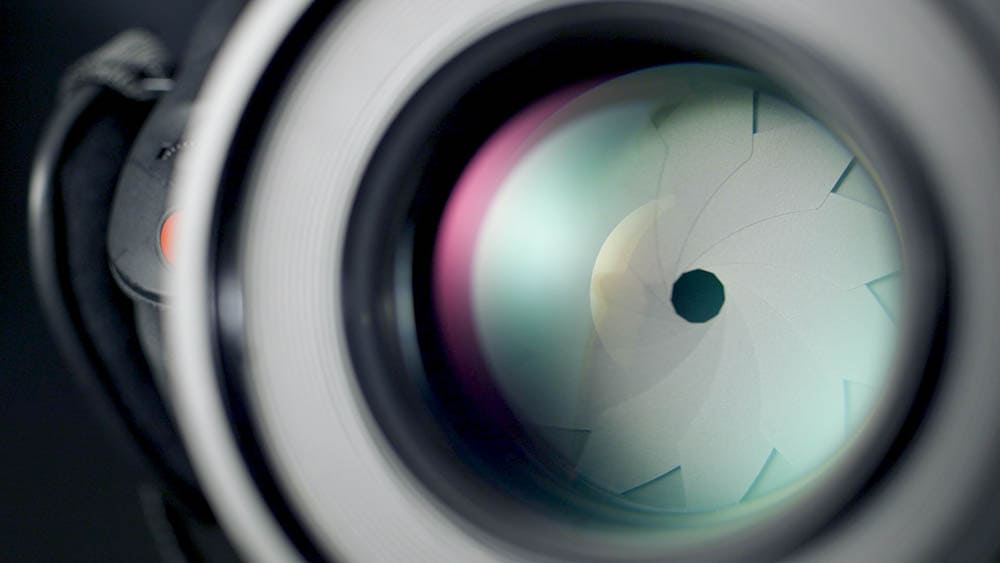
What Is Aperture?
The aperture is the opening on your camera that controls how much or little light enters through the lens. By adjusting the f-stops on your camera, you can open, or close the aperture to achieve different results.
Aperture is measured in f-stops. The lower the f-stop, the wider the aperture, and as the f-stop number increases, the aperture closes to decrease the size of the hole and block out unwanted light.
Why Is Aperture Important?
When you use a low f-stop to open the aperture, or “stop up”, the additional light entering through the lens helps to create a shallow depth of field. This is useful, particularly in portrait photography, when you want to focus on the subject or subjects and create a dreamy bokeh (gentle blur) in the background.
If you are taking a group portrait, then you’ll want everyone to remain in focus. For this, you’ll need to use a higher f-stop.
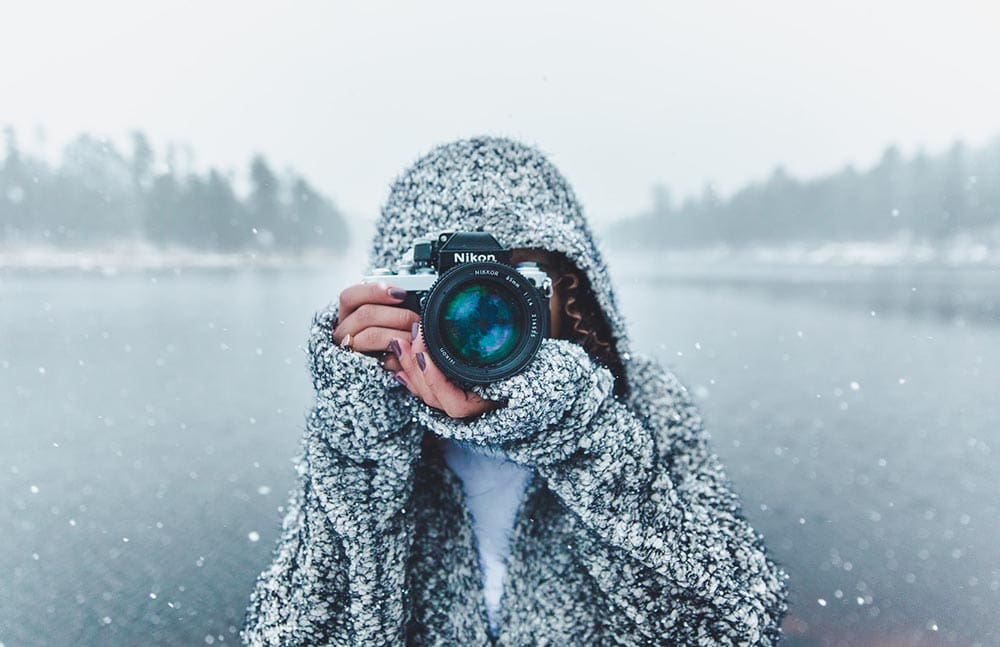
Individual Portraits
For solo portraits, a good guide is to adjust the aperture somewhere between f/2 to f/2.8. At this range, you should be able to get an excellent subject and background separation, making the subject seem as though they pop out to the front of the photograph.
This technique works exceptionally well when focusing on the subject’s eyes, so the viewer’s attention will automatically be drawn to them.
It is perfectly possible to decrease the f-stop even further for extreme close-ups, but if the subject is not facing the camera directly, some of their features may begin to blur.
Sometimes, the background of a portrait gives context which would be a shame to blur. For example, a news reporter amidst a busy studio. In this case, you’ll want to stop down to f/4 so the background remains in focus.
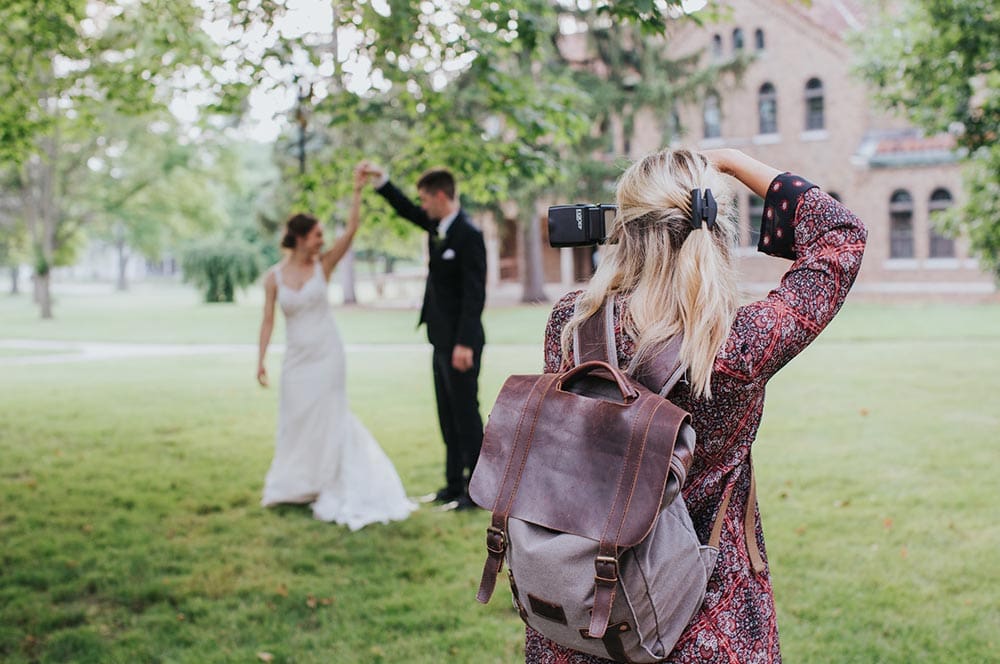
Couples Portraits
You’ve probably come across wedding and engagement photographs where the special couple is in crisp focus against a background that melts into a dreamy blur. This is the effect of shallow depth of field in photography, using a wide aperture. You should be able to achieve the same results if you adjust the aperture on your camera to an f/2 to f/3.2 range.
At this wide aperture range, depending on where the people are in relation to the area of focus, particularly if one subject is located further away from the camera, there are times when some of one person’s features will be a little blurred.
If you want both people to remain in focus, simply increase the f-stop number. However, there are times when you might choose to have one person’s features a little blurred to create a romantic feel, so it’s always good to experiment.
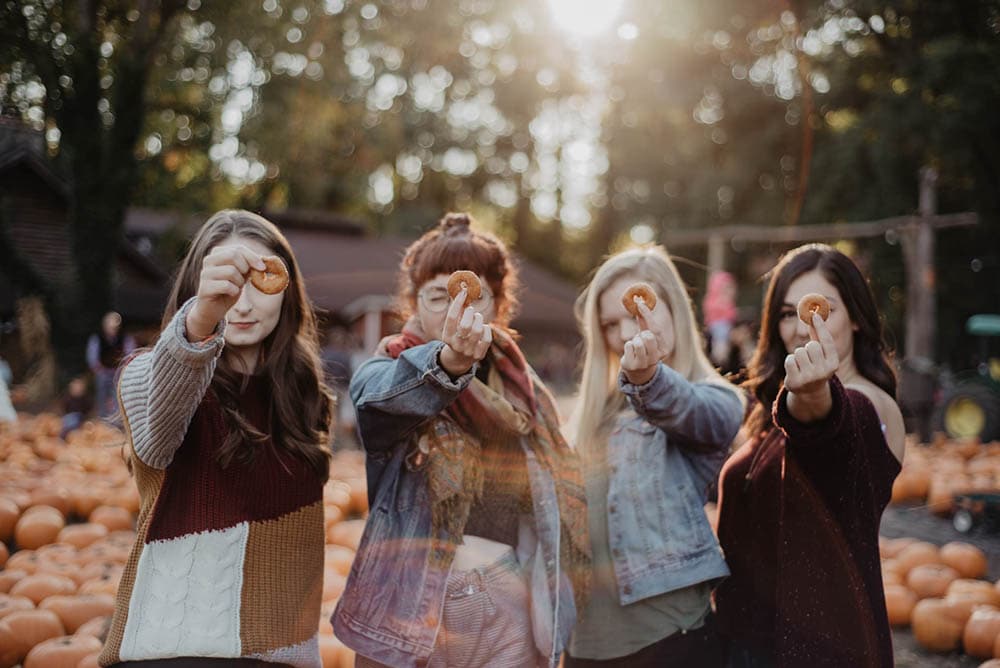
Small Group Portraits
The principle of blurring the background a little to make the subjects pop out to the front of the photograph applies to group portraits as well. With several subjects in one portrait, you will want to avoid distracting the viewer’s eyes with a detailed background.
However, it can be challenging to take a photograph of a large group with a very wide aperture with everyone remaining in focus. For a portrait of 3 to 5 people, you should be able to get a clear picture by adjusting your aperture to f/4.
For everyone to remain in focus, the group will need to stand at the same distance from the camera, that is, in a straight line adjacent to the photographer.
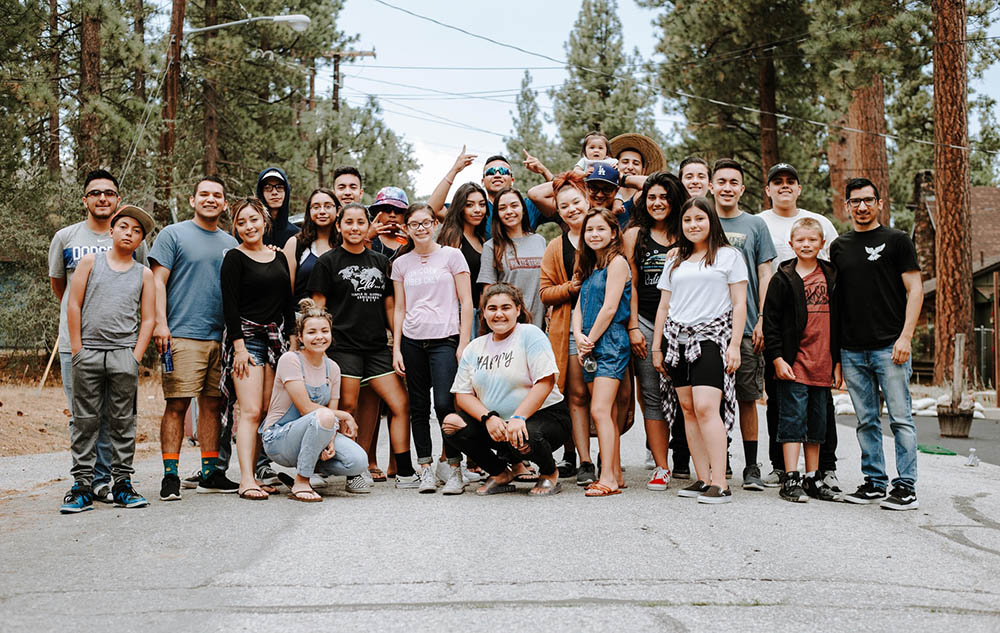
Large Group Portraits
With large group portraits where people are arranged in rows, starting with the tallest at the back, you’ll probably want everyone to remain in crisp focus. It is best to increase the f-stop setting to something between f/5.6 and f/8.
When would I use an f/1.4 aperture?
Opening your aperture to f/1.4 allows even more light through your camera’s lens to create a very shallow depth of field. This f-stop can be used to take striking, crisp solo portraits, with a creamy bokeh in the background, but it can be difficult to keep all the subject’s features in focus.
This f-stop is often used when focusing on a particular area of the face, for example when focusing on make-up on the eyes or lips, or a piece of jewelry. But this isn’t the only time a wide aperture is useful.
For indoor photography where the lighting is limited, a wider aperture can be used to make sure the photograph is not underexposed. However, if you do this, remember to increase the shutter speed on your camera, especially if your subject is fidgety.
Conclusion
The best aperture for portrait photography is usually between f/2 to f/4 for most scenarios. However, there will be times when you’ll want a wider aperture to create a shallower depth of field and more blur, and other times when you’ll need to accommodate a large group of people, and therefore need to close the aperture to create a wide depth of field.
Understanding the theory of how aperture affects depth of field is useful, but it’s even better when put into practice. Experimenting with aperture settings can be a great way to create fresh, artistic looks, and it can help to develop an instinct for knowing what setting works best for each scenario.
See also:
Featured Image Credit: Wan San Yip, Unsplash
About the Author Cheryl Regan
Cheryl is a freelance content and copywriter from the United Kingdom. Her interests include hiking and amateur astronomy but focuses her writing on gardening and photography. If she isn't writing she can be found curled up with a coffee and her pet cat.
Related Articles:
Binocular Magnification Chart: Numbers & Distances Compared
What Is the Best Binocular Magnification for Hunting? Optical Features Explained
When Were Binoculars Invented? History, Today & Future
Can You Use Binoculars to Look At Stars? How to Choose the Right Pair
How to Clean a Refractor Telescope: Step-by-Step Guide
How to Clean a Telescope Eyepiece: Step-by-Step Guide
How to Clean a Rifle Scope: 8 Expert Tips
Monocular vs Telescope: Differences Explained (With Pictures)