Optics Mag is reader-supported. When you buy via links on our site, we may earn an affiliate commission at no cost to you. Read more.
How to Do Long Exposure Photography (10 Simple Steps)
Last Updated on
Long exposure photography is a technique that uses long exposure caused by slow shutter speeds. Because of these slow shutter speeds, you can blur anything moving in the picture to create a unique-looking scene. Some of the most unique photographs of our time have been long exposure.
Because long exposure photography can cause the exposure to last for seconds, minutes, or even hours, it requires different techniques, skills, and settings than regular shots. If it is your first time attempting long exposure photography, it’s imperative to have the top tips and tricks from the get-go.
In this article, you will learn 10 steps for perfecting long-exposure photography. You will also learn when it’s best to use long exposure photography and what you will need to master the shot. Let’s get started.
Before You Start
When Should You Use Long Exposure Photography?
Photo Credit: Kim Becker, Unsplash
Generally speaking, long exposure photography looks best whenever the light is limited and clouds hang in the sky. This is the easiest time to get your perfect shot. That is not to say that you cannot take long exposure photos in the daylight. You’ll just need an extra filter, or else the photo will turn out too bright.
For this reason, we recommend beginners start whenever the light is limited. Once you become more skilled at long exposure photography, you can then begin trying to photograph with long exposures in the broad daylight.
What You’ll Need for Long Exposure Photography
Long exposure photography does not require a lot of equipment, but it does require a few key tools. Obviously, you will need a camera. Most people recommend a DSLR or mirrorless camera, but some of the best modern smartphones can even take long exposure photography shots.
In addition to the camera, you absolutely need a tripod. Without a tripod, you will not be able to keep your hands steady over the duration of the exposure. Even if you have a great camera with powerful in-body image stabilization, the photograph will turn out blurry without a tripod.
Because of how useful tripods are for many photographing situations, we recommend getting a high-quality tripod if you don’t have one already. A high-quality tripod will cost more upfront, but it will be worth the investment in the long haul.
There are a few other things you might need, depending on when you take the photograph. You might need filters, such as when you’re shooting during the day. You may also need a filter holder, remote shutter release, or wind barrier. These last few accessories are all optional, but they can certainly help in the right scenario.
How to Do Long Exposure Photography in 10 Simple Steps
Once you have everything you need for the shot, it’s time to go out and begin practicing. Here are the steps you need to take for long exposure photography:
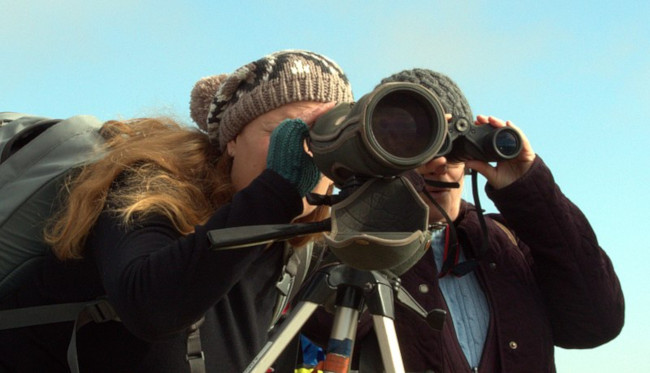
1. Visit the Location in Advance
Photo Credit: Thom Holmes, Unsplash
Before you decide to start taking the pictures, visit the location you intend to shoot. Visiting the location can give you an idea of what it will look like. It also gives you the best opportunity to find killer angles for the shot. While you’re visiting the location, try to determine what moving items you will find during the shoot.
2. Study the Weather for That Day
Long-exposure photography looks best in low light and cloudy situations. So, study the weather for that day so you can get the best picture. You can even use photo planning apps to help determine where the sun will be in your final shot to make sure you get the best photo.
3. Set Up Your Gear
Image Credit: Ben Griffiths, Unsplash
Now that all the research is over, it’s time to set up your gear. Position your tripod exactly where you want the camera to go. Add any other accessories that you need for the shot.
4. Compose the Photo and Lock It
With the camera in place, refine composition and set the focus. Make sure that the photograph is sharp. Focus on the hyperfocal distance, which is about a third of the way into the shot. Focus the camera and lock it so that it stays in place.
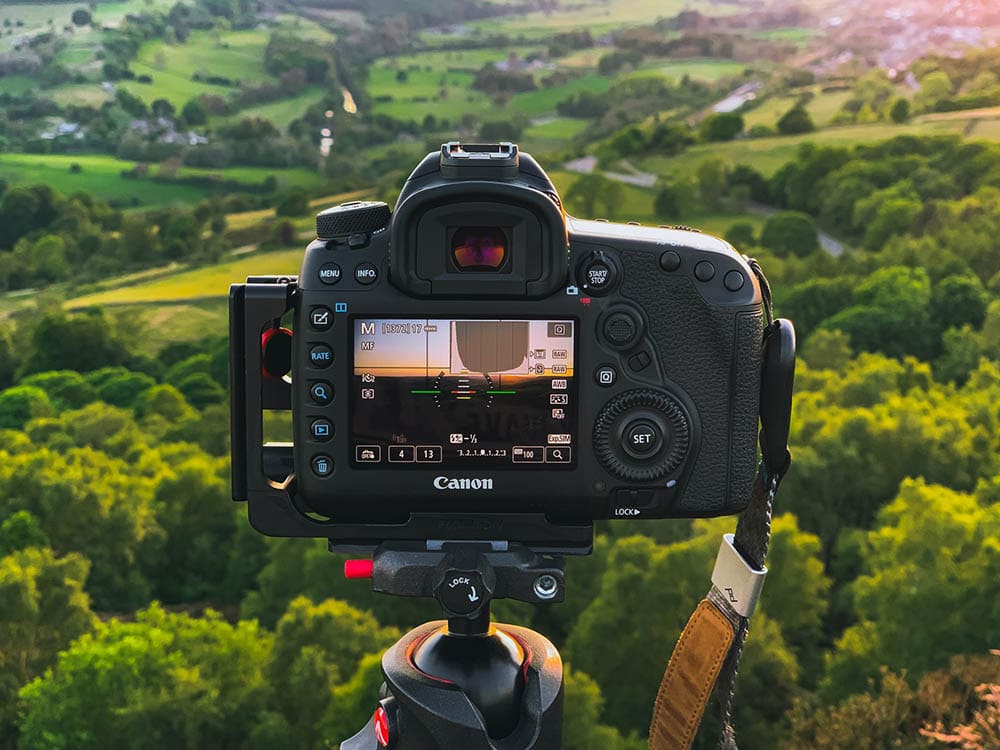
5. Set Exposure
Image Credit: wilsan u, Unsplash
Now is the fun part. You will need to set your camera to a manual or aperture priority mode. Set the ISO to your camera’s lowest value. After that, set the aperture so that it matches your speed, and pick the shutter speed based on what your camera recommends. Take a test shot and adjust the exposure as needed.
6. Add Filter
Depending on when you take your photograph, you will need to add a filter. If it is nearly dark, you can get away without a filter, but a neutral density filter will help if there is lighting.
7. Switch to Bulb Mode
Image Credit: Alexandru Goman, Unsplash
If your camera has a bulb mode, we recommend using it. At night, you obviously can’t make this change. If your filter isn’t very dark, you won’t need a bulb light anyways. Otherwise, we recommend using your bulb mode.
8. Calculate Shutter Speed and Shoot
Now, it’s time to calculate your shutter speed. Remember in step five how you took a test shot based on your camera’s recommendation? You will use the result of this shot to calculate your shutter speed. Check your histogram to see if you get the right exposure. Continue taking test shots until you get the right exposure compensation.
If you don’t use a filter, use the exposure found in the test shot. If you are using a filter, you will have to adjust the shutter speed. You will want to adjust this shutter speed based on the number of stops that are introduced by the filter. For example, let’s say you’re using a 10-stop filter. For the best results, you’ll need to decrease the shutter speed of your camera by 10 stops.
Once you have set the shutter speed, take the picture as normal.
9. Check Histogram
Image Credit: Natural History Collection, Alamy
Even after you have gone through all the calculations, the shoot may not be perfect yet. Check the new histogram to ensure that the photograph is perfect. You may need to take the shot again and adjust the shutter speed accordingly. If not, you’ve got your photograph.
10. Edit
The last thing you need to do is edit the photographs as normal. That way, you get the perfect image of your long exposure shot.
Final Thoughts
Long exposure photography is not as difficult as some make it out to be. It doesn’t require many tools, but it does require some mathematics and effort. Once you learn the basics, you will be able to master long exposure photography in no time.
One last thing to remember is that you will likely need to take long exposure photographs repeatedly until you get the perfect shot. That does not mean you are a bad photographer or that you do not understand long exposure photography. It only means that you are perfecting the image to get the perfect shot. Even pros have to take multiple pictures!
Robert’s obsession with all things optical started early in life, when his optician father would bring home prototypes for Robert to play with. Nowadays, Robert is dedicated to helping others find the right optics for their needs. His hobbies include astronomy, astrophysics, and model building. Originally from Newark, NJ, he resides in Santa Fe, New Mexico, where the nighttime skies are filled with glittering stars.