
Optics Mag is reader-supported. When you buy via links on our site, we may earn an affiliate commission at no cost to you. Read more.
How to Do Multiple Exposure Photography — 8 Tips & Tricks
Last Updated on

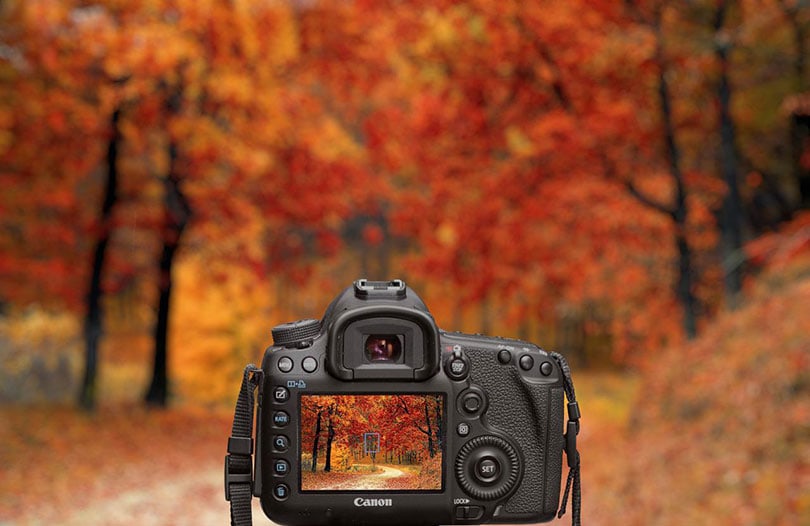
Multiple exposure photography is a technique that has been used by film photographers for many years and, more recently, by digital photographers. It involves taking two or more images and combining them into a single image.
You can do it in-camera or by editing multiple images together in post-processing. Either way, the result is a unique image that can create an exciting effect or tell a story in a way that a single image couldn’t. Here are some tips and tricks for doing multiple exposure photography.

Creating a Multiple Exposure Image
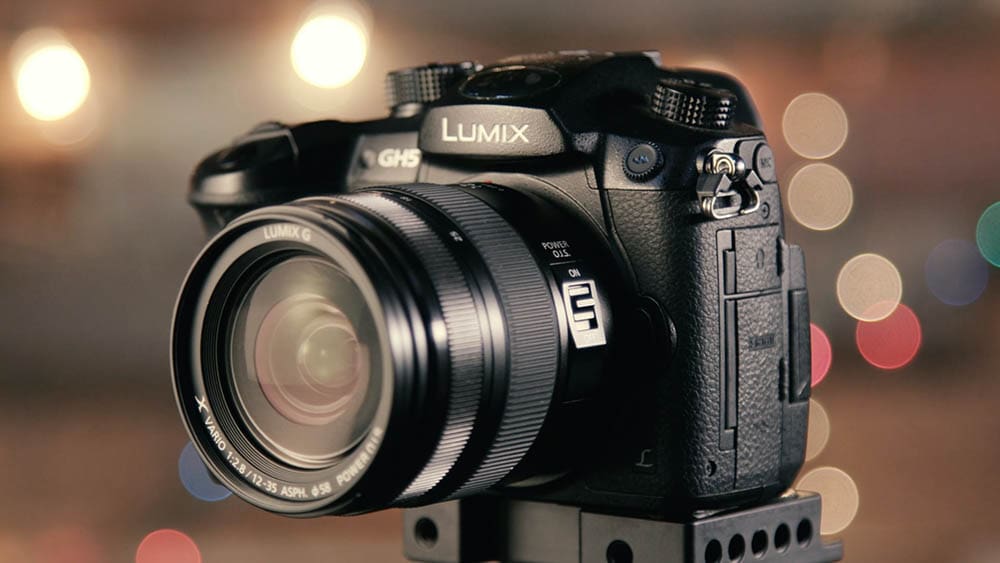
When taking multiple-exposure photographs, you are essentially layering one image on top of another. The easiest way to do this is to use a camera that has a multiple exposure mode.
It will allow you to take two or more images and combine them into a single file without having to edit anything in post-processing. Many DSLR and mirrorless cameras have this feature, as do some compact cameras.
If your camera doesn’t have a multiple exposure mode, you can still take multiple exposure images by taking separate photos and editing them together. Although this gives you a lot more flexibility and control over the final image, it requires more work.

How to Do Multiple Exposure Photography – 8 Tips & Tricks
Multiple-exposure photographs are an excellent way to create unique and interesting images. By combining two or more separate images into a single frame, you can create an image with greater depth and dimension than a single image. Here are some tips for creating stunning multiple-exposure photographs:
1. Use a Tripod
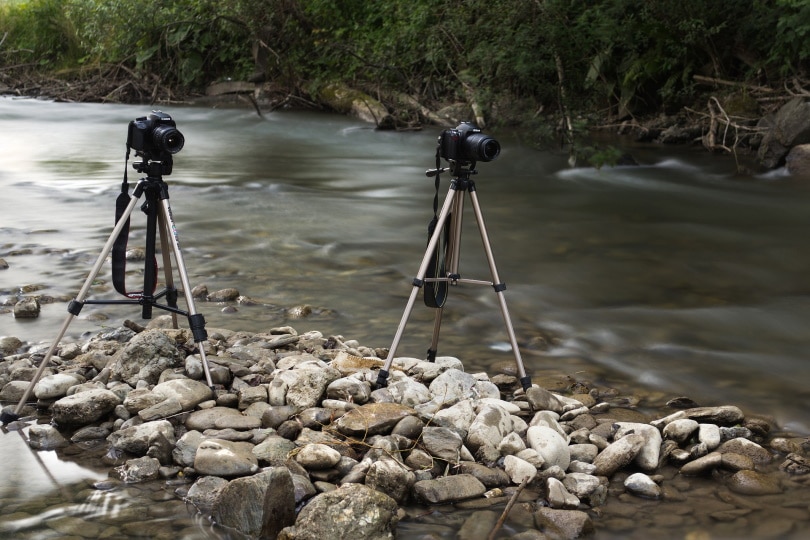
If you are going to take multiple exposure photographs, it is a good idea to use a tripod. It will help keep the images aligned when you combine them in post-processing.
For instance, suppose you want to take a picture of the inside of a church. You may want to use a tripod to take a series of images at different exposures and then combine them later to get a well-exposed image.
A tripod provides stability and prevents camera shake, which can blur your photos. If you do not have a tripod, you can try steadying your camera on a flat surface or resting it against a wall.
2. Try the Tilt-Shift Effect
If you have a tilt-shift lens, you can use it to create some fantastic photographs with a shallow depth of field. First, find a subject that has a lot of fine details. Something like a cityscape or a landscape with many trees would be ideal.
Set your camera up on a tripod and compose your shot. Then, set your aperture to a very low number, like f/16 or f/22. It will ensure that your depth of field is as shallow as possible.
Now, focus on a specific point in your scene. Once you have the focus locked in, slowly tilt the lens until the top and bottom of your frame are in focus.
As a result, you get a photograph with a very shallow depth of field and some fantastic blur. If you want to get creative, you can even try moving the camera while tilting the lens. Doing this will create an effect known as panning, which can add even more blur to your photos and give them a multiple exposure touch.
3. Create a Diptych
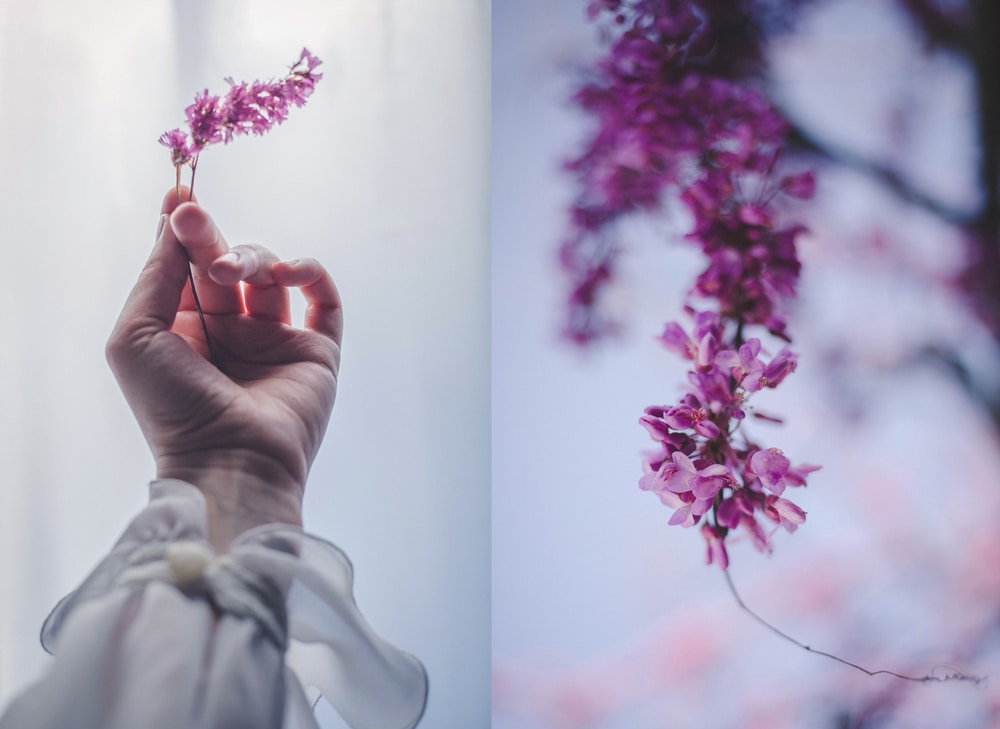
A diptych is a photo collage with two images side-by-side. It’s a great way to tell a story or show off a before-and-after sequence. You can create multiple exposure diptychs to get extra marks for creativity.
To create a diptych, choose the two multiple exposure photos you want to use. Then, make sure they’re similar in composition so that they blend well together.
Use any collage maker or photo editor to put the two photos side by side. You can add a border or other design elements to make the diptych more interesting.
4. Use a Shutter Release Cable
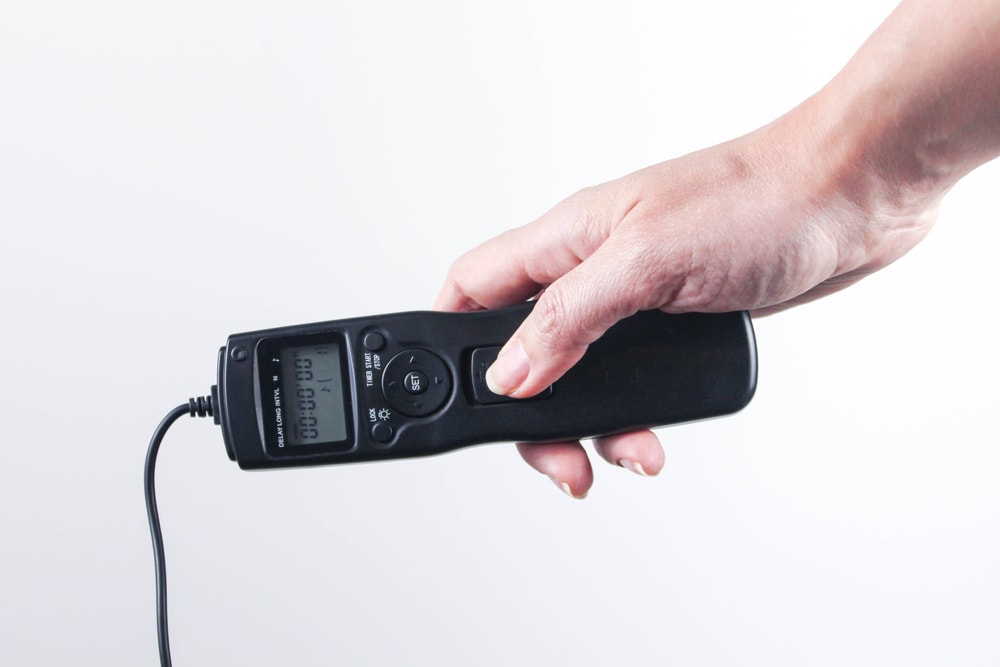
A shutter release cable helps you take pictures easily by allowing you to press the shutter button without having to touch the camera. It is beneficial when taking long-exposure photographs, as any vibrations caused by your finger pressing the shutter button can blur the image.
Additionally, a shutter release cable can be helpful for taking group photos or self-portraits, as you can set up the camera and then step away to be in the image.
To use a shutter release cable, connect it to the shutter release port on your camera. Once it is plugged in, you can press the shutter button on the cable to take a picture. Some cables also have a timer function, which can help take multiple exposure photos.
5. Lower the Exposure to the Subject
When you’re taking a multiple exposure shot, you’ll want to lower the exposure on your subject. Doing this will ensure that the subject does not get overexposed and blown out. You can lower the ISO setting or use a faster shutter speed to accomplish this.
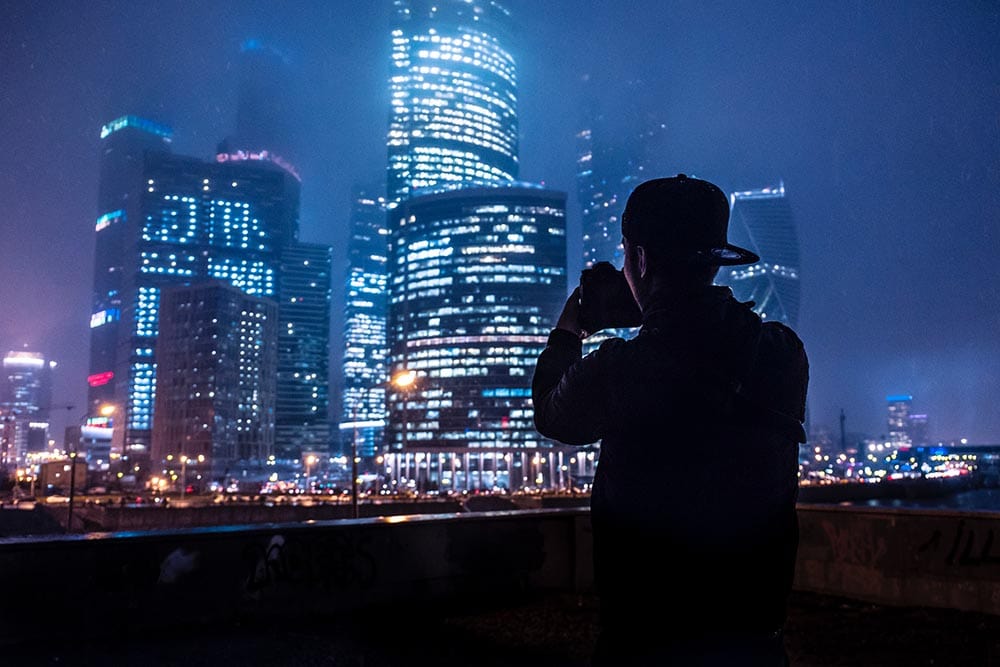
6. Use Silhouettes

When taking multiple exposure photographs, many photographers use “silhouetting.” It is where the subject is backlit by the sun or another light source and appears as a dark shape against a bright background.
It can be an effective way to add drama to a photo and can also be used to create interesting compositions. For example, if you photograph a person in front of a sunset, you can use silhouetting to make the person stand out from the background.
To create a silhouette, you will need to underexpose the background while exposing the subject properly. You can do this by using a low f-stop number (f/2.8 or f/4) and a fast shutter speed (1/250 or 1/500).
If you are using a DSLR camera, you can also use exposure compensation to underexpose the background. One of the most exciting things about silhouettes is that they can be created with any subject matter.
For example, you could create a silhouette of a person, animal, building, or even a landscape. It is up to you to get creative and experiment with different subjects.
7. Choose a Theme
One of the best ways to create a stunning multiple-exposure photo is to find a location or theme that you are passionate about and shoot multiple frames while varying your composition and focus. By doing this, you can layer images on top of each other to create a cohesive yet visually aesthetic final product.
The theme you choose depends on personal preferences. You can also create a photo series if you prefer a specific type of photography.
For instance, if you’re interested in architecture, try photographing different buildings close to each other and overlapping the shots. Find a beautiful landscape and experiment with different foregrounds and backgrounds if you love nature. The possibilities are endless.
8. Choose Backgrounds With a Lot of Texture and Color
A background rich in color and texture can make your multiple exposure photograph more visually appealing. It can also help create a more cohesive image if your exposures are dissimilar.
For example, imagine taking an exposure of a brightly lit cityscape and another exposure of a dense forest. These are two very different settings.
By finding a brightly colored and textured background, you can help to blend these two images more efficiently. A location with a lot of contrast can also help to make your multiple exposures stand out.
Closing Thoughts
Multiple exposure photography is a great way to get creative with your photos. It can help you create unique images unlike anything else.
If you’re interested in trying this technique, practice first with a few test shots. Once you get the hang of it, you’ll be able to produce some genuinely stunning multiple exposure photographs.
Choose a well-lit background, underexpose your subject, use a tripod, and experiment with different themes to create various multiple exposure shots. You’ll be amazed at the possibilities once you start experimenting.
See also:
- What Aperture Do I Use for Portrait Photography?
- How to Do Long Exposure Photography in 10 Simple Steps
Featured Image Credit: ShareGrid, Unsplash
About the Author Jeff Weishaupt
Jeff is a tech professional by day, writer, and amateur photographer by night. He's had the privilege of leading software teams for startups to the Fortune 100 over the past two decades. He currently works in the data privacy space. Jeff's amateur photography interests started in 2008 when he got his first DSLR camera, the Canon Rebel. Since then, he's taken tens of thousands of photos. His favorite handheld camera these days is his Google Pixel 6 XL. He loves taking photos of nature and his kids. In 2016, he bought his first drone, the Mavic Pro. Taking photos from the air is an amazing perspective, and he loves to take his drone while traveling.
Related Articles:
How to Collimate Binoculars: 9 Expert Tips
How to Clean a Rifle Scope: 8 Expert Tips
How to Choose Binoculars for Bird Watching: 10 Expert Tips
How to Clean a Refractor Telescope: Step-by-Step Guide
How to Clean a Telescope Eyepiece: Step-by-Step Guide
Monocular vs Telescope: Differences Explained (With Pictures)
What Is a Monocular Used For? 8 Common Functions
How to Clean a Telescope Mirror: 8 Expert Tips