
Optics Mag is reader-supported. When you buy via links on our site, we may earn an affiliate commission at no cost to you. Read more.
15 Night Photography Ideas to Get You Inspired
Last Updated on

If you are a beginner photographer, you know there are quite a few things to learn before you can take pictures like a professional. You have to take many pictures, but it can be difficult to find good subjects, especially if you want to work at night. If you need help getting ideas, you’ve come to the right place. Here is a list of several night-photography ideas to get you inspired, along with tips on taking better photographs.

The Top 15 Night Photography Ideas to Get You Inspired
1. The City at Night
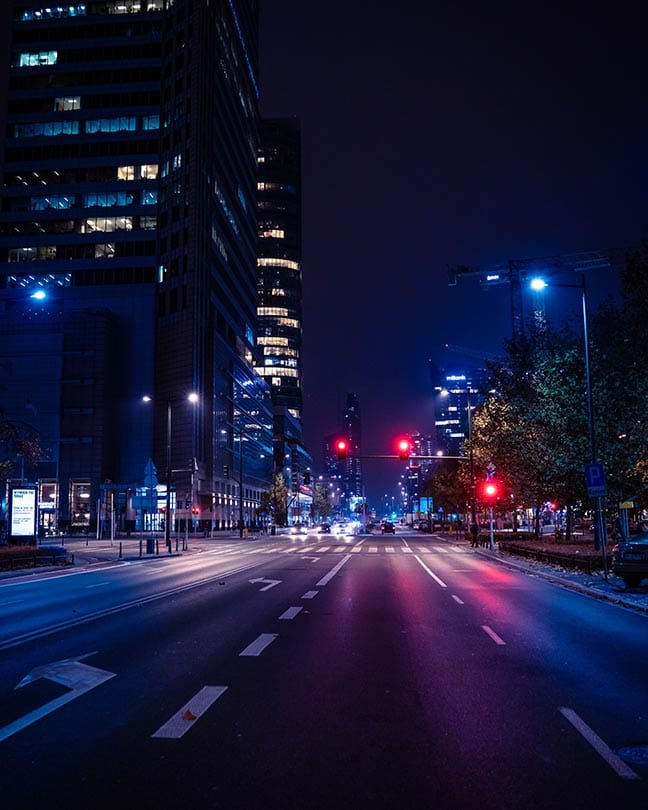
Photos of a city are great practice, especially if you are learning about long exposure. There is plenty of contrast between the bright city lights and the night sky, and the lights remain stable, enabling you to get a clear shot. The difficult part about taking pictures of the city at night is finding a good location, as many cities are quite large and hard to navigate. It’s usually a good idea to visit the area beforehand and plan your adventure. Use a camera with a wide aperture lens, high ISO capability, and a large sensor for the best images.
2. Light Trails
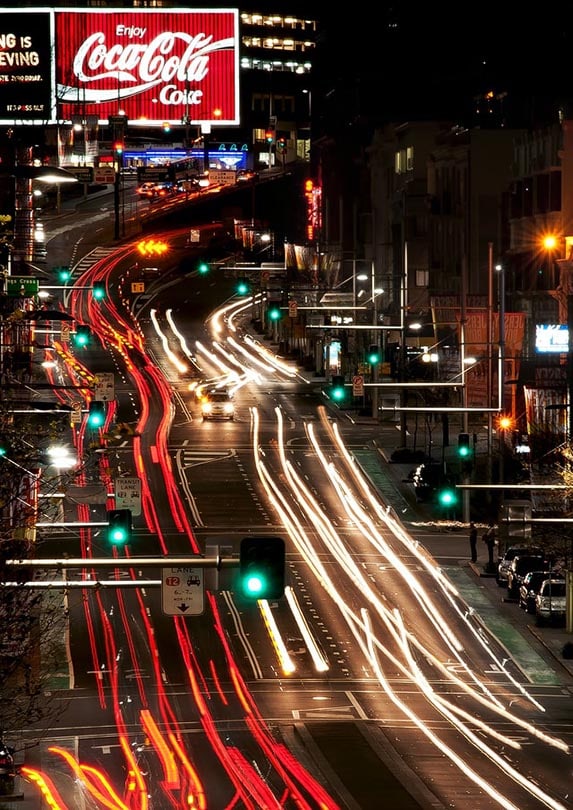
Light trails are a creative way to take an interesting photograph with a long exposure. However, unlike city pictures that take long exposures of still lights, this method captures moving objects so the lights streak across the image. Setting your camera for a slow shutter speed of about 1/30th of a second will help you create the long exposures that you need for light-trail photographs.
3. The Night Sky
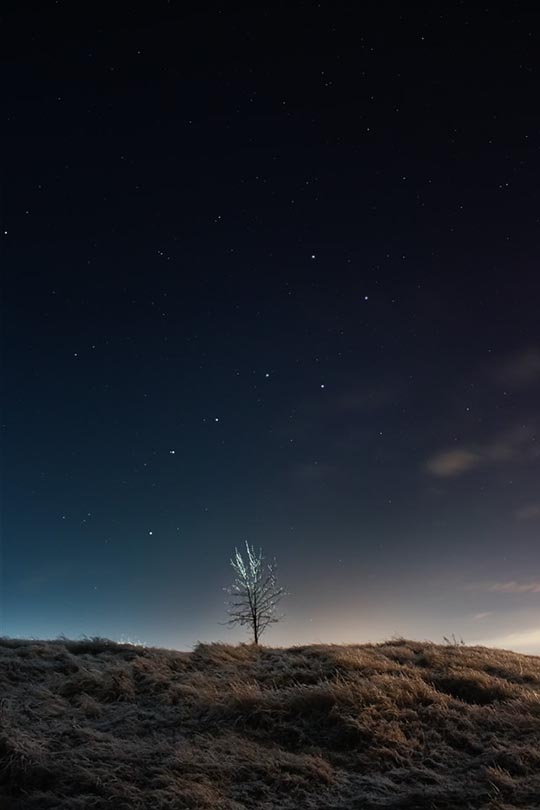
Taking a picture of the night sky can be quite difficult, and a successful photograph usually combines luck and skill. One of the most difficult parts of taking a good picture of the night sky is finding a suitable location, as city lights mask the stars in many areas of the United States. A good DSLR camera with a wide lens and a tripod to keep the camera extremely still will help you get the photograph that you are after.
4. The Carnival

Photographing a carnival is a fun project because there’s plenty to do when you’re not taking a picture. Many people are having fun, which always makes for a better image, and you can combine the static lights of a city shot with the streaks of light trails because the lights on the stands and walkways are stationary while the rides move around. These pictures also tend to be much more colorful than many city images. Use a slow shutter speed and a wide aperture lens to get good photos.
5. Fourth of July Fireworks

Fireworks make for difficult but rewarding night pictures. Fireworks are extremely colorful, but it can be hard to time them correctly, and setting your shutter speed properly can take a little practice. Most people find success choosing something between 1/15 and 1/20 of a second. Holding a sparkler while taking these pictures can also help you get better results by adding more light and sparks.
6. Silhouettes
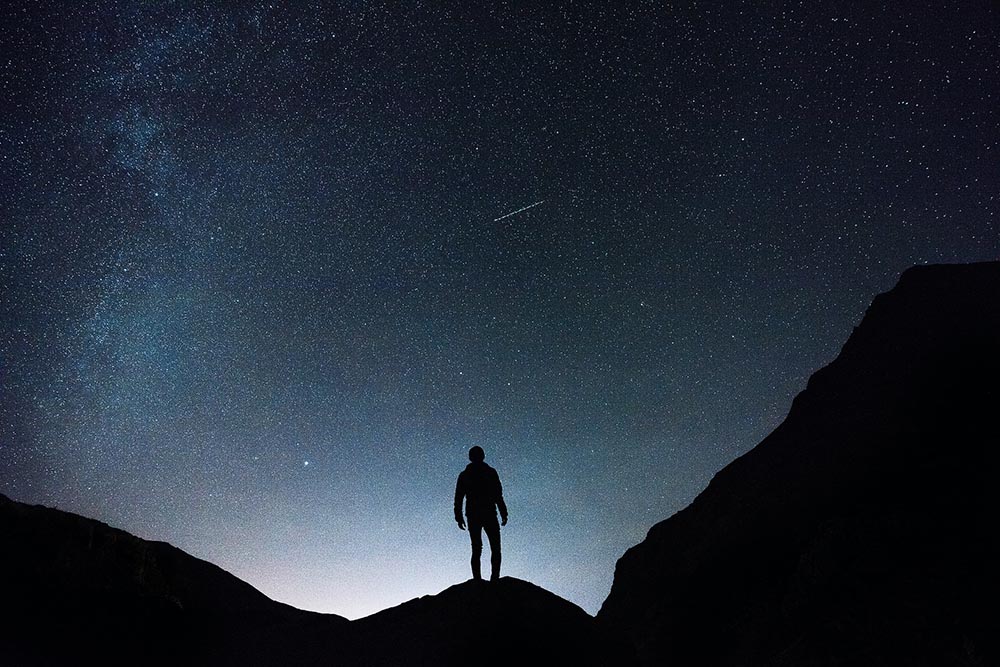
Taking a night silhouette is fun and not that difficult. Take a friend with you, and have them stand in front of various light sources, like the moon or a traffic light, to help you create the silhouette. You can use manual focus to have more control over the final image.
7. Fire

Fire is a fun thing to photograph at night because it presents the artist with many opportunities. You can try to photograph the fire itself, which is difficult because it moves so quickly that many pictures turn out blurry. However, up-close photos of burning wood look amazing, and the red-yellow light of the fire perfectly enhances the human face. You will likely find that pictures of your friends around a fire are your favorites, and you can also photograph other objects around the fire, like food or roasting marshmallows.
8. Reflections

Reflections can present you with many options. Pictures of buildings or people reflecting in puddles can look great, as can different colored lights reflecting off the wet ground. Fountains can light the water to create amazing reflections across the pool or lake. Have even more fun by creating ripples in the water to create abstract reflections.
9. Aerial Photos

Aerial photographs are always amazing, whether you use long exposure or not. Many people use drones to get the best shots, but you can also take pictures from airplanes, helicopters, or even rooftops.
10. The Moon

The moon is one of the easier nighttime objects to photograph because it’s quite bright. However, many people find the resulting images to be much smaller than what they see with the naked eye. The difference between the two images is due to an optical illusion that our minds play on us when we look at the moon that the camera does not see. Long exposure works well with moon photographs, and you can also buy modern telescopes and binoculars to help you get closer to taking digital pictures with more detail.
11. Long-Exposure Stars

Star pictures may be best left to experienced photographers because stars produce very little light. To get a good picture of the stars, you need a high-quality camera with a wide aperture lens and manual control of the shutter speed to get long exposure times to allow in enough light to get a good image. Once you get started, you can get extreme and take long exposure shots that show the stars streaking through the night sky.
12. The Rain

Rain is a fun subject to take a picture of, and there are many ways you can use it. For example, rain falling into puddles or lakes can be a great image, as can a person or pet caught in a heavy downpour. Rain in strange places like the desert or inside the house is also fun.
13. Landmarks

Landmarks are great ideas for photographs because many of them come and go, so your image can act as a historical record, bringing back fond memories. Most landmarks also have plenty of bright lights that help people find them, so they can lead to colorful images that look better than daytime pictures of the same place.
14. Traffic Lights

Traffic lights can be a fun project for beginners working with long exposure. You can get interesting and surreal images. Add in fog and rain, and you can have something that looks post-apocalyptic.
15. Lightning
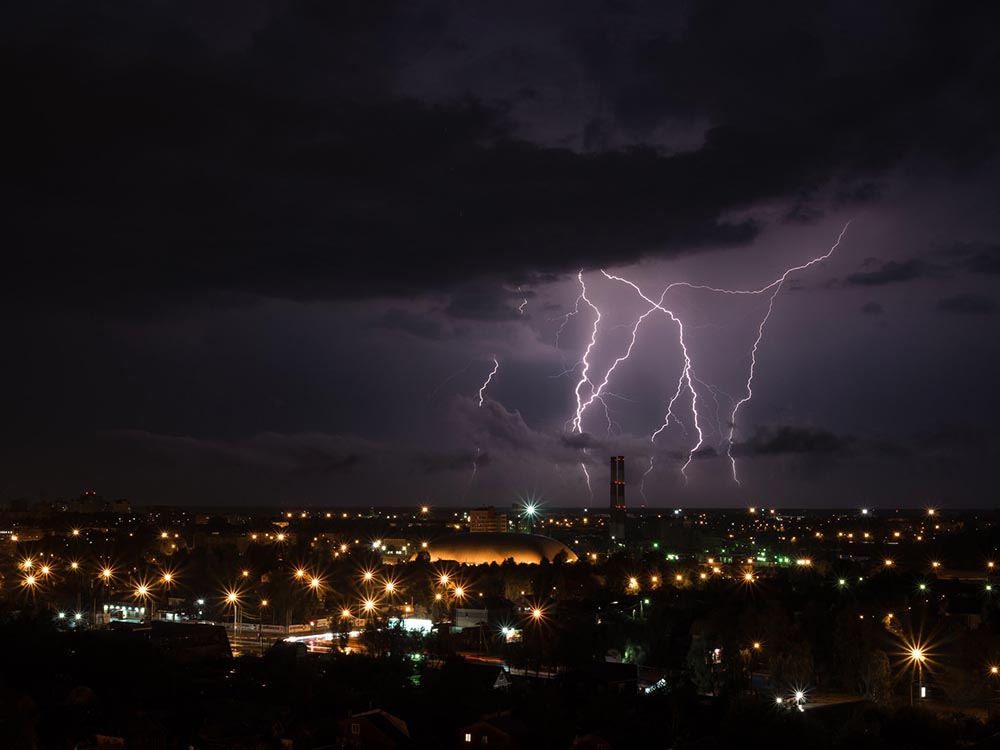
One good reason to take pictures of rain is to get the elusive lightning shot. Many photographers will go years or even an entire lifetime without capturing a natural lighting shot because it’s so hard to predict. The easiest way is to find a tall building with a lightning rod in a city.
Tips for Taking Better Photographs
Use a Tripod
Tripods will help keep your camera still to get a better image. Everyone’s hands shake to a certain degree, and if the pictures that you take are blurry, you will instantly see an improvement when using a tripod. They are not that expensive and are easy to use.
Learn Your Camera Settings
Many modern cameras use automatic settings for convenience, and many people love point-and-click operation. However, automatic settings are not the best in every situation, and knowing how to change the options in your camera is essential to good photography. We recommend reading the manual that comes with your camera and going over the settings several times before using your camera for any serious projects.
Use Different Shutter Speeds
Change the shutter speeds on your camera to see how it affects the pictures that you take. Use a fast shutter speed for fast-moving objects, like a race car or a flying insect, and use a long shutter speed for still objects. When using a long shutter speed on fast-moving objects, you get streaks, which you can use as an artistic effect if you know what you’re doing.
Use Manual Focus

Many modern cameras have an autofocus feature that can be quite helpful in many situations. However, it can also force you to focus on things that you don’t wish to. Having the ability to select and use manual focus is essential when trying to take artistic photographs.
Low ISO
ISO is the image-brightness setting in your camera. A high ISO setting will produce a bright image, which is good when taking photos at night. However, increasing the ISO will also increase the graininess, which can decrease the quality of the picture, so you’ll need to be careful not to increase it higher than necessary.
Take RAW photos
RAW is an uncompressed image format that some cameras will let you use. Many cameras save their images in the .jpg file format. These images are compressed, which saves space so you can fit more images on your hard drive. However, compressed images do not retain the high fidelity of RAW images, so it’s best to use the latter format when taking important photos.
Take Multiple Shots
One of the best ways to take better pictures is to take more of them. For example, many people point the camera at an object, snap a single photo, and then wonder why it didn’t come out the way that they wanted. A better method is to set up a tripod to keep the camera in place and snap several pictures while changing the lighting and camera settings to see what works. You’ll be amazed at how often you don’t use that first picture once you begin using this trick.

Conclusion
There are many things that you can take pictures of at night to help you gain experience and become more artistic. We recommend that beginners start in brightly lit areas, taking photographs of the city, street lights, reflections, etc. Once you learn how to adjust your shutter speed and make other camera adjustments, you can try for more difficult pictures, like the night sky, fire, and light streaks.
Featured Image Credit: Alexander Popov, Unsplash
About the Author Ed Malaker
Ed Malaker is a veteran writer who contributes to a wide range of blogs covering information on computer programming, pets, birding, tools, fitness, guitars, and optics. Outside of writing, Ed is often found working in the garden or performing DIY projects in the house. Ed is also a musician, spending his time composing music for independent films or helping people repair their guitars.
Related Articles:
How to Clean a Refractor Telescope: Step-by-Step Guide
How to Clean a Telescope Eyepiece: Step-by-Step Guide
How to Clean a Rifle Scope: 8 Expert Tips
Monocular vs Telescope: Differences Explained (With Pictures)
What Is a Monocular Used For? 8 Common Functions
How to Clean a Telescope Mirror: 8 Expert Tips
Brightfield vs Phase Contrast Microscopy: The Differences Explained
SkyCamHD Drone Review: Pros, Cons, FAQ, & Verdict