How to Create a Bokeh Effect When Taking Photos (Step-by-Step Guide)
Last Updated on

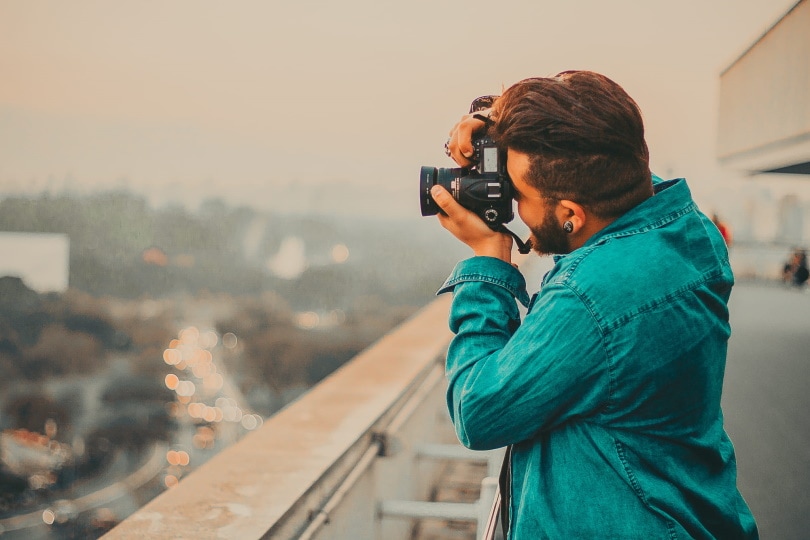
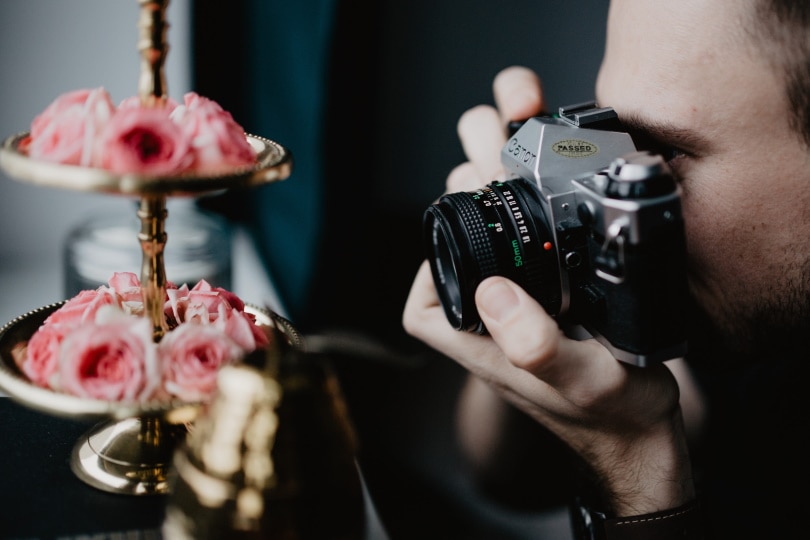
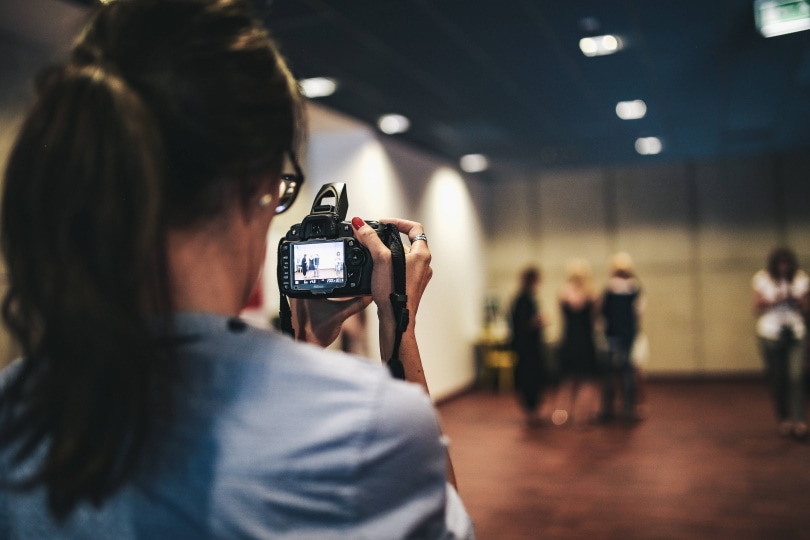
Bokeh is widely recognized in photography as the most useful tool to separate a subject from the other areas of an image. We’ve all seen those pictures that contain massive amounts of background blur, and most of us probably want to know how to create it! Many people want to apply this incredibly sharp visual to their photos.
Bokeh is incredibly useful to those who specialize in portrait, wildlife, macro, and travel imagery, but anyone can get good results with it—as long as they know how to handle it correctly. The lens that’s used can alter the optical quality of it as well, so we’ll show what can be done to combat this.
Luckily, today’s camera technology has made it easier than ever to attain this look in almost any situation. Below, we’ll explain how to precisely control bokeh to our preference, in addition to what elements affect both its extremity, shape, and appeal.

How to Create Bokeh
Three main components create this effect: aperture, focal length, and the distance from the lens to the subject. Artificial bokeh exists as well, and we’ll cover the benefits and downsides of utilizing that as well.
1. Change the Aperture

The best method to produce the maximum amount of bokeh possible is to use a large, fast, or “wide” aperture. A fast f-stop such as f1.8 or f1.4 will increase the shallowness of depth of field (DOF) and make the subject or area in focus stand out. The lower the number, the more exaggerated it will be. Higher numbers like f16 or f22 will have very little and are virtually non-existent.
Many DSLR cameras will allow photographers to physically change the aperture with a control wheel, dial, or similar function. Some lenses also have rings exclusively built to modify this setting and may include a de-clicking option for more accurate measurements.
To control the aperture manually, there should be a wheel near the shutter button or one near the top of the camera. If we turn these to the left or right, it will change the aperture accordingly. We’ll notice on the inside of the lens glass that the blades are opening and closing. A fast aperture will show a larger spherical shape because more light is being gathered.
2. Increase your Focal Length

Next, we can intensify bokeh by using a longer lens or by “zooming” further into a scene. To do this, we can rotate the zoom range ring on our camera lens. If we were to attach a prime lens, it wouldn’t work because the focal length is fixed.
Here’s an example, if you compare two of the same pictures of the same F-stop at different focal lengths; one at 24 mm (wide-angle) and the other at 200 mm (telephoto), the 200 mm focal length would have more background blur because the DOF is even more shallow.
You can easily test this scenario if you have a constant aperture lens, like a 70–200 f2.8. Take both pictures of the same subject at f2.8, and the longer focal length will again win as its out-of-focus area is far more obscured.
3. Subject Distance

If the object, person, or foreground is closer to the camera, there will be more background blur. The opposite will occur if the subject is further from the frame.
Here’s the best way to illustrate it: say we take an apple outside and put it 2 feet away, and take a picture. Then, without altering the aperture or focal length, we place that same apple 50 feet away and take another picture.
After, if we look at both photos, we’ll realize that the one that was taken just 2 feet from us will have vastly more blur in the background. This is why macro shots will almost always be easier to emulate this effect with, but doing so with landscapes such as mountains or the sky is nearly impossible.

Bokeh Shapes
There are a few different types of bokeh, each having distinct forms. Those are circular, “cat’s-eye”, and octahedral.
| Spherical | Has many aperture blades and is considered the most pleasant looking |
| Cat’s-Eye | Looks bowed and has an almost moon-like shape |
| Octahedral | Doesn’t have many aperture blades and creates an octagon rather than a perfect circle |
Note that lower quality lenses usually have a less-appealing shape to their bokeh and may have artifacts. It’s worth paying for a more expensive lens if we want the best possible bokeh shape, but then again, most of this can differ based on preference.

Software
Newly developed technology in the imaging industry has finally made it possible to achieve the bokeh effect. The latest generation of IOS and Android phones have artificial bokeh capabilities incorporated into their camera apps.
iPhone portrait mode is one such piece of software that detects human subjects and intuitively adds a blur around the person’s body or face. At first glance, it can sometimes be challenging for one to see if it’s real or fake bokeh, even when compared to other images. While it isn’t exactly as good as a true professional camera body, it holds its own.
Then, there are also programs like Luminar AI that can be used to add the effect in post-processing rather than straight inside the camera. This is useful for editing any image taken on practically any camera and works about as good as phones do.
One thing we want to mention is that there is a much more obvious difference when we view the fine details on a DSLR or mirrorless exposure. Looking closely, we’ll see that the pseudo-bokeh only performs the action outside of the subject. An f1.8 or f2.8 lens attached to a standard camera will slowly fade its blur as the background separates from the focused area.

Useful Resources
One amazing site to visit is the DOF Simulator, an interactive tool that showcases real-time changes made to aperture, focal length, subject distance, and many other customizations that will tweak the photo.
After playing around with it, it’ll be easy to get the hang of which adjustments do what to the others. It’s a fun way to learn the basics rather quickly, although it’s still best to figure it out while we’re capturing our own images and fine-tuning settings if we make mistakes.
The next resource is one we’ve all probably been to, which would be a local camera gear retailer. It never hurts to politely ask an employee to try various lenses on the camera we own, as well as extra pointers that will lead us in the right direction for our photography trips.
Frequently Asked Questions
How do you say bokeh?
It’s pronounced “Bow-Kuh”. We can also say “Bow-Kay” too. Either one works!
Where does the word bokeh originate?
Bokeh in Japanese means “haze”, which comes from its distinct blurry visual.
How does it affect focus?
The focus area of a subject is much smaller, so we have to be intentional with how it’s used.


Conclusion
As one of the most famous photographic wonders, bokeh is considered an essential tool for creating beautiful images that effortlessly tell a story to the viewer. However, it needs to be used effectively to get the right point across, although many might say it’s overused.
Either way, this article went over the important aspects of this effect so we can take even better photos and learn more about what makes pictures interesting!
Featured Image Credit: Piqsels
About the Author Robert Sparks
Robert’s obsession with all things optical started early in life, when his optician father would bring home prototypes for Robert to play with. Nowadays, Robert is dedicated to helping others find the right optics for their needs. His hobbies include astronomy, astrophysics, and model building. Originally from Newark, NJ, he resides in Santa Fe, New Mexico, where the nighttime skies are filled with glittering stars.
Related Articles:
How to Clean a Refractor Telescope: Step-by-Step Guide
How to Clean a Telescope Eyepiece: Step-by-Step Guide
How to Clean a Rifle Scope: 8 Expert Tips
Monocular vs Telescope: Differences Explained (With Pictures)
What Is a Monocular Used For? 8 Common Functions
How to Clean a Telescope Mirror: 8 Expert Tips
Brightfield vs Phase Contrast Microscopy: The Differences Explained
SkyCamHD Drone Review: Pros, Cons, FAQ, & Verdict
