
Optics Mag is reader-supported. When you buy via links on our site, we may earn an affiliate commission at no cost to you. Read more.
How to Photograph Stars and the Night Sky: 10 Tips & Tricks
Last Updated on

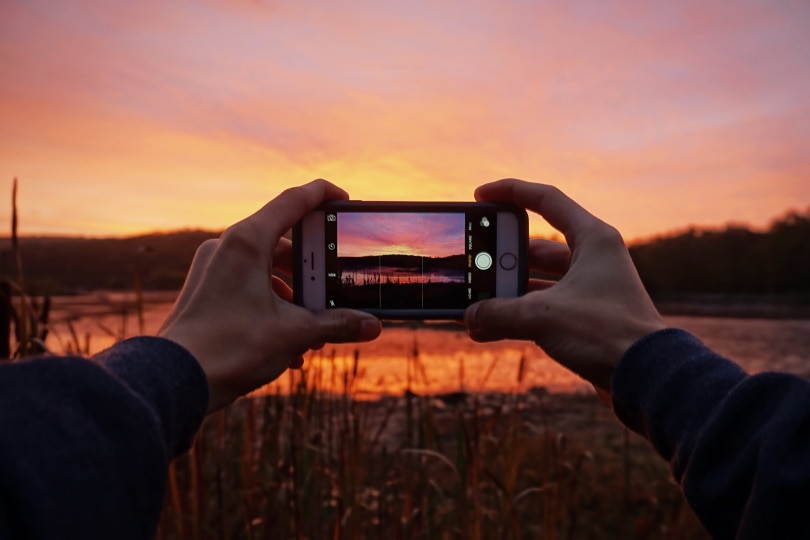
Photographing the night sky can be a perfect challenge for beginner photographers looking to improve their skills. It’s a good way to learn about your camera and can result in an amazing photograph. Keep reading for several tips and tricks to help you get a great picture of the night sky with almost any digital camera.

Gather Your Supplies
Before starting your project, you’ll need to gather your tools. You only need a camera or tripod and a clear evening sky. A smartphone app that can track and tell you where objects are in the night sky can also be helpful.
Tools and Materials
- DSLR camera
- Tripod
- Clear sky

Before You Begin

Camera
While many people will use a smartphone to take pictures of the night sky, a dedicated DSLR camera can be a great advantage, enabling you to take wider shots with more options.
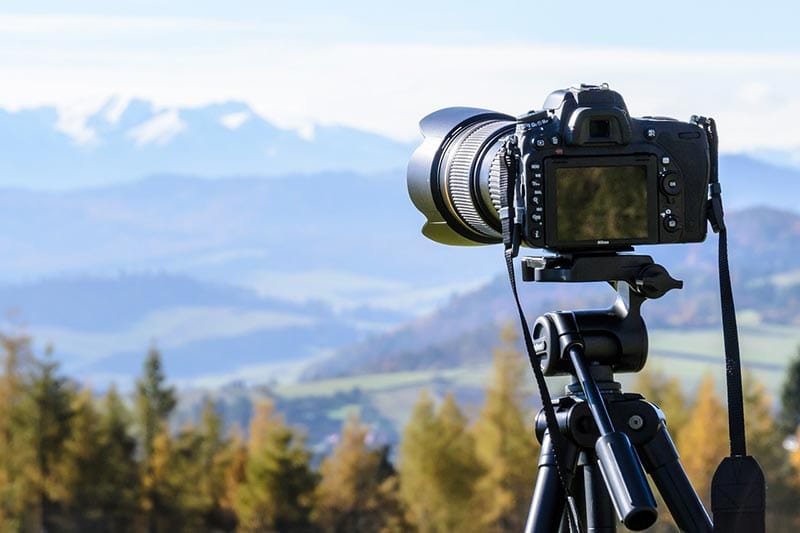
Tripod
A good tripod is essential for taking night sky photos because you will often use long exposure times that require an extremely still camera. Ensure that the tripod is flexible enough to point in any direction. If you use a smartphone, make sure the tripod will hold it steady.
Clear Sky
Finding a night with a clear sky seems easy, but it can be quite challenging. The long exposure will multiply even a small amount of haze or fog, which can ruin your image. Check your local weather report frequently, and choose a clear night with relatively low humidity.
The 4 Tips for Using a Smartphone Application
A smartphone application is not essential for getting a good night sky picture, but it can help you choose points of interest.
1. Set Up Your Tripod
Choose a location as far away from city lights and traffic lights as possible, and set up your tripod.
2. Attach Your Camera
Attach your camera to the tripod, and position the angle to point at the part of the night sky that you wish to photograph.
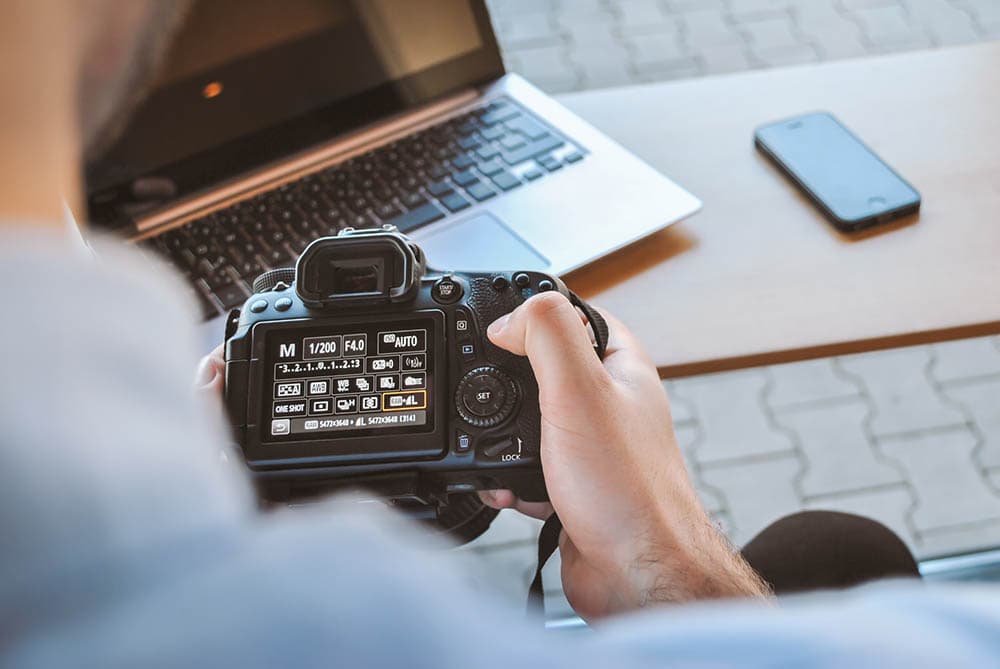
3. Access the Camera’s Manual Settings
Check your camera’s manual settings. If you are using a smartphone, these settings might be under a pro or advanced settings menu.
4. Adjust the Exposure Length
Once you access the manual settings, many cameras will enable you to adjust the exposure length. The exposure length tells your camera how long to keep the shutter open. The longer your shutter stays open, the more light gets in, which is especially important for capturing small star lights. Exposure length is likely the most important setting when taking a night sky photo.
The 6 Tips for Setting Up the Exposure Length
Longer exposure times let in more light, so keep increasing the setting until you start to see stars in your photographs.
An exposure length of 20 to 30 seconds is a good place to start, as it lets in plenty of light without picking up too much of the movements of the stars.
Exposure times of more than 30 seconds can produce images with streaking artifacts, as it picks up the stars continuously moving through the sky.
Images that you take using a long exposure time have a higher risk of blurry areas because the camera will try to capture everything that it sees once the shutter is open. For instance, if a bug flies in front of the lens while you’re taking a photo of the night sky with a long exposure time of 30 seconds, you will likely see a streak across your photo where it passed. If several bugs fly by while the shutter is open, each will result in a line across your image.
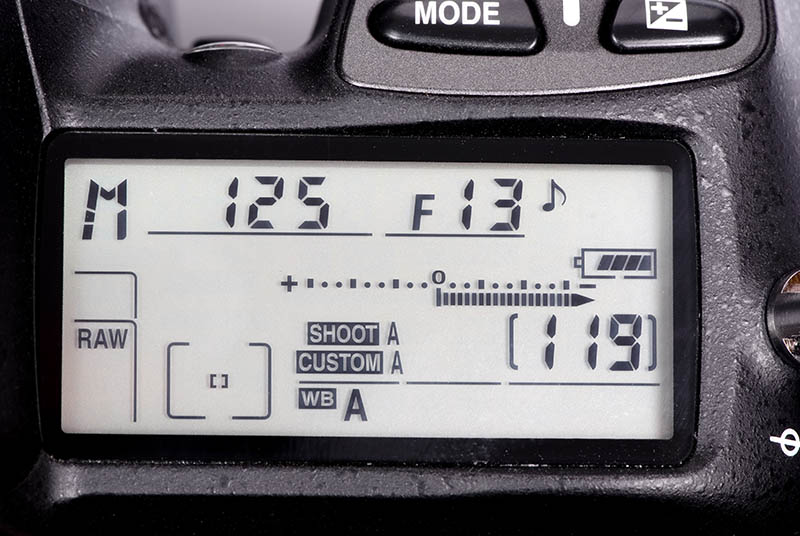
1. Adjust the Aperture
The aperture determines the size of the open shutter. Large apertures will allow more light to enter the camera, resulting in a brighter image; for night sky photography, a large aperture is ideal.
Tips for Setting Up the Aperture
When setting up your aperture, the main thing to remember is that size often runs opposite to how you think it would. For example, you can set the aperture to a value between f/2.8 and f/16 on many cameras, and it’s natural to believe that f/16 is a larger aperture than f/1. However, the opposite is true. For night sky pictures, use aperture settings around f/2.8.
2. Adjust the ISO
Your camera’s ISO is a setting that adjusts how bright an image is by increasing the sensitivity of the light sensor. Higher values can help brighten an image but can also make it more grainy. Reducing the ISO value can help reduce light pollution in the city or bright environment.
Tips for Setting the Right ISO
The ISO setting may require a bit more experimentation, as it can change depending on your situation and the camera that you’re using. We recommend starting with a high ISO of 1,600. Then, increase it if your camera is capable until the image starts to become grainy.
3. Check Image Format
When shooting night sky pictures, it’s important to check your camera settings to find the image format. Many cameras will use compression on the images so you can store more in the memory. However, this compression limits your ability to fix and change the pictures later in post-production. Set your camera to take images in the raw format. If it’s not available, choose the .jpg format.
4. Set Up a Timer Delay
Using a long exposure time with an unsteady camera can create a blurry image. Therefore, it’s important to use a timer when taking night sky photos so you can be well away from the camera when the shutter opens to take a picture. For faster picture taking, you can use a remote trigger if your camera has one instead of the timer.
Select Your Target
While a nice clear photo of any night sky is attractive and impressive, focusing on a specific subject, like a planetary alignment or a constellation, can make the photo even better. You can find the location of important objects in the night sky using a smartphone app. Search your smartphone marketplace for free night sky apps, and choose your favorite to improve your photos.
5. Take the Shot
Once you make all your adjustments and settings, snap a picture to see the results. In most cases, you will need to adjust the settings again and take another shot. In fact, you will likely repeat the process for a while, and only when you look at the photos later will you find the best settings, so remember to keep a record of all your shots.
6. Do Post-Processing
There is a huge assortment of post-processing tools that you can use on your images to improve them. Adobe Photoshop is extremely popular, as is the open-source free program GIMP. Many cameras also come with software to enhance your photos using post-processing.
What Can I Do in Post-Processing?
Post-processing is a powerful tool that many people use to improve their images. When working with pictures of the night sky, post-processing can help brighten the image and add contrast so it’s easier to see the stars. It can also help you balance any color problems that might have occurred due to the long exposure times.
Other Tips and Tricks
- Getting as far away from bright lights as possible will help you get a better picture of the stars.
- Taking long-exposure photos of the night sky during a meteor shower can produce amazing photographs.
- Use a portable hair dryer or fan to help keep fog off your lens while snapping pictures.
- Choose a moonless night for better pictures.
- Always make sure your camera has a full charge before you begin. Bring extra batteries if you can.
Final Thoughts
Photographing the stars and night sky is not too difficult and doesn’t require any special tools. Many beginners can have amazing success using only a smartphone and a tripod. In many cases, the most difficult part is finding a clear moonless night and getting away from bright lights. Use a tripod to set your exposure time from 20 to 30 seconds. Then, adjust your ISO and aperture and start taking pictures. Make adjustments until you find something that works, and write it down so you can use it again. Ensure that you’re using the right image format and timer, so you don’t get blurry images, then feel free to enhance the photos in post-production. The most important thing is to have fun!
Featured Image Credit: True Touch Lifestyle, Shutterstock
About the Author Ed Malaker
Ed Malaker is a veteran writer who contributes to a wide range of blogs covering information on computer programming, pets, birding, tools, fitness, guitars, and optics. Outside of writing, Ed is often found working in the garden or performing DIY projects in the house. Ed is also a musician, spending his time composing music for independent films or helping people repair their guitars.
Related Articles:
How to Collimate Binoculars: 9 Expert Tips
How to Clean a Rifle Scope: 8 Expert Tips
Can You Use Binoculars to Look At Stars? How to Choose the Right Pair
How to Choose Binoculars for Bird Watching: 10 Expert Tips
How to Clean a Refractor Telescope: Step-by-Step Guide
How to Clean a Telescope Eyepiece: Step-by-Step Guide
Monocular vs Telescope: Differences Explained (With Pictures)
What Is a Monocular Used For? 8 Common Functions