Optics Mag is reader-supported. When you buy via links on our site, we may earn an affiliate commission at no cost to you. Read more.
White Balance for Astrophotography: Optimal Settings Explained
Last Updated on
Astrophotography, quite simply, means “star writing.” It is the study and practice of recording the positions and movements of celestial bodies over time. However, in the world of photography, astrophotography means taking pictures of the stars or the night skies.
Since there’s little to no light at night, you cannot expect to merely pick up your camera and take a National Geographic-esque picture of the sky over your roof. Instead, you need to adjust the camera settings, such as the shutter speed, aperture, and ISO, to see the stars in your viewfinder or LCD screen.
For the scope of this article, we’ll only focus on adjusting the white balance for astrophotography. While most experts agree on the 4000K–5500K range, there’s more to learn about adjusting white balance than knowing the numbers. Let’s discuss.
How Does White Balance Work?
In photography, white balance refers to setting the color temperature for a shot so that white objects in the scene are rendered as white in the final image. Setting the correct white balance is important because different light sources can give off different light colors.
If the camera setting doesn’t compensate for this color, it can throw off the whole color balance of an image.
When we photograph in RAW, the image is captured exactly as the sensor sees it. It captures all color information, but none of the processing has been done yet. Simply put, we adjust the white balance to ensure the image looks more natural. In doing so, we remove the color casts and try our best to keep the image as close to reality as possible.
Most cameras have in-camera settings, such as fluorescent, tungsten, shade, and sun. Likewise, some cameras let you manually set the white balance by selecting a Kelvin value. The Kelvin scale is a measure of color temperature. The lower the Kelvin number, the bluer the light appears. The higher the Kelvin number, the more yellow/red the light appears. For example, our sunlight has a color temperature of around 5000K. Shade is cooler than the sun, so it will have a lower Kelvin value.
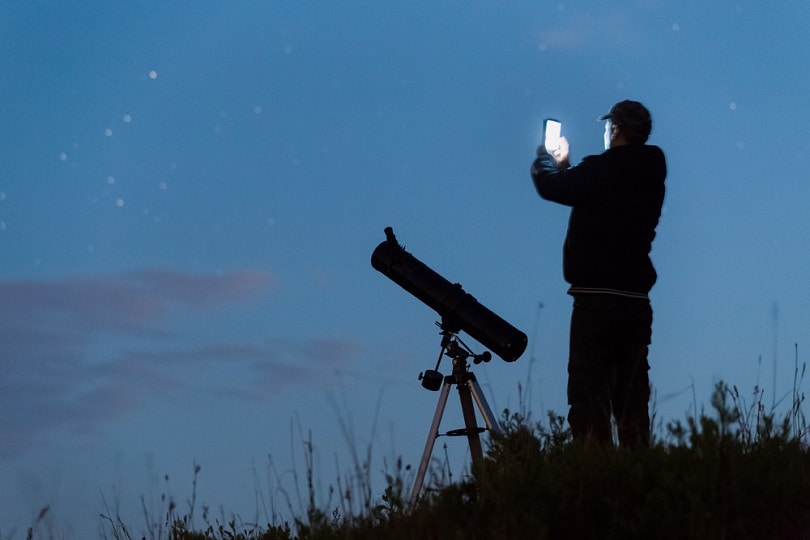
When taking pictures of the night sky, you’ll want to set your white balance to a very high Kelvin value to bring out the natural colors of the stars and planets.
Image Credit: XONIX, Shutterstock
What Is the Right White Balance for Astrophotography?
If you’re shooting in a warm, glowing sky in urban areas, opt for a cooler white balance setting of 3,40K–3,900K. However, a setting of 4,000K+ will give you the best results if you are taking pictures of darker skies.
The key is to experiment with your white balance settings and see what looks best for your shooting conditions. Here’s how to do it:
Start with the ranges mentioned above.
If you don’t like how the images turn out, take test photos in increments or decrements of 100K.
Change only one variable at a time so you can see the effect of each change.
Take many pictures and review them on your computer to see which settings you like the best.
Remember that the white balance settings will also differ based on your environment and location. So, for example, if you’re shooting in an urban sky, you’ll need a different setting than if you’re shooting in the countryside.
The air is much cleaner in the countryside, so the light is less polluted. It means you can get away with a warmer white balance setting.
How to Make the Milky Way Pop in Your Photos?
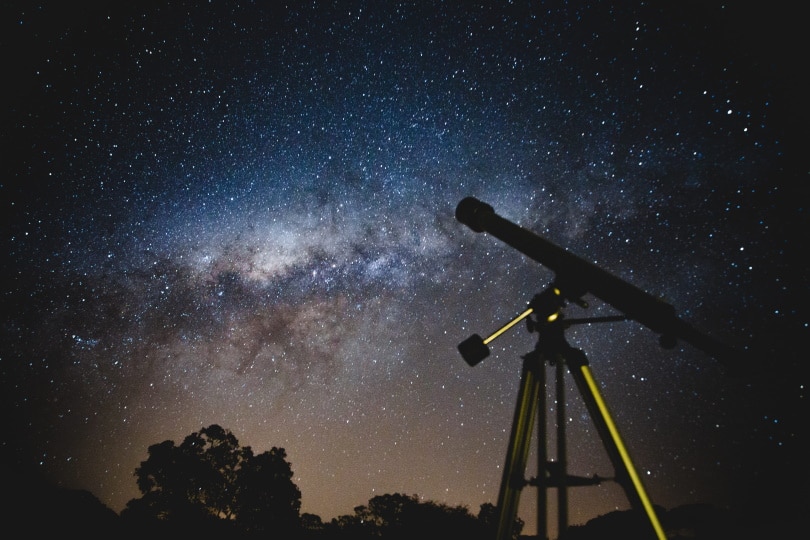
When you’re taking a picture of the Milky Way, you’ll notice that the stars might not seem as bright as they are. That’s because your camera can only pick up so much light, and the stars are so far away that they don’t give off a lot of light to begin with.
However, you can still make the galactic center pop by adjusting the white balance. Set the white balance on your camera to 3900K. It will make the colors brighter, and the stars will stand out more.
If you want to go one step further, you can use a light pollution filter to reduce the amount of light that comes into your camera. It will make the stars appear even brighter. You can buy star filters online or at camera stores.
Image Credit: AstroStar, Shutterstock
How to Use the 500 Rule in Astrophotography
The 500 rule is helpful in astrophotography since it allows for shorter exposures, which reduces the amount of star trailing. But what even is start trailing? It simply means that stars appear as streaks in the image rather than points of light.
The phenomenon is due to the rotation of Earth, causing stars to appear as if they’re moving across the sky. The longer the exposure, the more apparent this motion becomes. When taking pictures of the night sky, you want the stars to appear as sharp points of light rather than streaks. Hence, the use of the 500 in astrophotography.
The 500 rule is used to find the maximum exposure time for a given lens aperture without star trailing by dividing 500 by the lens’s effective focal length. The formula for the 500 rule is:
500 / (Crop-Factor x Focal Length) = The Best Shutter Speed for Sharp Stars
For example, if you use a 50 mm lens on a full-frame camera, the longest possible exposure without star trailing would be 10 seconds.
You would need to divide the 50 mm by the crop factor on a crop sensor camera. For example, on a Canon APS-C camera with a 1.6x crop factor, the 50 mm lens would have an effective focal length of 80 mm. Therefore, it would give you a maximum possible exposure time of 6.
Image Credit: Mammiya, Pixabay
JPEG or RAW: What’s Best for Astrophotography?
JPEG is a huge no-no for astrophotography. The inherent noise and compression in the format will severely degrade your images.
RAW is the only way to go if you want to get the best possible results from your astrophotography setup. You can use software like DeepSkyStacker to stack and process your RAW images, getting stunning results.
Here are some benefits of shooting astrophotos in RAW:
More Details: When you’re already working with minimal light, you want to ensure that you’re capturing as much detail as possible. RAW files contain a higher bit-depth than JPEGs, meaning they can capture more information.
Flexibility: Have you ever taken a photo to realize that it’s too dark or too bright? With RAW files, you have much more latitude to adjust the exposure and white balance in post-processing. It gives you the ability to fine-tune your images to perfection.
Shadow Recovery in Post-Processing: You can adjust the shadows and highlights in your image without losing any valuable data.
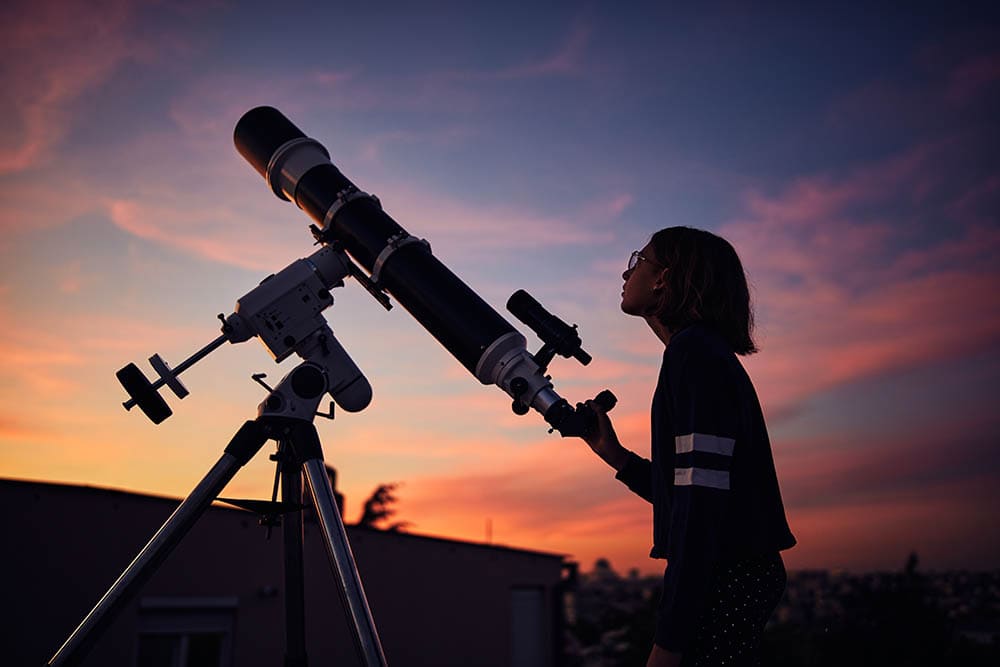
Should You Use a Tripod for Astrophotography?
Using a tripod is the safest approach for astrophotography. A tripod will keep your camera steady and reduce blurriness in your images. If you’re using a DSLR or mirrorless camera, use a tripod with an equatorial mount.
An equatorial mount has a single rotational axis parallel to the Earth’s axis. It allows you to track celestial objects as they move across the sky.
You can also set up the tripod overnight and leave the camera running to capture images of the stars and planets. It is especially helpful for time lapse photography of the night sky.
If you don’t own a tripod, you can place your camera on a stable surface like a table or a rock. Make sure to use a remote shutter release or self-timer to avoid jostling the camera when you press the shutter button.
Image Credit: Piqsels
Other Camera Settings for Astrophotography
Besides white balance, you also need to set your camera’s focus, exposure, and other settings to get the best results. Here are some tips to get the ideal shot.
Set Exposure Compensation to Zero
The exposure compensation is a feature on your camera that allows you to make the image lighter or darker. When taking long-exposure photos, you need to ensure that this is set to zero, or else your pictures will come out too light or too dark.
Since astrophotography involves long-exposure shots, keep the exposure compensation set at zero.
Image Credit: Piqsels
Use the Bulb Setting
Typically, your camera lets you keep the shutter open for 25 seconds. The longer a shutter is open, the more light that enters the camera, and the better chance you have of capturing faint astronomical objects.
However, 25 seconds may not be enough for astrophotography since you won’t be able to capture enough light. That’s where the bulb setting comes in.
The bulb mode allows you to keep the shutter open for as long as you want. It is ideal for astrophotography since you’ll be taking photos of objects very far away and thus will require a longer exposure time.
To use the bulb mode, set your camera to Manual mode and turn the dial to “bulb.”
Once in bulb mode, press and hold the shutter button to keep the shutter open.
You can use a remote shutter release to avoid shaking the camera when you press the button.
Turn Off In-Camera Sharpening
Some cameras have an in-camera sharpening feature that automatically enhances your photos. However, this is not ideal for astrophotography since it can degrade the quality of your images.
If you leave this feature on, you’ll notice a lot of noise in your photos. Plus, you’ll have a hard time working on it post-processing since editing distorts the image quality even more.
Image Credit: AstroStar, Shutterstock
Don’t Use Autofocus
Cameras need an abundance of light to focus properly, and they struggle when there’s not enough light. That’s why you should avoid using Autofocus in low-light situations.
For example, when you’re shooting the night sky, you should use manual focus so that your camera doesn’t keep searching for something to focus on. The scarcity of light will make it difficult for the autofocus system to work correctly. As a result, your images will likely be blurry.
Activate Mirror Lockup
In a camera, the mirror is responsible for reflecting the light that comes in through the lens and directing it towards the viewfinder. When you take a picture, the mirror flips up out of the way so the light can reach the sensor (or film).
You might want to use mirror lockup to reduce or eliminate vibration caused by the mirror flipping up. When the mirror is in the locked-up position, you can release the shutter without the mirror causing any vibration.
If you’re taking astrophotos on a tripod, it’s best to use mirror lockup. Doing this will help you get sharper images. Otherwise, the vibration from the mirror can cause your photos to be blurry.
Frequently Asked Questions
Here are some common questions people ask about taking astrophotos.
Why Are My Astrophotos Green?
Your astrophotos might be green for a few reasons. Your camera is likely picking up extra light from the sensor, and this light is affecting the color balance. Another possibility is that your camera’s sensor is not completely sensitive to all colors of light. It can cause a green tint in your images. Finally, if you’re using a light pollution filter, the stars might appear green if the white point is not set correctly. You can do a few things to try to fix this issue. First, you can try changing the white balance setting in your camera. It will help correct the color balance of your images. Or you can use a different camera filter.
What Is the Right ISO for Night Photography?
The ISO is one of the critical settings for exposure in photography. It measures the sensitivity of your camera’s sensor to light. In low-light situations, you must use a higher ISO setting to ensure your photos are not too dark. Using a full-frame camera, use the ISO 3200 or 6400 settings to take astrophotos.
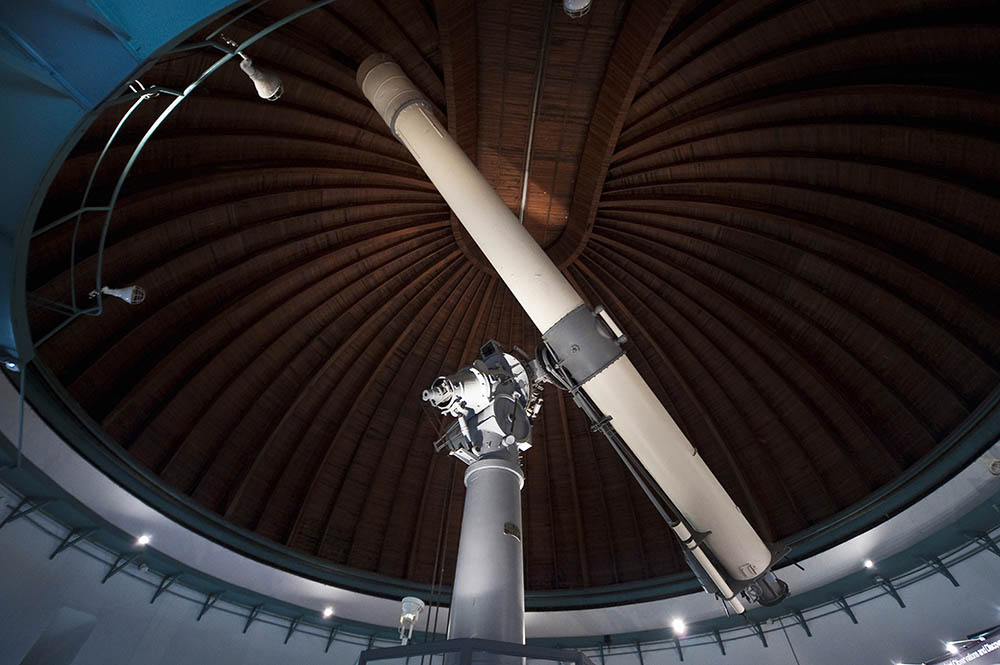
Image Credit: KPG Payless2, Shutterstock
Do RAW Files Have White Balance?
Most modern cameras that allow you to shoot in the RAW file format will also let you set the white balance manually. It gives you more control over the final image and is helpful if you’re shooting in mixed lighting conditions.
Why Are My Astrophotos Red?
The long-exposure NR feature is excellent for eliminating hot pixels but can also introduce a red tint to your images. If your camera has this feature and it’s on, you’ll notice an “amp glow” on the edges of your pictures. It occurs due to the warmth of the ISO amplifiers, which heats the photo-active parts of your shot. As a result, your photo will have a red or magenta hue. To fix this, turn off the long-exposure NR feature in your camera.
Can I Use Auto White Balance for Astrophotography?
White auto white balance is suitable for other environments, it’s not the best choice when shooting deep-sky objects. When set to auto, your camera looks at the scene and tries to determine the best white balance. However, since most of a deep-sky image is black, with only a few bright stars or galaxies, your camera will often underexpose the photo to make the black sky gray. It results in a loss of detail and increased digital noise. Thus, you should set the white balance manually instead of using the auto feature.
A Quick Reference Guide
Here’s a quick reference guide to understanding white balance settings in your camera.
Color Temperature
Light Sources
10000K–15000K
Clear blue skies
6500K–8000K
Shade or cloudy skies
6000K–7000K
Noon sunlight
5500K–6500K
Average daylight
5000K–5500K
Electronic flash
4000K–5000K
Fluorescent indoor light
3000K–4000K
Early morning or late evening
2500K–3000K
Indoor lights
1000K–2000K
Candle flame
Final Thoughts
As established, you should keep the white balance around 5000K when taking astrophotos. In addition, you can do a few other things to ensure you get crisp and detail-rich photos of the night sky. For one, use a tripod to minimize camera shake.
A remote shutter release or timer can also be helpful since it will eliminate any possibility of you moving the camera. Plus, use the Bulb mode and shoot in RAW to ensure you have the most data to work with when processing your photos later on.
Finally, you can take multiple exposures and stack them together in post-processing. It will help to reduce noise and bring out any faint details in your photos.
Jeff is a tech professional by day, writer, and amateur photographer by night. He's had the privilege of leading software teams for startups to the Fortune 100 over the past two decades. He currently works in the data privacy space.
Jeff's amateur photography interests started in 2008 when he got his first DSLR camera, the Canon Rebel. Since then, he's taken tens of thousands of photos. His favorite handheld camera these days is his Google Pixel 6 XL. He loves taking photos of nature and his kids. In 2016, he bought his first drone, the Mavic Pro. Taking photos from the air is an amazing perspective, and he loves to take his drone while traveling.