How to Photograph the Northern Lights: 5 Tips and Tricks
Last Updated on

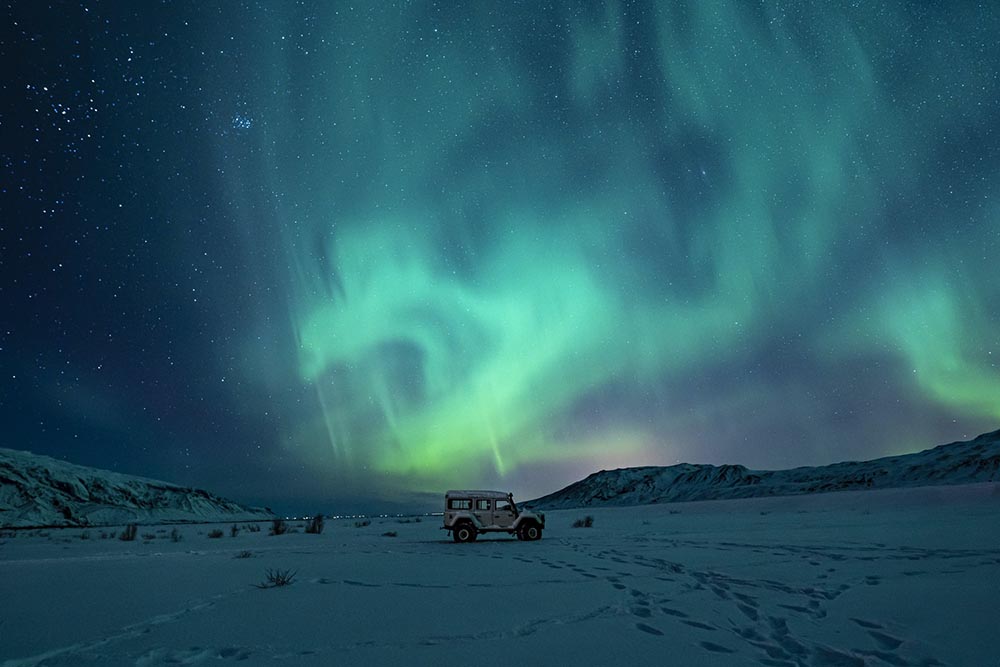
The Northern Lights, also known as the aurora borealis, are, to many people, the world’s most jaw-dropping natural phenomenon. Found in the frigid Arctic environment, these green, blue, and pink light shows seem to have a life of their own, as they’re caused by molecular activity near Earth’s electromagnetic fields. There’s a reason why so many people want to photograph this event; that’s why we’ve conjured up five tips and tricks on how you can do it yourself!

Preparations
Before you get started and head out into the Arctic wilderness, you should take a few precautions to ensure you stay safe and take amazing photos.

Dress Warm!
First off, you should always wear adequate clothing any time you’re outdoors. The northern lights mainly occur during certain stretches of winter, so you should pack warm gear like a down jacket, gloves (try to get ones that work with a screen), a hat, and warm socks. Maybe even bring some hot chocolate to spruce things up!
Know Where to Go
Auroras have a tendency to have more strength in some places over others. It’s good to check the visibility online or with specialized apps to see what conditions will be like. Oh, and don’t forget to look at the forecast—the worst feeling is getting to the right area only to be surprised by clouds blocking your view!
Bring Extra Batteries
Since you’ll be out at night in the cold, your camera batteries will likely drain faster than normal. That’s why you should be prepared to bring a few extras just in case. It might even be wise to bring a portable power bank that has a hand-warmer function.

The 5 Steps to Get Incredible Photos of the Northern Lights
1. Bring a Tripod
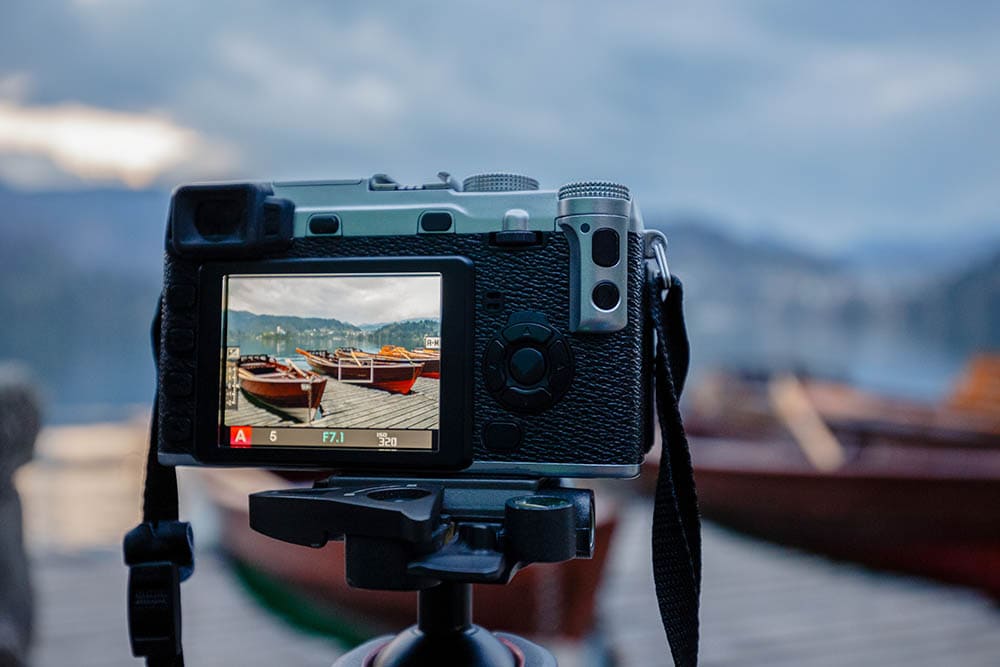
In most cases, utilizing a tripod in photography is non-negotiable to get the sharpest, cleanest images. They allow you to choose the best shutter speed for your situation and leaving your tripod at home may force you to turn up your ISO, which isn’t ideal. We also suggest attaching spiked feet on your tripod if you plan on setting it up out on the ice; it will add a bit more stability.

2. Use a Fast Aperture
Despite the fact that the northern lights produce a lot of light, the surrounding sky is still dark. If you can use a fast lens with an aperture of f1.4 or f2.8, you’ll be able to use a faster shutter speed. We may have just said to use a slow shutter speed, but remember – the northern lights are moving, so having too slow of a shutter speed can make the lights come out blurry. At the same time, it’s inevitable that it will be slow because you’ll need to capture a lot of light. That’s why these fast lenses come in handy!
3. Don’t Press the Shutter
You might think this sounds ridiculous, but we promise it could save your photos. As we recommend bringing a tripod, the best way to take advantage of the added stability is to use a remote shutter or a self-timer. Both of these methods help with one bad habit some photographers have, which is pressing the shutter button. Doing so can shake your camera and cause your results to have motion blur. This is especially bad if you’ve got mountains or trees in the foreground and middle ground.
4. Manually Focus
When shooting the northern lights, avoid auto-focusing if you can. The problem with AF in this situation is that the lights are moving quickly, they can confuse your focusing system because they have an odd shape and aren’t an animal or human. You may be able to use a concentrated focus area, but even then, manually focusing still gives you the best flexibility and accuracy, as the darkness can make it more difficult for the camera to do itself. Try focusing on infinity and see what results you can get with that.
5. Bump Up ISO
This isn’t what anyone wants to hear, but in cases like this, raising your ISO is part of exposing images in low light. Start with an ISO of 400 and if the outcome isn’t bright enough, bump it up some more. Don’t be afraid to use more than you’re used to; post-processing software is always there to help remove dreaded noise.

Final Thoughts
For some, the northern lights are a once-in-a-lifetime experience. Getting the chance to snap some photos of this phenomenon is on every photographer’s bucket list. However, it’s important to know what steps to take when the time actually comes because you don’t want to come home to see blurry photos or frostbite. But that’s why we made this guide on how to photograph the northern lights.
Enjoy the light show!
Featured Image Credit: Jonatan Pie, Unsplash
About the Author Robert Sparks
Robert’s obsession with all things optical started early in life, when his optician father would bring home prototypes for Robert to play with. Nowadays, Robert is dedicated to helping others find the right optics for their needs. His hobbies include astronomy, astrophysics, and model building. Originally from Newark, NJ, he resides in Santa Fe, New Mexico, where the nighttime skies are filled with glittering stars.
Related Articles:
How to Collimate Binoculars: 9 Expert Tips
How to Clean a Rifle Scope: 8 Expert Tips
How to Choose Binoculars for Bird Watching: 10 Expert Tips
How to Clean a Refractor Telescope: Step-by-Step Guide
How to Clean a Telescope Eyepiece: Step-by-Step Guide
Monocular vs Telescope: Differences Explained (With Pictures)
What Is a Monocular Used For? 8 Common Functions
How to Clean a Telescope Mirror: 8 Expert Tips
