
Optics Mag is reader-supported. When you buy via links on our site, we may earn an affiliate commission at no cost to you. Read more.
How to Photograph Products for Sale: 10 Tips & Tricks
Last Updated on

If you run an e-commerce website, you know the importance of product photography for your business. Attractive product pictures with clearly mentioned details build credibility with the audience and make them stop scrolling.
The ideal photos make consumers click on products, visit the website, know more about them, and probably buy them.
However, capturing the perfect product pictures isn’t as easy as aiming and shooting. You must ensure proper lighting, correct equipment, and space to create attractive images that consumers can’t resist. That’s why product photography isn’t everyone’s cup of tea.
If you’re looking to ace product photography, this guide will list 10 tips and tricks to help you get started.

The 10 Tips on How to Photograph Products for Sale
1. Ensure Proper Lighting
First, set up a proper lighting system to ensure that your product appears the same on-screen as it looks off-screen. The product background plays a significant role here. You’ll be surprised that a white background may not appear white in insufficient lights. Instead, it looks gray.
You have two lighting options to capture products: natural and studio lighting. To make the right choice, you’d need to evaluate the product, the purpose of photography, and the platform where you’ll publish the photos. For example, if you’re capturing edible products, clothes, and people, natural lightning can give you better results for social media platforms.
Conversely, if your product has intricate details and sells on e-commerce platforms, such as Amazon, studio lightning would work amazingly in such cases.
The ideal time for natural light photography is early morning or late afternoon under a bright sun. You can also get aesthetic product pictures a bit on overcast days.

2. Get a Tripod
Tripods add stability to your photography equipment no matter how useless you consider them. They help you keep your hands free and capture clear, crisp pictures. They are also easy to use and come at affordable prices.
If you struggle to keep your hands still, tripods will help you reduce blurring and get high-quality photos. Whether you use a smartphone for the shoot or DSLR, you can get a tripod for both devices at different prices.
Once you get a tripod, set it at the right angle to take stable photos with less effort.

3. Capture Photos That Require Minimal Editing
Most photographs take sloppy photos thinking they will make it better with editing. While that’s usual practice, you should try to think the other way.
Take editing or Photoshop as just the final touch-ups to enhance the beauty of an already attractive photo. You can edit the background, crop any unnecessary items from the picture, and improve its overall contrast.
Never try to transform a poorly captured photo into a great one through editing. If you do so, you’ll end up spending more time in Photoshop than it took you to photograph those images. Thus, when capturing product photos, try to take ones that require minimal editing. With this approach, you’ll save time and effort and get desired results.

4. Take Inspiration From Your Competitors
If you’re new in the market, taking inspiration from the current market rulers can help you immensely. Search for the brands on Google and see how they have been advertising and promoting their products. Also, observe which posts got the most engagement from customers.
You may already have a few competitors in your mind that do fantastic photography work. So, research them as thoroughly as possible and narrow down the photos you like. Then, think about how you can take similar shots.
For example, you’re a local baby clothes shop owner. You can look up popular baby clothes brands on Facebook and Instagram and list what you love in their products. This could be the color scheme, background, or angle.
Now, strategize how to ensure all these things in your products.
5. Understand the Rule of Thirds
The “rule of thirds” is an essential photography tool that lets photographers visualize the frame in nine segments. It helps beginners to capture photos with a balanced composition. With this rule, you can also determine the best spot for your product that must be focused on.
When doing product photography, your goal should be to place the product along the lines, especially where two lines meet.
Experts say that the viewer’s eyes naturally go to the intersection points of an image instead of its center. The rule of thirds utilizes this human nature and makes the picture more appealing to them.
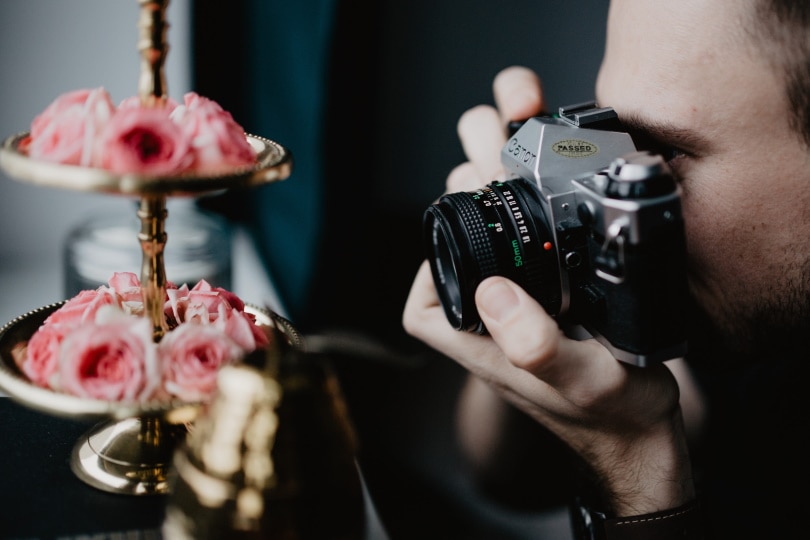
6. Use Unique but Simple Props
Props are fun to use. They add just the right amount of charm and attraction to product photography, but you should never overdo them. Getting overly ambitious with props diverts the viewer’s focus from the product.
Remember that the main focus of product photography should always be on the product. Props should be used to brighten up your photos and make them more eye-catching.
When selecting props, opt for those that go with the color scheme and are relevant to the product theme. For example, if you’ve launched strawberry-flavored pancakes, you can use a frozen strawberry tin and fresh flowers to add a color pop.
7. Capture Shots From Multiple Angles
Taking multiple shots from different angles is always a smart move. If you’re shooting a wide range of products, you must capture many pictures from varying angles. This will also avoid the hassle of spending hours editing photos.
When customers look at your product, they can easily see how it appears from varying angles. So, always try to get a few shots from the above, all side angles, front, and bottom. Then, take a critical look at all the images, choose the best ones, edit them, and post.
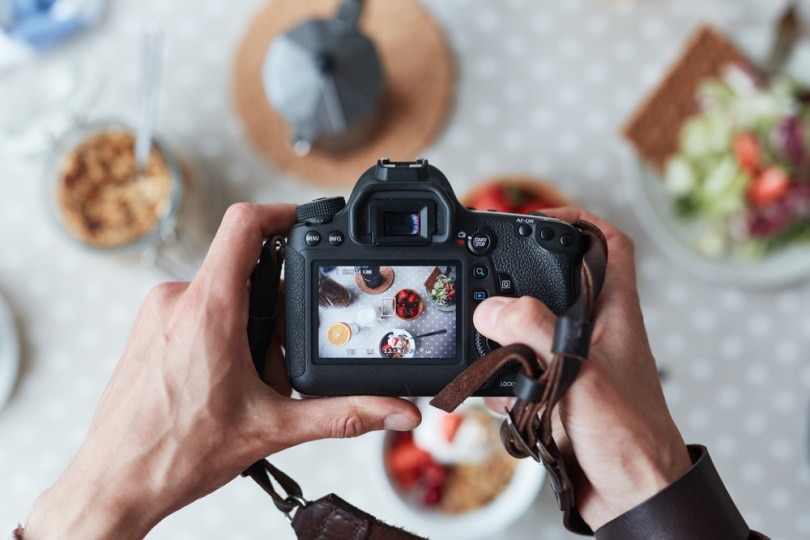
8. Add Context to the Photos
One of the main purposes of product photography is to help customers envision themselves utilizing your products. For that, you need to put yourself in the consumer’s shoes. If you see a product and can’t picture yourself using it, would you buy it? No, right?
That’s mostly the case with customers with limited income. They only buy a product that they are confident will improve their life. Thus, ensure to add context to the product photos.
Let’s take the example of a cafe table and chair set. Customers will struggle to imagine themselves using the chair and table from a photo with a blank background. On the other hand, they are more likely to picture themselves using chairs and tables photographed in the context of a restaurant or cafe.
9. Plain White Background Is the Safest Choice
Product photography can become challenging when dealing with different backgrounds. This is particularly the case when doing food photography. You can’t use a distracting and patterned background for food items, as it may overcome the real essence of the product.
The safest choice in photography is plain backgrounds, especially black and white. These colors ensure that your pasta, cake, and pizza don’t lose the central focus of the picture. You can also opt for other pastel and light shades of yellow, blue, and pink.
Some e-commerce platforms, such as Amazon, have specific requirements for product photos. Most of them prefer white background, but it’s not mandatory.

10. Tell the Details
Businesses deal with customers from different backgrounds and thinking capacities. Some can sense the credibility of a product just by reading the product description. Others need more information to understand the product concept and use cases.
Regardless, businesses have to convey their message to the masses. To help every customer, you must take detailed photos highlighting your product’s important details.
Let’s say you sell men’s shirts. The product listing on your website must have pictures of all the unique features. These include pockets, collars, sleeves, front plackets, cuffs, buttons, etc. You must also add a size chart to help your customers determine the right size.
When customers have more information, they’ll be more confident about making the purchase. Thus, ensure that your product pictures tell convincing stories to every customer.

Final Thoughts
Product photography is always tricky. First, you must set up a proper background and lighting and choose the best camera angles to get desirable results. Then, you should keep the focus of your photos on the product itself.
To ensure that your products don’t get lost in the background, use appropriate props and never overdo them. You should also opt for white or light shades of yellow, white, or pink for the background.
If you’re doing food photography, never use a busy or patterned background, as it may steal the spotlight.
Featured Image Credit: Africa Studio, Shutterstock
Table of Contents
- The 10 Tips on How to Photograph Products for Sale
- 1. Ensure Proper Lighting
- 2. Get a Tripod
- 3. Capture Photos That Require Minimal Editing
- 4. Take Inspiration From Your Competitors
- 5. Understand the Rule of Thirds
- 6. Use Unique but Simple Props
- 7. Capture Shots From Multiple Angles
- 8. Add Context to the Photos
- 9. Plain White Background Is the Safest Choice
- 10. Tell the Details
- Final Thoughts
About the Author Jeff Weishaupt
Jeff is a tech professional by day, writer, and amateur photographer by night. He's had the privilege of leading software teams for startups to the Fortune 100 over the past two decades. He currently works in the data privacy space. Jeff's amateur photography interests started in 2008 when he got his first DSLR camera, the Canon Rebel. Since then, he's taken tens of thousands of photos. His favorite handheld camera these days is his Google Pixel 6 XL. He loves taking photos of nature and his kids. In 2016, he bought his first drone, the Mavic Pro. Taking photos from the air is an amazing perspective, and he loves to take his drone while traveling.
Related Articles:
How to Collimate Binoculars: 9 Expert Tips
How to Clean a Rifle Scope: 8 Expert Tips
How to Choose Binoculars for Bird Watching: 10 Expert Tips
How to Clean a Refractor Telescope: Step-by-Step Guide
How to Clean a Telescope Eyepiece: Step-by-Step Guide
Monocular vs Telescope: Differences Explained (With Pictures)
What Is a Monocular Used For? 8 Common Functions
How to Clean a Telescope Mirror: 8 Expert Tips