
Optics Mag is reader-supported. When you buy via links on our site, we may earn an affiliate commission at no cost to you. Read more.
What Is the Rule of Thirds? Photography Basics Explained
Last Updated on

Many people think so, but good photography isn’t as simple as raising a camera and clicking the shutter. A photographer must consider framing, lighting, angles, and composition during photography.
Of course, there’s no specific formula for getting a good picture, but there are particular rules that make the process easier. The rule of thirds is perhaps the most well-known rule of photography. It is a technique that photographers use to distribute the photo frame into a 3 x 3 grid, consisting of two vertical and horizontal lines interacting equally at four points.
The best part about the rule of thirds is that you don’t always have to follow it. Breaking it is also a great practice in photography. So, you’re at the right place if you’re new to the rule of thirds in photography.
In this article, we’ve covered everything you need to know about the rule. So, keep reading to learn how to use and break the rule of thirds to become a professional photographer.

What Is the Rule of Thirds?
The rule of thirds is a technique used by photographers during composition. This rule helps them divide the frame into an equal grid. In this grid, two vertical and horizontal lines interact at four points. Using the technique carefully can help you get some truly stunning shots.
In the rule of thirds, a photographer places their subject in either the right-third or the left-third of the frame. As a result, it creates a pleasing composition that’s easy to comprehend. Every point of interaction on the grid is a potential point of interest, and you can utilize these points to align your subjects with other essential elements in the image.
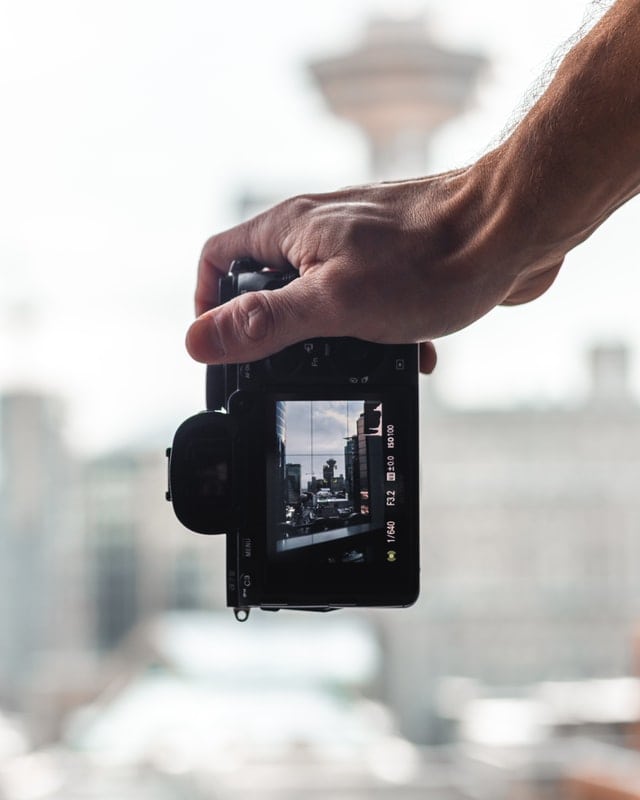
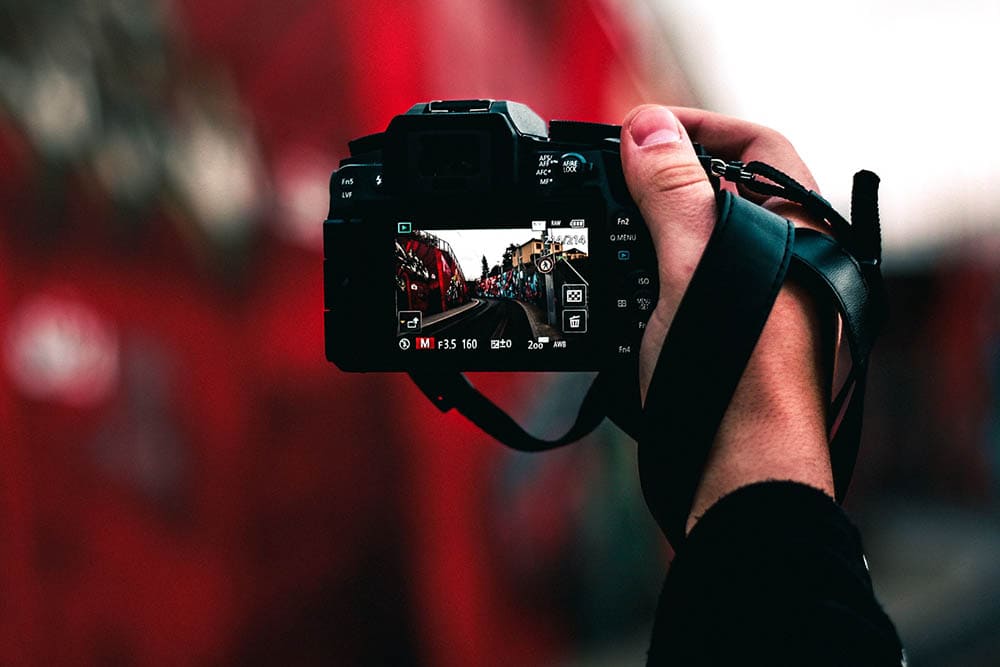
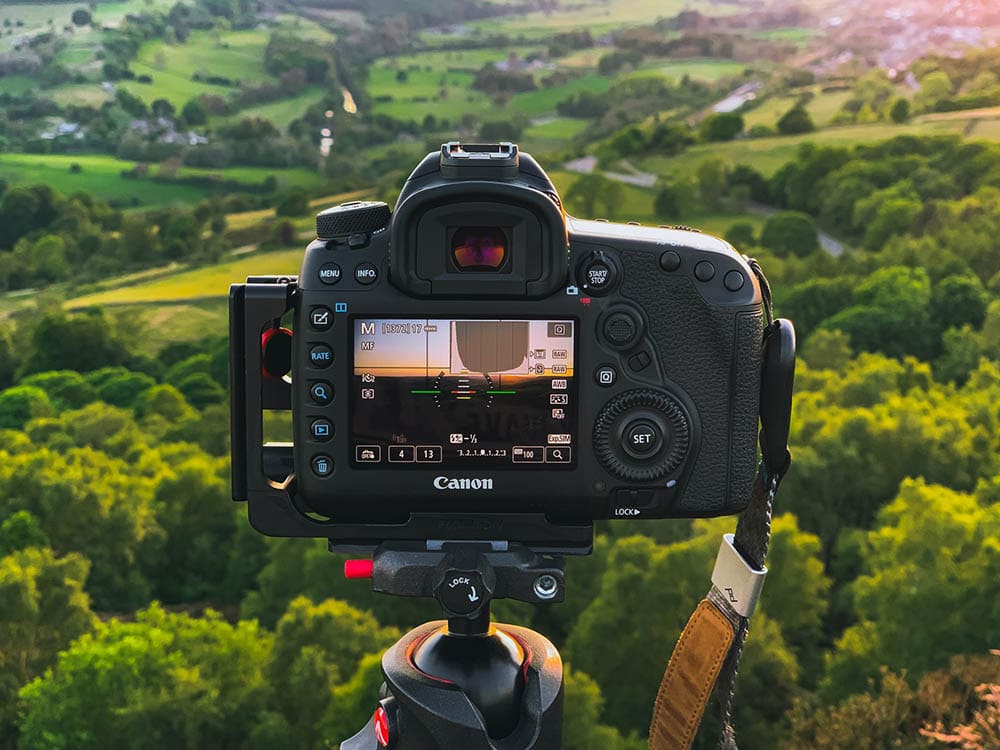
Then, you’ll end up with a visually balanced and exciting image. You’ll find that most modern smartphone cameras and digital cameras are already equipped with the rule of thirds. You have to click on the grid option, which shows up on the screen and allows you to align your subject expertly.
How to Use the Rule of Thirds
The rule of thirds isn’t the most complicated thing to learn but practicing it repeatedly can easily brush up your photography skills and help you understand the dos and don’ts of this talent.
Through this repetitious use, the 3 x 3 grid will be rooted in your brain, and soon you’ll master the rule. Applying this rule varies according to different aspects, so you need to learn from these tips from professionals to earn the best shots.
Here’s how you can use the rule of thirds for portrait and landscape photography and editing:
1. For Portrait Photography

Not everyone has a perfectly symmetrical face. That’s a pretty rare occurrence, so you need to use the rule of thirds in a tricky way. Focus on your shot from the perspective of the viewer. Where will your gaze land when looking at someone’s portrait? It’ll most likely end up on the eyes.
Align the left or right eye of the subject on two intersecting points on top and the shoulders on the lower-third grid, angling your subject in the empty grids giving a relaxed aspect. If you’re shooting for print photography, make sure there’s no critical information right in the middle of the image. That’s because you’ll most likely be using a horizontal approach.
This shows that the rule of thirds can come in handy for any type of photography. Most DSLR cameras include the rule-of-thirds grid, making it easier for you to work through. But you can always choose when to display the grid whenever you deem it necessary.
2. For Landscape Photography

Using the rule of thirds for composing landscapes can make a massive difference as it sets the perfect balance, drawing attention to the subject. Instead of positioning the subject at the center, locate the horizon line in the lower or upper third of the frame to maintain an illusion of expansiveness.
Laying out the main subject of your view on one of the four intersecting points can help create a core point in your shot. Then, you’re ready to shoot! Again, the placement of your main subject should be at the focal point, drawing the viewer’s gaze and making the shot look wider.
3. For Street Photography
Street photography can be chaotic since it is meant to be captured in its purest form. You have no time to lose and must capture images quickly during such chaos, but the rule of thirds still applies if you want to earn the best shots.
Place the subject on any intersecting point, align the buildings along the vertical lines, and position the horizon at the bottom for a more expanded image, and you’re all set to capture.
4. During Editing

It’s worth noting that you can even use the rule of thirds while editing. The rule of thirds can help you crop or reframe your photo while editing and make sure the subject attracts suitable attention.
All editing software has the grid option. Turn it on to adjust the vertical and horizontal skew of the image, ensuring that the lines align with the grid perfectly. Finally, hit save and you’re done.
How to Break the Rule of Thirds
Just because the rule of thirds is effective doesn’t mean you have to apply it all the time. Instead, you’ll find that breaking the rule of thirds can help you create some of the most unique and interesting shots.
Deviating from this rule can be intimidating for beginners, even if the results are positive. Here are a few examples of when you can ditch the rule of thirds and approach photography with your freedom of thought.
1. Fill the Frame

Your photography teacher may tell you never to fill the frame if you can help, but art is all about deviating from the rules now and then. Filling the frame can help you create some beautiful shots if you do it right.
In this case, you can either keep the subject in the foreground or hold parts of the subject outside the frame. This instance allows you to dismiss the rule of thirds entirely, allowing your subject to be the main focus of the frame. Just remember to keep the angle right.
2. Take Multiple Shots
Another way you can break the rule of thirds is by taking multiple shots. Even if you think your first shot was perfect, taking two or three more would never hurt. For example, you can take one photo with your subject right in the middle, one in the upper left corner, one in the lower right corner, etc.
Later, you can pick the shot that seems the most appealing to the eye and easiest to digest.
3. Try Different Composition Styles
Trying different composition styles is a critical step while expanding your photography skills. In this case, you can step away from the rule of thirds and instead focus on how your viewer will digest the image.
For example, most people read papers in a Z-pattern, so why not apply that to photography? Compose your shots in a way that compels your viewer to look from left to right before looking down the image. Then, they look back up again.
This makes the picture more digestible for the viewer, but it also ensures that they don’t miss any cool details you decided to include in the image.
4. Pull Back From Subjects
Lastly, you can deviate from the rule of thirds by pulling back from your subject. This is especially helpful if your subject is only going to be a small part of the image, but you still want to highlight them.
Pulling back from them and keeping them in the dead center of the image helps you highlight the subject while still displaying the background efficiently.

Master the Rule of Thirds for Better Shots
The rule of thirds is an excellent way for beginners to get the hang of photography and highlight their subjects traditionally. Since this option is available on most modern cameras, it ensures that photographers are on track no matter what medium they choose.
However, this rule isn’t as hard and fast as you think. Deviating from the rule of thirds can bring you some pretty cool shots. Follow our guide on using and breaking the rule of thirds to become a photography pro!
Featured Image Credit: Dolan Mbengi, Shutterstock
About the Author Jeff Weishaupt
Jeff is a tech professional by day, writer, and amateur photographer by night. He's had the privilege of leading software teams for startups to the Fortune 100 over the past two decades. He currently works in the data privacy space. Jeff's amateur photography interests started in 2008 when he got his first DSLR camera, the Canon Rebel. Since then, he's taken tens of thousands of photos. His favorite handheld camera these days is his Google Pixel 6 XL. He loves taking photos of nature and his kids. In 2016, he bought his first drone, the Mavic Pro. Taking photos from the air is an amazing perspective, and he loves to take his drone while traveling.
Related Articles:
What Is the Best Binocular Magnification for Hunting? Optical Features Explained
How to Clean a Refractor Telescope: Step-by-Step Guide
How to Clean a Telescope Eyepiece: Step-by-Step Guide
How to Clean a Rifle Scope: 8 Expert Tips
Monocular vs Telescope: Differences Explained (With Pictures)
What Is a Monocular Used For? 8 Common Functions
How to Clean a Telescope Mirror: 8 Expert Tips
Brightfield vs Phase Contrast Microscopy: The Differences Explained