
Optics Mag is reader-supported. When you buy via links on our site, we may earn an affiliate commission at no cost to you. Read more.
What Are the Ideal Indoor Flash Photography Settings?
Last Updated on

If you cannot find a way to soften your light, you’ll end up taking portraits that look strange—and not in an artistic or good way. That direct light usually creates very harsh shadows, to an extent that the picture looks as though it was taken outside on a hot sunny afternoon.
Your indoor flash photography session will only be a success if the light looks natural. But to achieve that, you’ll have to invest in the right equipment and put in an extra effort. These are the things you’ll need to accomplish that.

Indoor Photography Equipment
DSLR Camera
DSLR means it’s a Digital Single-Lens Reflex camera. It doesn’t matter what model you’re using, as long as it comes with a built-in flash and an option for an external flash.
Its in-built flash should be set to support the commander mode, while the external one serves the remote mode. If you got a camera that doesn’t have the flash feature, or if the one that was installed in your model cannot be configured to serve the commander or remote mode, you’ll have to purchase an off-camera flash.
Light Stand
You’ll want something that you could use as a mount to hold your umbrella and external flash, right? Well, that’s the work of the light stand. And they are not even expensive, if you’re wondering whether you’ll be able to afford one. They are also very light and are designed to collapse to avoid taking up so much space.
Umbrella Adapter
For the umbrella to sit on the stand, you’ll have to use an adapter. You could be resourceful and succeed to find something that will help you mount it without an adapter, but it won’t be stable.
Flash Adapter
Just like the umbrella adapter, it serves the same purpose. Most of them are universal, meaning you can use them with any flash iteration. Even if the brands are different. Also, they don’t cost much and can serve you for eons.
White Umbrella
Besides the camera, we think a white umbrella is the single most important piece of equipment in an indoor flash photography session. Its fabric has been designed to diffuse light and spread it over a larger surface.
By doing that, it ends up reducing the light’s intensity which often influences the degree of contrast in the images captured. The worst type of shots are the ones that have some areas too dark, and others too bright—there has to be some sort of symphony in your creations.
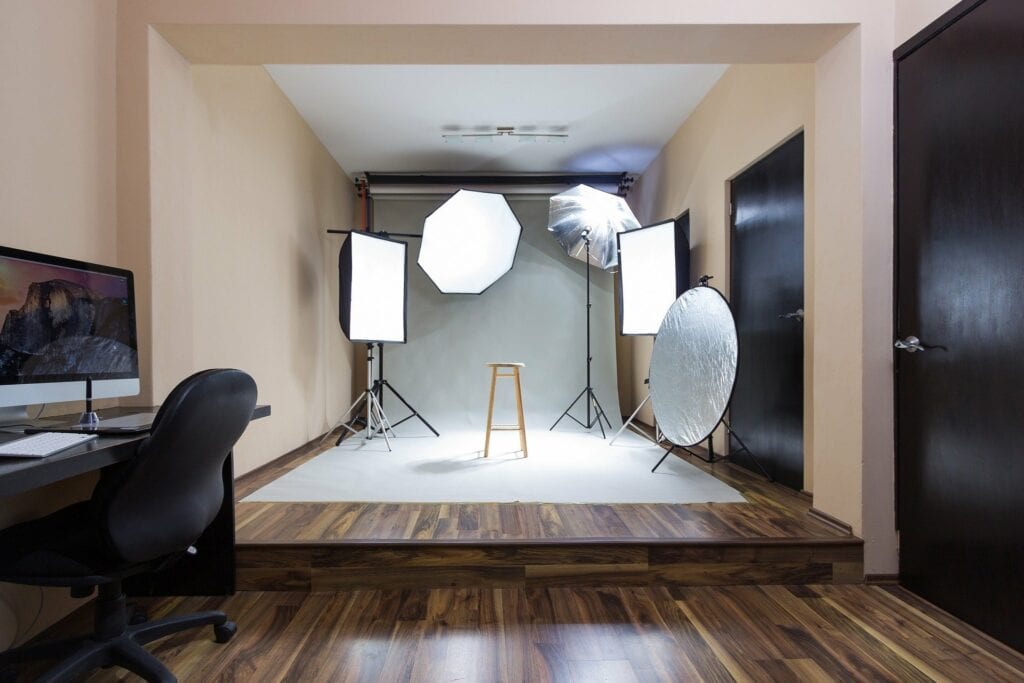
Assemble & Configure the Equipment
Confirm you have everything you’ll need, and then assemble them. This shouldn’t really be difficult, even if it’s your first time.
Setting The Umbrella
Your umbrella will have two configurations—the reflective one and the shoot-through. If you go with the latter you’ll be working with a light intensity that’s softer and a lot calmer. Even if you decide to move the light source closer to your object, that softness won’t go away. Matter of fact, you’ll experience the opposite effect, as it becomes softer.
Getting close to your object or subject when the umbrella is set to reflective is not possible, since the light stand will be in the way. The only time that we usually recommend the reflective configuration is when the photographer is trying to control the light’s direction to ensure all of it goes straight to the object, and nowhere else.
Angling The Light Source
The light source doesn’t just go anywhere. If that were the case, we wouldn’t be worried about the light’s direction. Position it in such a way that the light directly hits the subject. Ideally, at a 45-degree angle.
Camera Configurations
You have to acquaint yourself with the manual mode if you’ve never used it before. Shooting flash with an automatic camera mode is virtually impossible, seeing as there are so many pieces to move. The kind of pieces that can only be adjusted manually.
Take the aperture and shutter speed, for example. If you’re going to use an off-camera flash, you’ll want to tightly control whatever those two features are doing because a small shift can offset the entire balance. Consequently affecting how the images look.
If you don’t have a clue as to what to do, follow these instructions:
- Start by setting the camera mode to ‘Manual.’ It’s as simple as clicking a button.
- Move on to the metering mode, and have it configured to Evaluate/Matrix. Metering is the term used to describe the process that designates the appropriate aperture and shutter speed, with respect to the amount of light that they can pick up at any given moment. So, in essence, this mode is a regulator.
- Next, have the shutter release at “Single”. This prohibits your flash from firing several shots the minute you press the camera shutter.
- Switch off ‘Auto ISO.’ Its sole function is to command the camera to change the exposure as the light changes. The camera’s ISO should be at the base or lowest number. If it’s not, reset it.
- Assuming you’ll be using a fast prime f/1.4-f/1.8 lens, your aperture should be between f/2.0 and f/2.8. But for the guys working with the variable-aperture zoom lens, reconfigure it to the lowest f-number possible.
- The other important feature that we’ll have to reconfigure is the shutter speed. It has to be on at least 1/100th of a second.
- Last, but certainly not least, we have the flashes. If it’s an in-built flash, set it to “-”. This will prevent it from directly flashing at the object. But if it’s an off-camera flash, it should be in TTL mode. TTL means “Through The Lens” and it’s the equivalent of the camera’s automatic mode setting.
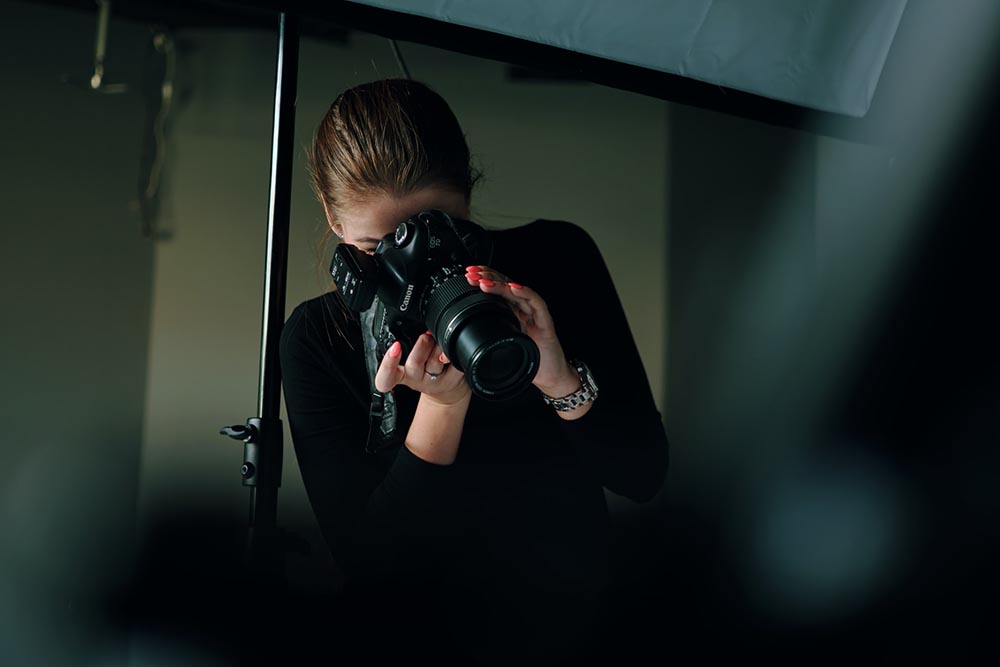
Take The Shot
Seeing as you’re done setting everything up, it’s time to take those shots. Just remember to watch out for the flash recycle time. That’s the duration it takes an off-camera flash to reload, before taking the next shot. If it’s taking too long, that’s a sign it’s firing in full power, to compensate for the darkness in the room.
This mostly happens when photographers are shooting in TTL mode. The only way to fix it is by slowing down or taking fewer pictures. If you intentionally ignore the problem, the flash will overheat and eventually malfunction.
Frequently Asked Questions
Why should I use a flash for indoor photography?
An off-camera flash is essential for any session carried out indoors if the lighting conditions aren’t that great. It will help you illuminate your subject, so that the camera can see and capture everything in a single shot.
Why don’t my images look sharp?
You’re probably having an issue with the focus setting. To get a sharper focus, you’ll have to lower your ISO setting. If you’re not sure which setting is appropriate, take multiple shots at different settings, and then do a comparison. You’ll realize a sharper focus requires a faster shutter speed.
Is the flash necessary during the day?
Absolutely. We don’t know why people always assume that outdoor sessions automatically have adequate lighting. Any experienced photographer will tell you they use flash more often when they are shooting outdoors than indoors.
•What Is a Fast Shutter Speed? (And When to Use It)

Conclusion
Nobody said you wouldn’t face challenges setting up an indoor flash photography session—challenges are part of the game. And if you make a few mistakes along the way, so be it. You’ll learn and post better results the next time you try again. It’s also fun to experiment with different flash settings, if you wish to stretch your creativity.
Featured Image Credit: Aziz Acharki, Unsplash
About the Author Robert Sparks
Robert’s obsession with all things optical started early in life, when his optician father would bring home prototypes for Robert to play with. Nowadays, Robert is dedicated to helping others find the right optics for their needs. His hobbies include astronomy, astrophysics, and model building. Originally from Newark, NJ, he resides in Santa Fe, New Mexico, where the nighttime skies are filled with glittering stars.
Related Articles:
How to Clean a Refractor Telescope: Step-by-Step Guide
How to Clean a Telescope Eyepiece: Step-by-Step Guide
How to Clean a Rifle Scope: 8 Expert Tips
Monocular vs Telescope: Differences Explained (With Pictures)
What Is a Monocular Used For? 8 Common Functions
How to Clean a Telescope Mirror: 8 Expert Tips
Brightfield vs Phase Contrast Microscopy: The Differences Explained
SkyCamHD Drone Review: Pros, Cons, FAQ, & Verdict