What are the Ideal Settings for Indoor Photography?
Last Updated on
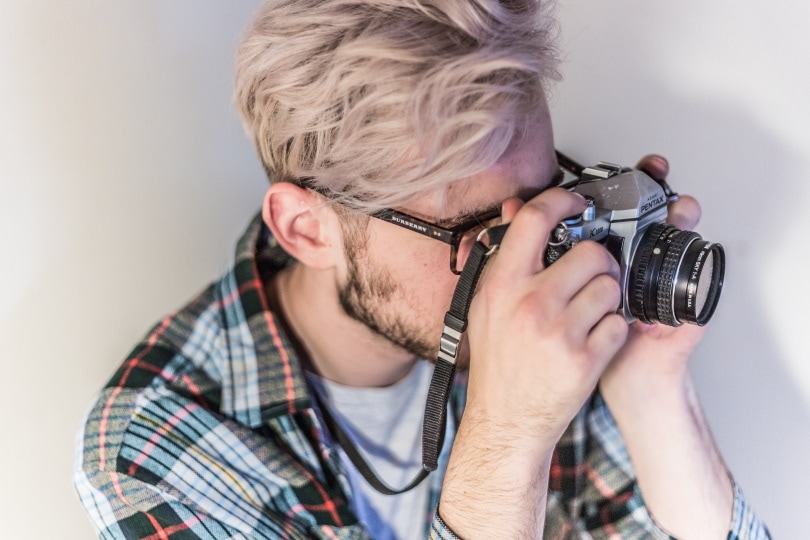
Are you looking to take excellent indoor images but don’t know what settings to use? Have you come home after a real estate, portrait, or event shoot only to be disappointed by blown-out highlights, high noise, a blurry image, or lackluster lighting? Don’t fret, as we’ve got plenty of tricks that you can use to improve your photography while you’re inside. Look out for a few of our tips below that go beyond just your camera settings—they may make or break your photos!
Here are the Ideal Settings for Indoor Photography
Exposure Bracketing
One setting you may overlook in your camera is called exposure bracketing. This is an essential feature for indoor real-estate shooters, as it creates multiple exposures that can be blended together later in post-processing to light the final image properly. There may be options in your camera that process three to five images at separate exposure levels, depending on how you set them. For example, the settings for many camera bodies will offer an option to take one image at -1 stop (slightly underexposed), another image at 0.0 (properly exposed), and the last image at +1 stop (overexposed) respectively. Your camera may feature the same functions but with more aggressive under and overexposure, but either will vastly improve the details of the shadows and highlights. These variables cannot be compensated for in a single exposure under such contrasting conditions.
Shutter Speed
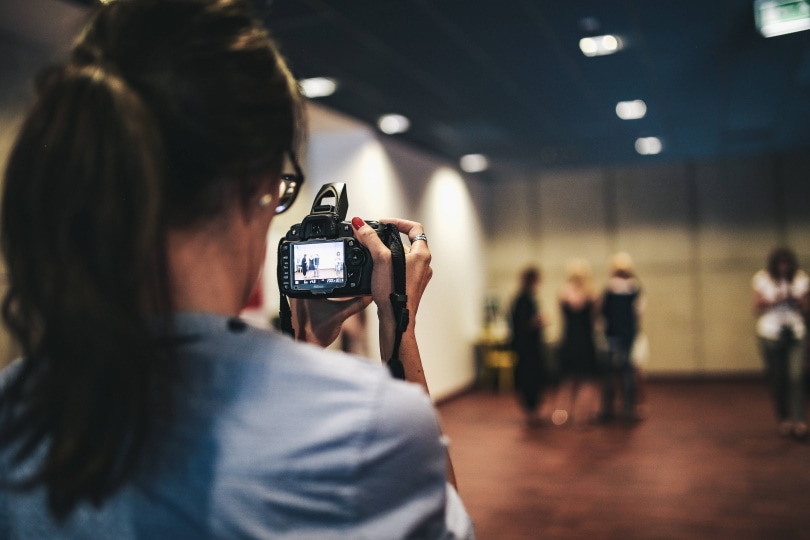
The great thing about indoor photography is that the environment can be controlled, and if there are no windows open or people moving in the frame, it will enable you to increase your shutter speed to maximize the amount of light your camera detects. This should be done with a tripod or stand so you can keep things perfectly still. The specific shutter speed you use depends on your aperture, ISO, and focal length, so you should first look at those areas to determine the formula. If you’re using a 50 mm lens, then it’s best to not go slower than 1/50th for optimal performance. However, it may even be necessary to use 1/100th of a second in this scenario if you’re struggling to keep the camera steady or your lens/camera body isn’t stabilized. Plus, it will prevent faster subjects in the frame from blurring out if they are in motion.
Aperture
Portraiture photographers should always maximize their depth of field (DOF) if they want to keep their subject as the primary focal point. With this in mind, a wider aperture such as f2.8 or f4 will be your best bet and will help bump up your shutter speed in case your subject isn’t completely still. Architecture or real-estate shots will benefit much more when a smaller aperture such as f8 or f11 is used, as it will keep the entire room or area in focus. In this case, you’ll most likely be using a tripod, and there won’t be moving subjects, so it’s safe at this time to have a slower shutter speed.
ISO
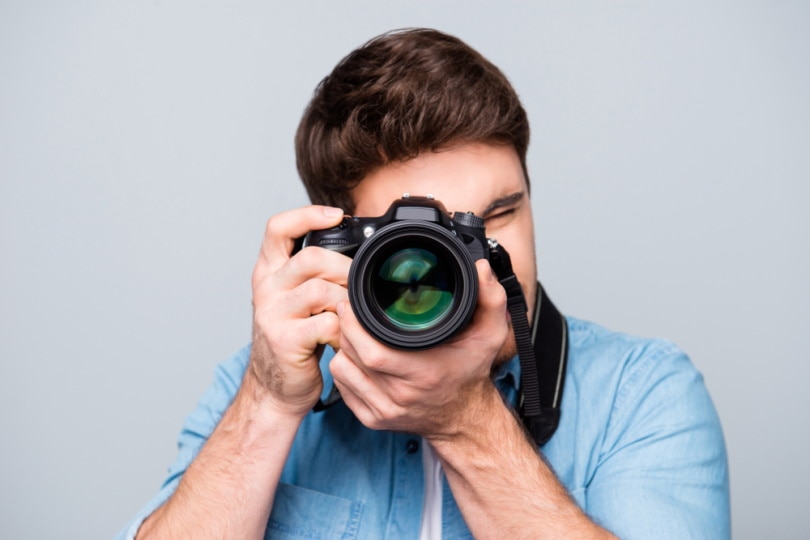
Most of us understand that keeping our ISO down will reduce noise and speed up the editing process. It’s true that you should attempt to have an ISO that is as low as possible, around 50 to 400. However, if you do not have a tripod or image stabilization, you might need to crank it up a notch. The reality is that you won’t need to worry about increasing this setting if you have a modern mirrorless body with excellent noise performance. Additionally, if the location is well-lit, it will help tremendously.
White Balance
Luckily, editing software can easily make this setting completely obsolete, so if your white balance isn’t perfect, it won’t do permanent damage. In the meantime, it should be a breeze to look back and forth at your location and on your monitor to adjust the balance accordingly. Usually, the indoors require a cooler tone, so you may find it is less than 5,000 kelvins (K). One bonus tip if you’ve set up your own lights is to see what the temperature is on. Then, you can match the temperature with your camera settings.
Shoot in RAW
To get the most data and optimum editing flexibility, always shoot in RAW format. The files may be larger, but they are far more detailed and offer the right tools to get your final image looking pristine!
Focal Length
Although this setting isn’t necessarily changeable in the body, it’s still a fundamental way to express the image. Focal length is a creative choice in many cases, so it depends on what your goal is. However, ultra-wide lenses ranging from 12 mm to 20 mm will be ideal for getting an entire room or area in the picture and are more popular for this genre.

A Few Things to Consider
Before you start taking indoor photos, there are a couple of variables that could benefit your images without changing any settings in-camera.

Use Artificial Light
When it comes to any style of photography, light is the most critical factor that affects your final result. Indoor photography stresses this quite a bit more than other genres since natural light may not have the correct angles or strength that’s intended. The same can be said for light fixtures in a location that may be too dim. Since you’re in a controlled environment, unlike the outdoors, these issues can be easily fixed if you set up your own studio lights. An alternative is a flash or portable light if you need a minimal setup, which is a necessity for art galleries and museums. Keep in mind that you may need to use a diffuser if the light is too harsh.
Bring A Tripod
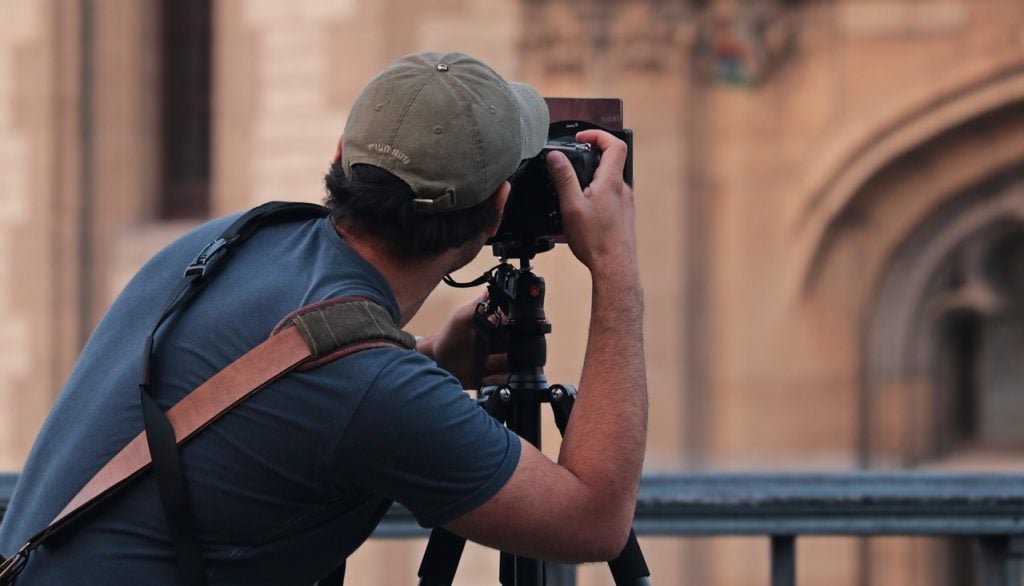
Most photographers understand why tripods are so important; they allow you to use a slower shutter speed and enable a smaller aperture to be set. This is great if you need everything in focus while shooting in rooms. Plus, it removes any shake from your exposures, which is never bad!

Final Thoughts
Indoor photography may seem daunting at first due to the lighting difficulties and editing process, but in the end, it’s a valuable skill and can be much easier with the right tools and settings at your disposal. Our tips on getting the best settings should lead to a more desirable result and prop up your indoor photography game!
Featured Image Credit: Piqsels
About the Author Robert Sparks
Robert’s obsession with all things optical started early in life, when his optician father would bring home prototypes for Robert to play with. Nowadays, Robert is dedicated to helping others find the right optics for their needs. His hobbies include astronomy, astrophysics, and model building. Originally from Newark, NJ, he resides in Santa Fe, New Mexico, where the nighttime skies are filled with glittering stars.
Related Articles:
How to Clean a Refractor Telescope: Step-by-Step Guide
How to Clean a Telescope Eyepiece: Step-by-Step Guide
How to Clean a Rifle Scope: 8 Expert Tips
Monocular vs Telescope: Differences Explained (With Pictures)
What Is a Monocular Used For? 8 Common Functions
How to Clean a Telescope Mirror: 8 Expert Tips
Brightfield vs Phase Contrast Microscopy: The Differences Explained
SkyCamHD Drone Review: Pros, Cons, FAQ, & Verdict
