How to Become a Real Estate Photographer (Step-By-Step Guide)
Last Updated on
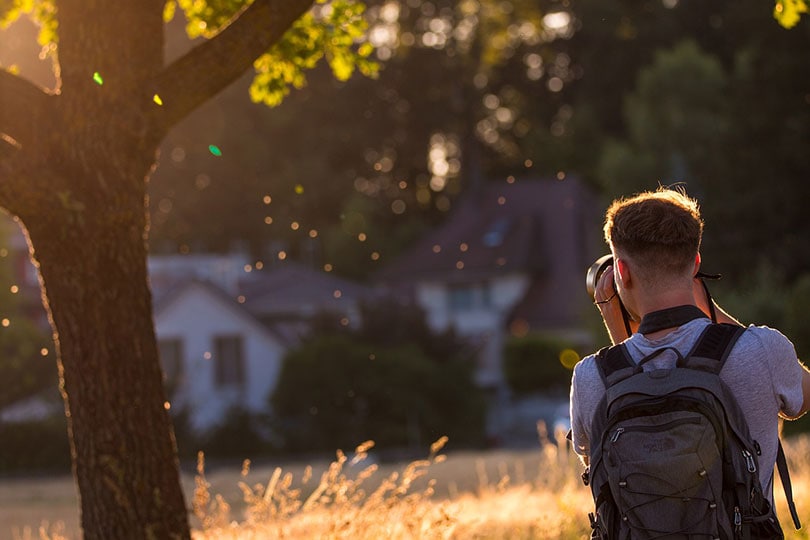
Real estate photography is one job that will allow you to combine your photographic creativity with a lucrative career. As a real estate photographer, it will be your job to find favorable angles of a specific property to show off the property’s appearance for potential buyers or clients.
Just like with any other career, you have to have the talent, resources, and skills to be a successful real estate photographer. However, first getting started can be difficult if you do not know the steps to become a real estate photographer.
In this article, we provide a step-by-step guide on how to become a real estate photographer. We begin by giving an overview of the job and end with detailed instructions. Scroll down to learn all of this and more.

What Is a Real Estate Photographer?
A real estate photographer is someone who takes photos of different properties for clients. Often, real estate photographers work with builders, decorators, designers, and realtors to showcase properties and property design.
As a real estate photographer, it’s your job to handle pre-production and post-production of the photos. You will have to find flattering angles of the property so you can take photos that showcase the best features. You may need to even decorate the area. After the photos are taken, it’s your responsibility to edit and enhance the photos.
Some duties to expect as a real estate photographer include:
- Staging properties for photos
- Planning shot lists
- Photographing inside and outside
- Position lighting
- Preparing all required tools and resources
- Maintaining gear
- Editing photographs
- Building a portfolio
- Networking with potential clients
As you can see, a real estate photographer has a lot of duties and responsibilities, but the work is often rewarding to those who love to take pictures and show off architectural properties.
Is Real Estate Photography a Good Career?
Becoming a real estate photographer is a good career for those who love taking photos but want a lucrative line of work. The job itself can be challenging and requires thinking outside of the box, but it is also fun and exciting. You can become a real estate photographer as a side hustle, though it can also be a full-time job if you develop enough clients.
Do Real Estate Photographers Make Good Money?
How much money you make as a real estate photographer depends on your talent, where you live, and the number of clients you get. On average, photographers make about $43,000 every year in the United States. Real estate photographers specifically often make more, but you will need to focus on high-end real estate to earn more money.
In other words, real estate photographers can make good money, but it’s up to you to develop your skills, portfolio, and clientele if you want to turn real estate photography into a full-time career.

Before You Get Started
If you’re interested in real estate photography, you must understand what the job entails before you get started. Unlike other photography work, real estate photography has the potential to be more lucrative because it involves commercial properties. However, you will have less creative freedom over the pictures as a result.
What You’ll Need
Something else to consider before you get started is that you will need a variety of tools and items to be a successful real estate photographer. Whenever you first get started in the business, you will end up spending a whole lot of money on your tools and resources. Unfortunately, there’s no way around these expenses.
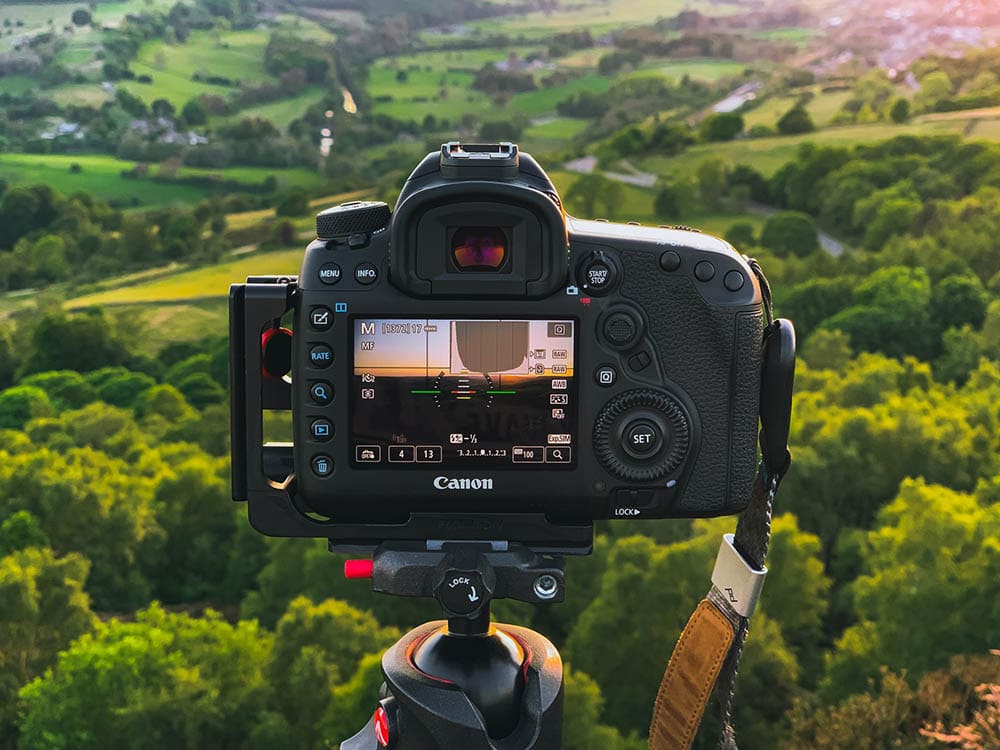
You will obviously need a decent camera. Cameras for real estate photography are often expensive because the camera needs action-tracking autofocus, high frame rates, and trigger flash.
You will need other gear to go with your camera, including a solid tripod, a wide-angle lens, and a crop sensor camera body. Don’t forget about basic wireless flash as well. That does not even include all the image editing tools you will need. You will need some type of Photoshop processing application that is high quality and offers advanced tone controls.
How to Become a Real Estate Photographer (Step-By-Step Guide)
Once you decide that real estate photography is right for you and you have all the tools you need to get started, here are the six steps you need to follow to become a successful real estate photographer:
1. Study Photography
To be successful at any job, you need to study the industry and skills. As a real estate photographer, you need to understand photography and study it as a result. Studying photography requires an artistic eye with functional tools.
You might want to study photography officially by attending a school with a fine arts degree in photography. However, you do not need a degree if you have technical skills and talent. You can find plenty of free online resources if you cannot attend school.
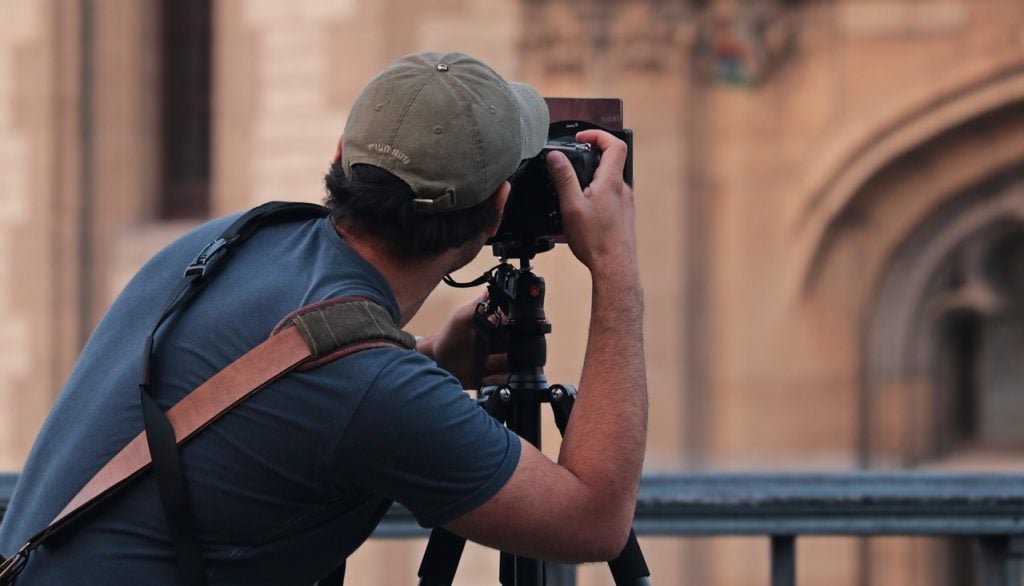
While you are studying, make sure you understand the camera and lenses, how to use tripods, and the importance of lighting.
2. Practice With Your Camera
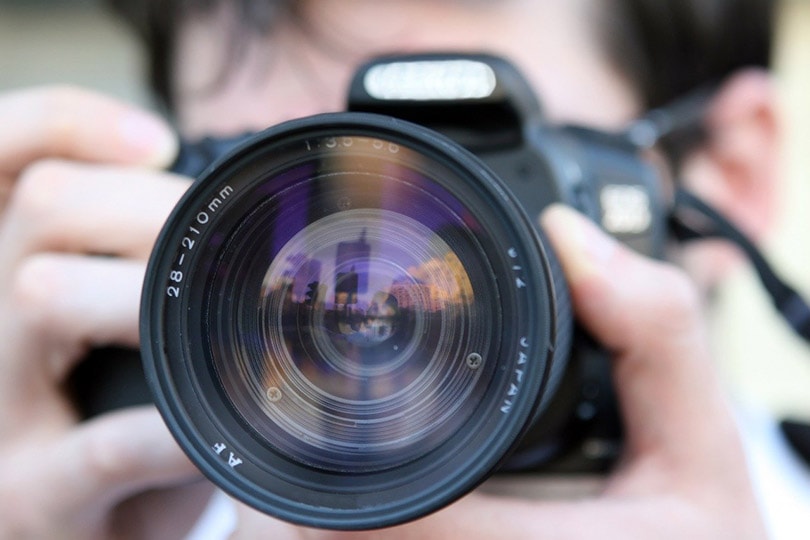
Once you understand photography on paper, go out on the streets and begin photographing with your camera. Each camera will be a little bit different. By practicing with your unique camera, you will be able to take the best photos with the tools you have on hand.
As you get better, try to take pictures of real estate in your area. If you see any properties or real estate venues that are interesting and you want to photograph, ask the property owner if they would be OK with you practicing your real estate photography using their property. You can explain that you are putting together a portfolio and would love the experience.
Most property owners will be happy to oblige. Of course, you will not be paid for this experience, but it will help you put together a professional portfolio later, which we will discuss shortly. In exchange, you can offer to provide the photos for free to the property owner so they can use the photos as they see fit.
If a property owner allows you to photograph their property and even stage it, be sure to thank them and provide them with the photos. This may be a great way to begin building your clientele. So, be professional even when you are practicing!
3. Practice Editing Software
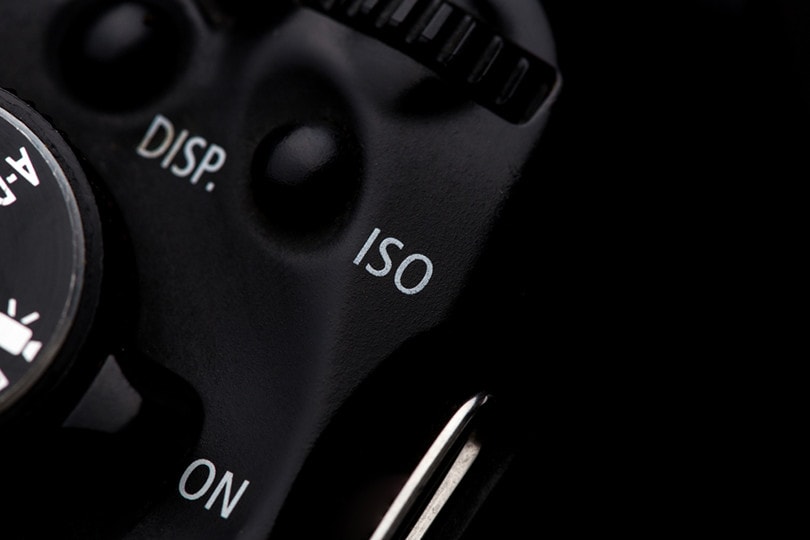
Once you take photos during your practice sessions, go back to your editing software and edit these photos. As a real estate photographer, editing your photos is just as important as taking them. If you have shoddy editing skills, you will not land big clients.
4. Create a Portfolio
Now that you have taken photos and edited them, begin creating a portfolio. A portfolio shows off your best work and demonstrates your skills to any potential clients. Whenever a potential client is considering your work, they will look at your portfolio to see what you can do. The best way to create a portfolio is to build it online so that your work is easily accessible.
5. Network
Throughout this process, try to network and gain more clients. As mentioned above, you might be able to gain clients by asking to practice your photography skills on different properties for free. By talking to these property owners, you get to introduce yourself, show your abilities, and network.
Make sure to network with many groups of people, including realtors, designers, home builders, and architects. If you have an architecture program in your area, you might even want to network at that school so that incoming architects already have a real estate photographer in mind whenever they start working.
6. Build Clientele
As you start networking, you will begin landing clients. It’s important to build your clientele through great customer service, fantastic photos, and consistency. You need to incorporate professionalism and easy scheduling into your business if you want to have a clientele base that comes back for more.
Final Thoughts
As you can see, becoming a real estate photographer is not necessarily an easy task. Even so, the hard work is definitely worth it. As a real estate photographer, you’ll get to experiment with your creativity all while having a lucrative side hustle and career. Follow the steps above to begin your career today.
See also:
Featured Image Credit: lukasbieri, Pixabay
About the Author Robert Sparks
Robert’s obsession with all things optical started early in life, when his optician father would bring home prototypes for Robert to play with. Nowadays, Robert is dedicated to helping others find the right optics for their needs. His hobbies include astronomy, astrophysics, and model building. Originally from Newark, NJ, he resides in Santa Fe, New Mexico, where the nighttime skies are filled with glittering stars.
Related Articles:
How to Clean a Refractor Telescope: Step-by-Step Guide
How to Clean a Telescope Eyepiece: Step-by-Step Guide
How to Clean a Rifle Scope: 8 Expert Tips
Monocular vs Telescope: Differences Explained (With Pictures)
What Is a Monocular Used For? 8 Common Functions
How to Clean a Telescope Mirror: 8 Expert Tips
Brightfield vs Phase Contrast Microscopy: The Differences Explained
SkyCamHD Drone Review: Pros, Cons, FAQ, & Verdict
