Optics Mag is reader-supported. When you buy via links on our site, we may earn an affiliate commission at no cost to you. Read more.
What Is Exposure Compensation? Photography Basics Explained
Last Updated on
Exposure compensation, in its most basic definition, allows you to control the exposure variables of your camera. With the help of exposure compensation, you can create beautiful photos with exquisite detail, even if the photo is underexposed or overexposed initially.
Of course, exposure compensation takes a lot of mastery and skill, which you likely don’t have as a beginner. With the right skills and techniques, you’ll be able to master exposure compensation in order to perfect your photo every time you click the shutter button.
In this article, we’ll go over some photography basics relating to exposure compensation. Keep reading to learn all of this and more.
What Is Exposure Compensation and How Is It Measured?
Exposure compensation is essentially your camera’s ability to override exposure. Whenever you select exposure compensation, you control the exposure from your camera so that you can brighten or darken the image, depending on the measurement you select.
For many digital cameras, the cameras are automatically set to a programmed mode. Based on the mode, the camera will detect the scene’s brightness and input a specific exposure setting as a result. Although your camera normally does a great job with this program setting, there are situations when the meter does not work properly.
This is where exposure compensation will come into play. It allows you to change the exposure so you can get the perfect image in needed scenarios.
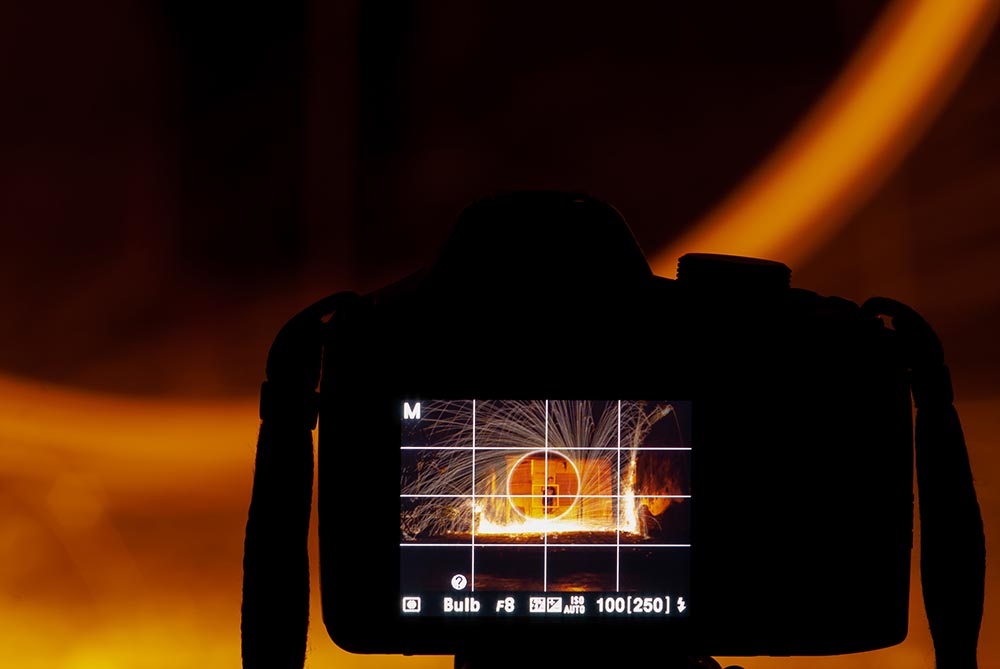
Image Credit: Dolan Mbengi, Shutterstock
Measurements
Exposure compensation is typically measured in thirds of a stop. Brightening up a shot results in positive thirds, whereas negative exposures, or darkening the shot, results in negative thirds. For example, some measurements for brightening up a shot include +1/3, +2/3, and +1. For darkening a shot, some of the measurements include -1/3, -2/3, and -1.
When Is the Best Time to Use Exposure Compensation?
The trick is knowing when you should use exposure compensation. Most cameras are designed to use 18% gray as the exposure benchmark. In certain scenes, there may be more or less of this gray middle benchmark. For example, nighttime has more gray colors, whereas a bright, snowy day has less.
If you photograph a scene that is far off from the 18% gray, the photo likely won’t come out as you would like. For example, dark, nighttime scenes may appear brighter, whereas bright, snowy scenes may appear dull.
As a rule of thumb, you should use exposure compensation whenever the scene you’re photographing is significantly brighter or darker than the middle-grade benchmark. So, night and bright scenes will both benefit from exposure compensation.
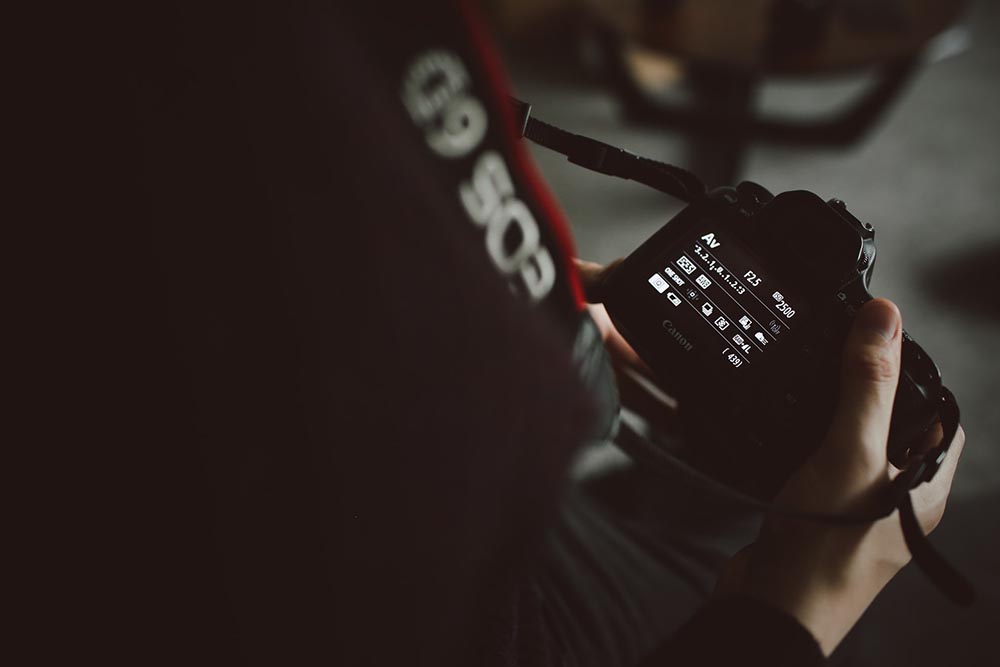
Image By: James Bold, Unsplash
How Do You Use Exposure Compensation?
Once you know when to use exposure compensation, you then have to actually apply it to the camera. For first-time users, this can be a bit tricky, but it is easy to master once you get the hang of it. Here are the steps you’ll need to take to use your exposure compensation:
1. Set Camera to the Correct Mode
First, make sure your camera is set to the correct mode. It needs to be set to aperture priority, program mode, or shutter priority. Exposure compensation will not work whenever you are shooting in manual or auto mode.
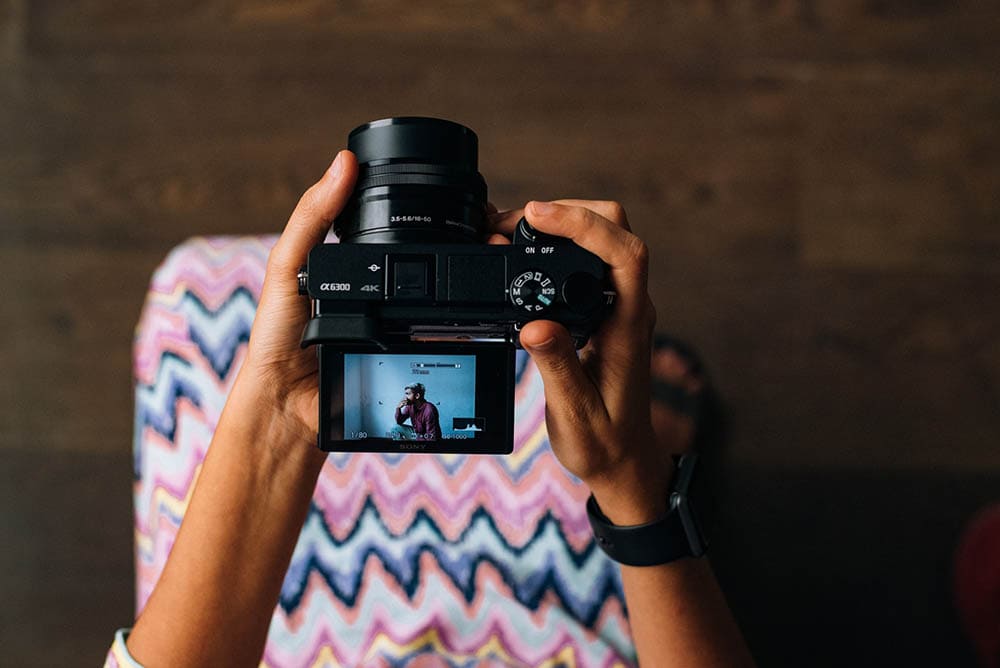
Image By: ShareGrid, Unsplash
2. Evaluate the Scene
Next, look at your scene and determine if it needs any compensation. If the scene appears normal, you might not need compensation. For brighter or darker scenes, exposure compensation may help the shot look its best.
3. Dial Correct Exposure Compensation
Find the +/- button so you can adjust the exposure compensation as necessary.
Image By: Prasanna Kumar, Unsplash
4. Shoot and Adjust as Needed
Finally, shoot your photographs, and check them out after you have taken the shot. Adjust the exposure compensation as needed.
What Is the Difference Between ISO and Exposure Compensation?
When talking about exposure compensation, one term you will likely think about is ISO. ISO is the camera lens’s sensitivity to light. The lower the ISO value, the less sensitive the camera is. Conversely, the camera will be more sensitive if it has a higher ISO.
In order to get the perfect image, you can adjust the ISO or the exposure compensation. However, there is a difference between increasing ISO and increasing exposure compensation. Whenever you increase the ISO, you compensate for the lack of exposure by amplifying the signal. With exposure compensation, you increase the exposure your sensor gets.
So, which one of these options is better? Most agree that increasing the exposure compensation is better because it leads to optimal exposure.
Final Thoughts
Now that you know what exposure compensation is, you can use it in your own photography. Remember, exposure compensation only works in certain modes, and it is best for dark scenes or incredibly bright ones.
While you are first experimenting with exposure compensation, don’t be afraid to try different scenes and adjust the camera as needed. This is the time when you can learn how to master exposure compensation. Don’t be embarrassed about the photos you don’t like. Just learn from them and delete them once you’ve learned!
Robert’s obsession with all things optical started early in life, when his optician father would bring home prototypes for Robert to play with. Nowadays, Robert is dedicated to helping others find the right optics for their needs. His hobbies include astronomy, astrophysics, and model building. Originally from Newark, NJ, he resides in Santa Fe, New Mexico, where the nighttime skies are filled with glittering stars.