
Optics Mag is reader-supported. When you buy via links on our site, we may earn an affiliate commission at no cost to you. Read more.
What Does the Nosepiece Do on a Microscope? The Interesting Answer!
Last Updated on

Microscopes have several components that can make the instrument look complex if you are a beginner. However, it’s easy to understand once you break it down and look at each piece. Here, we look at the microscope nosepiece and go over where it is and how it works in order to help you better understand how to use this important tool. In short, the nosepiece lets you choose objective lenses to create the right magnification levels.

What Does the Nosepiece Do on a Microscope?
The nosepiece on a microscope, also called the turret, enables the user to select different objective lenses to achieve the desired magnification.
How Does the Nosepiece Work on a Microscope?
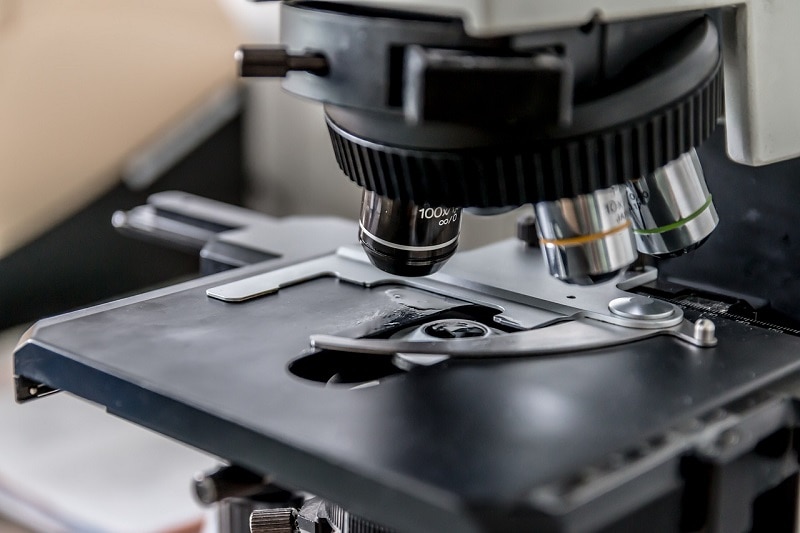
The nosepiece on a microscope is usually a round disc that houses three to five objective lenses at equal distances. The user can rotate the disk until the next lens locks into place, so they can select the next magnification without taking their eye away from the eyepiece. A good microscope will keep the image centered as you cycle through the objective lenses, so your image remains in view.
Where Is the Nosepiece Located on a Microscope?
If you are using an upright microscope, you can find the nosepiece at the base of the head. It will be above the stage where you place your slides, so your objective lenses can point down toward it. If you use an inverted microscope, the nosepiece is below the stage, so the objective lens can point up at the subject.
How Do I Use the Microscope Nosepiece?
Gently grab the disc with your fingers along the etched edge or surface to use the microscope nosepiece. You can rotate the disc clockwise to decrease magnification or turn it counterclockwise to increase it. As you turn it, you will feel it lock into place when the lens is in the correct position.
What If the Nosepiece of My Microscope Is Loose?
Many microscopes have a screw that you can turn if the nosepiece becomes loose, usually due to frequent use. If you cannot find the screw, you will need to take the microscope to a repair shop to have it fixed by a qualified technician.

What Are the Other Components of a Microscope?
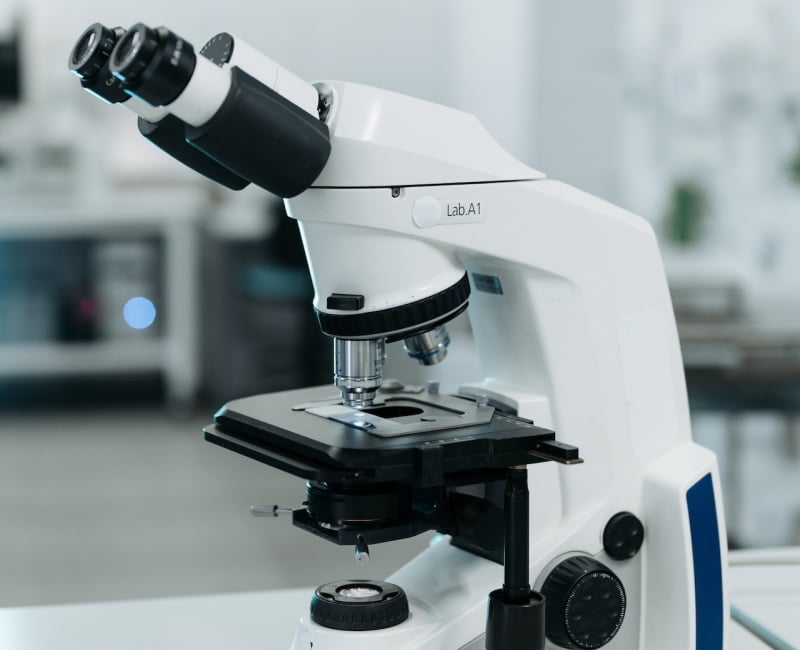
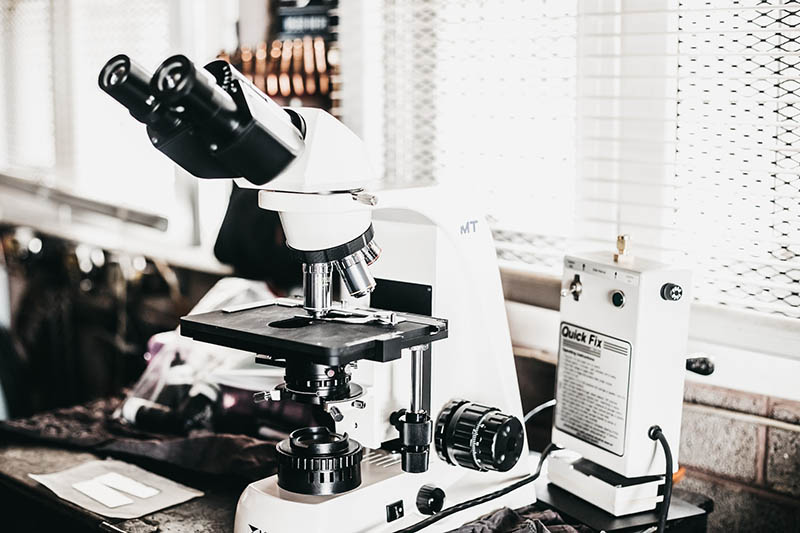
Eyepiece
The eyepiece is the part of the microscope that you look through. It’s a magnifying glass that usually provides 10 to 15 times magnification.
Diopter Adjustment
If you can use both eyes with your microscope, you likely have a diopter adjustment dial. This control enables you to adjust focus in one eye to match the other for a better image.
Body Tube
Some people call the body tube, the microscope head, which is the section between the eyepiece and the nosepiece.
Microscope Arm
The microscope arm is the part of the tool that connects the body tube or head with the base.
Course Adjustment
The microscope course adjustment is the primary control for adjusting focus. It’s usually a knob that you turn, but it can also be a lever or electronic control.
Fine Adjustment
Some microscopes include a fine adjustment along with the course adjustment. It adjusts the objective lens’s height in tiny increments, enabling you to focus on your slide more precisely.
Objective Lens
Your microscope will have several objective lenses in the nosepiece. The objective lens is a critical part of a microscope that works with the eyepiece to magnify the specimen in your slide so you can study it.
Stage
The stage is a flat microscope area where you place your slide. Larger stages provide more options; some can even help you switch slides, like the nosepiece enables you to change the magnification.
Stage Clips
Stage clips are long metal tabs that hold your slide in place while you work.
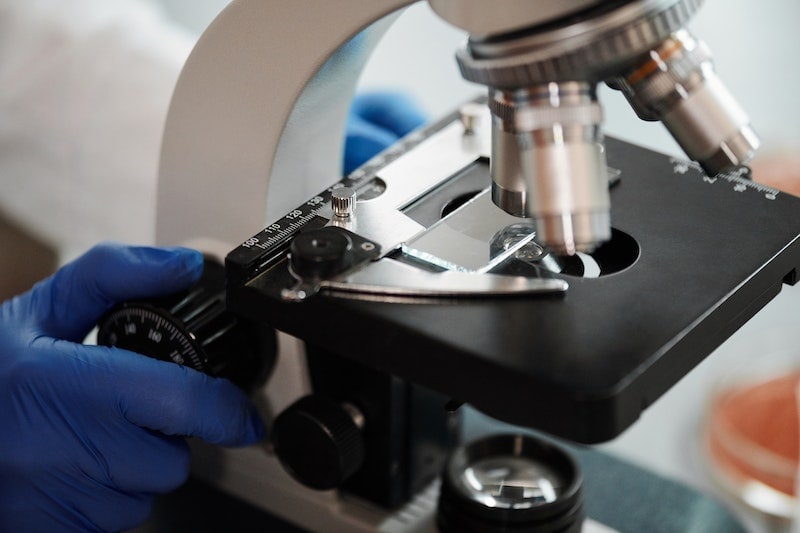
Aperture
The aperture is a hole in the stage that allows light to pass through so you can get a clear image using your objective lens.
On-Off Switch
The on-off switch will power up the microscope if required and turn on any lights.
Slide
The slide is where you place the specimen that you will use with your microscope. It’s usually two thin square pieces of clear glass that you place the sample between so you can observe it using the objective lenses of the microscope.
Stage Control
The stage control is a dial on many telescopes that enables you to adjust the height of the stage. If the stage is too high, it will cause the slide to bump off the objective lens. If it’s too far away, it will cause the microscope to work harder than it needs to.

Final Thoughts
The microscope’s nosepiece enables you to select magnifications without removing your eye from the eyepiece. Most models will have three to five objective lenses housed in the nosepiece to provide more magnification options. Using the nosepiece is easy and only requires you to twist it clockwise or counterclockwise to adjust the magnification strength to suit your needs.
Featured Image Credit: AndriyShevchuk, Shutterstock
About the Author Ed Malaker
Ed Malaker is a veteran writer who contributes to a wide range of blogs covering information on computer programming, pets, birding, tools, fitness, guitars, and optics. Outside of writing, Ed is often found working in the garden or performing DIY projects in the house. Ed is also a musician, spending his time composing music for independent films or helping people repair their guitars.
Related Articles:
What Is the Best Binocular Magnification for Hunting? Optical Features Explained
How to Clean a Refractor Telescope: Step-by-Step Guide
How to Clean a Telescope Eyepiece: Step-by-Step Guide
How to Clean a Rifle Scope: 8 Expert Tips
Monocular vs Telescope: Differences Explained (With Pictures)
What Is a Monocular Used For? 8 Common Functions
How to Clean a Telescope Mirror: 8 Expert Tips
Brightfield vs Phase Contrast Microscopy: The Differences Explained