
Optics Mag is reader-supported. When you buy via links on our site, we may earn an affiliate commission at no cost to you. Read more.
Night Photography Settings (Plus 6 Tips You Should Know)
Last Updated on

We’ve come a long way since French photographer Joseph Nicéphore Niépce captured the first heliograph image in 1839. Of course, the first hurdle was just being able to take a picture during the day when the light was on your side. Night presents new challenges that make understanding the settings on your camera critical to getting a decent shot.

The 6 Night Photography Settings
1. Manual Mode
Film cameras were the norm at the beginning of its history. Technology has since moved to digital devices and smartphones. Photography took a dramatic turn with these innovations. Everyone is a photographer now. That fact has also bolstered the development of apps with presets for scenarios like nighttime shots. Nevertheless, we suggest ditching these choices and opting for manual instead.
Night shots have many variables that a preset may not cover. An urban setting presents different challenges than a rural one. Ambient light can add another wrinkle to the mix. You’re better off putting your camera in manual mode for the best control.
2. Focus
Auto mode will handle many basic settings, such as focus. All you have to do is point and click. Voilà! You have your shot. However, this one takes away your creativity if you want to explore techniques like bokeh. Besides, how can your camera know where you want to focus? After all, night photography opens up so many possibilities. Take it back with manual focus. Automatic settings may get it all wrong.
3. White Balance
One common gripe about night photography is how pictures look when you view them the next day. The colors you thought you were capturing aren’t anything like what you see in the final product. One way to fix that issue is to set your white balance manually. This color has varying degrees, measured in its color temperature in degrees Kelvin. It goes from warm light to daylight. It applies to light bulbs and pictures.
The purpose of white balance in photography is to make things look like you expect. Night throws a wrench in the works, making manual control necessary. It lets you decide how all the elements in a photograph will look without the camera preset choosing it for you.
4. ISO
The ISO is one of three settings making up the exposure triangle. That’s a big deal for night shots. This one manages the noise or extraneous elements you see in an image by altering the sensitivity of the film or digital sensor to light. If you set it on the high side, the camera needs less light to capture the pic. It also requires less exposure to get the job done. It can make images grainy, making balance essential.
5. Aperture
Aperture goes hand in hand with the depth of field. The first decision is your subject and how you want to frame it. Of course, the night makes it more difficult. It’s crucial to control it when light becomes a critical factor. It’s simple to understand since the smaller the aperture or opening, the less light is getting into your device. That makes the depth of field greater.
The opposite occurs with a larger aperture. You’re allowing more light to get to the sensor, translating into a smaller depth of field. Light is the operative word since it’s less abundant with night shots. This setting allows you to optimize what your camera can capture.
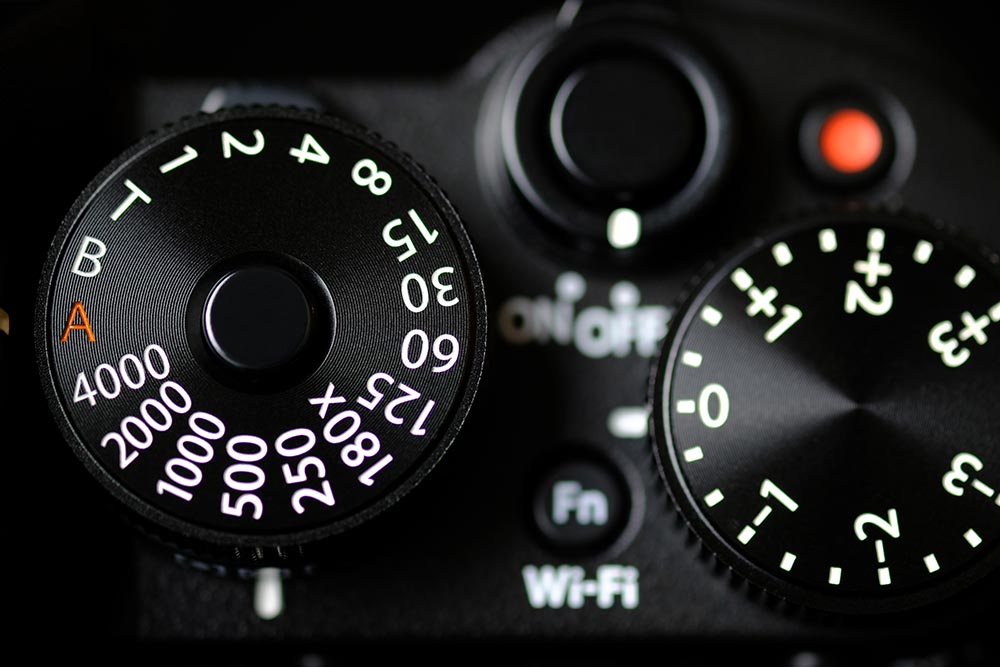
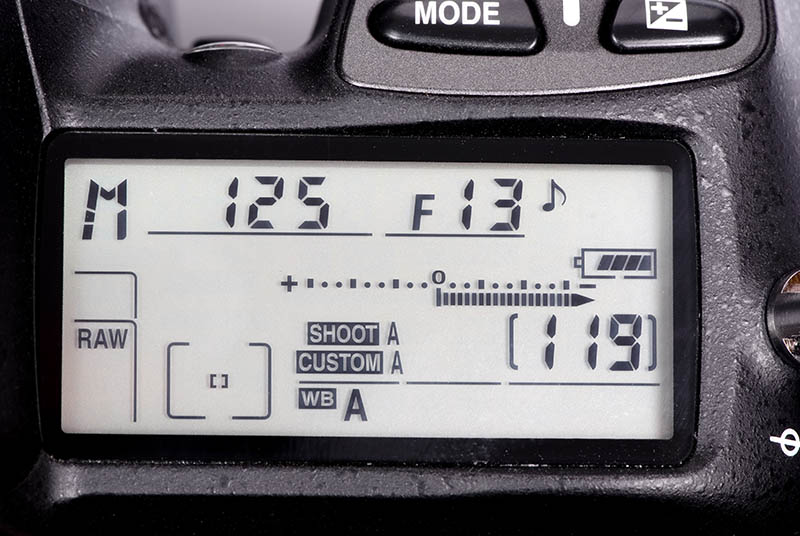
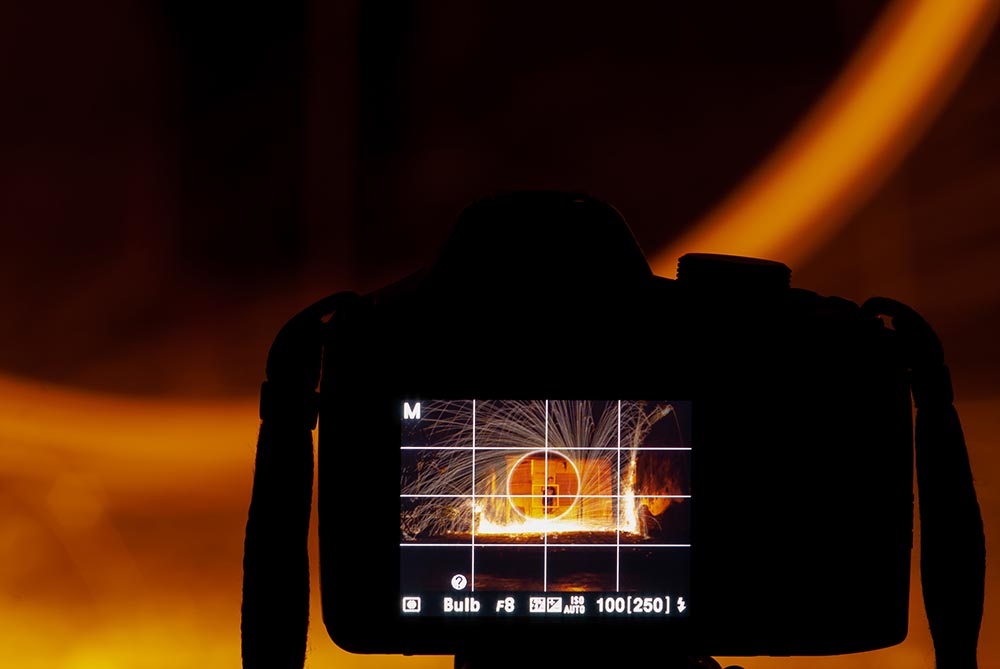
6. Shutter Speed
The final leg of the exposure is the shutter speed. This term describes how long the aperture remains open to get the shot. The more time you give your camera, the better light to capture the image. It’s an easy concept to understand and manipulate. That’s a good thing when dealing with light that can range from dusk to the darkest hour at midnight.
Photo Editing Tips
It probably goes without saying that auto-flash is useless for night shots or ones through a window. It won’t have enough light to offer any value for nighttime scenes, especially if you’re outside. The result will likely appear unnatural and nothing like what you’re seeing in person. It can flash back from windows or other shiny objects. Its only value is in low-light conditions that won’t interfere with colors.
You’ll find it helpful to use a tripod with night shots, especially if you’re increasing your shutter speed. It will ensure they come out clear and not blurry. We suggest trying out a different selection of settings and taking notes about them. There is a learning curve with night photography. Make it easier to learn by tweaking the settings with the benefit of seeing the results.
Summing Up
Night photography is a challenge. That makes switching toward manual settings the better option for enthusiasts of all skill levels. Presets can help to some degree, but they limit your creativity and ability to adjust on the fly. It can mean the difference between an excellent shot and a poor one. It also will help you understand photography concepts better when you can see the direct results.
See also:
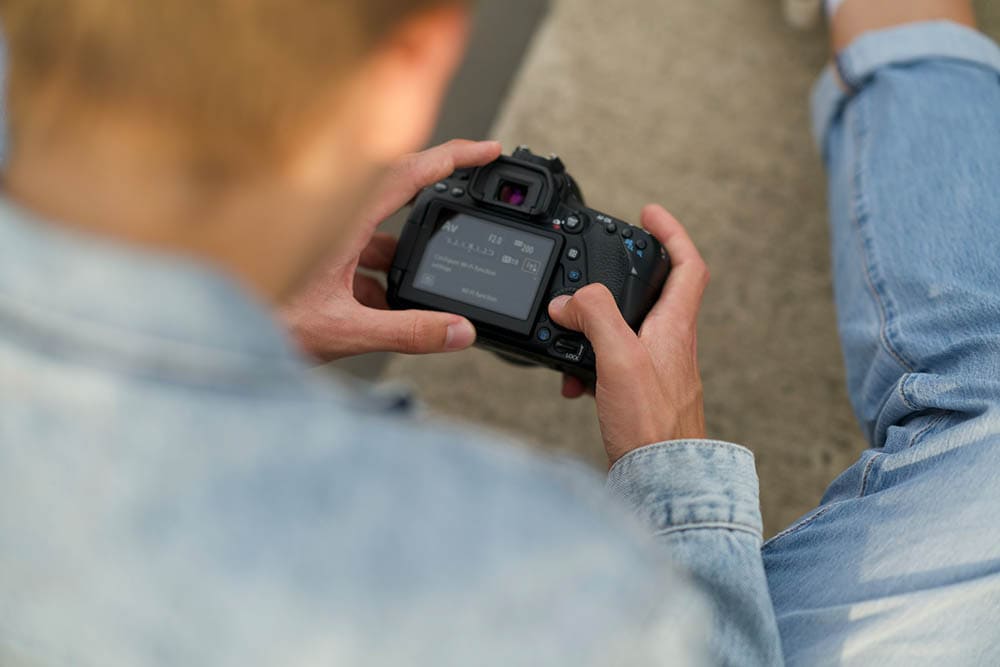
Featured Image Credit By: Alexander Popov, Unsplash
About the Author Robert Sparks
Robert’s obsession with all things optical started early in life, when his optician father would bring home prototypes for Robert to play with. Nowadays, Robert is dedicated to helping others find the right optics for their needs. His hobbies include astronomy, astrophysics, and model building. Originally from Newark, NJ, he resides in Santa Fe, New Mexico, where the nighttime skies are filled with glittering stars.
Related Articles:
How to Clean a Refractor Telescope: Step-by-Step Guide
How to Clean a Telescope Eyepiece: Step-by-Step Guide
How to Clean a Rifle Scope: 8 Expert Tips
Monocular vs Telescope: Differences Explained (With Pictures)
What Is a Monocular Used For? 8 Common Functions
How to Clean a Telescope Mirror: 8 Expert Tips
Brightfield vs Phase Contrast Microscopy: The Differences Explained
SkyCamHD Drone Review: Pros, Cons, FAQ, & Verdict