How to Sight in a Thermal Scope: 6 Easy Steps (With Pictures)
Last Updated on

We’ve all been there: You line up your shot, take a deep breath, and pull the trigger. But you watch as your bullet travels wide or falls short. You did everything right, but you still missed your shot — what happened?
You probably didn’t take the time to sight your scope in properly. It doesn’t matter if you’re using the most expensive scope on the market or the cheapest — if you don’t sight it in, you’ll never hit your target.
Thermal scopes present a unique challenge: You can’t sight them in like normal scopes, but that doesn’t make them any less useful. We’ve broken down that everything you need to do to sight in your new thermal scope.

Before You Start: Setting Yourself Up for Success
If you’ve sighted in a traditional scope before, you might think that you can skip this section, but this is the most important part. Thermal scopes don’t work like traditional scopes, so you need to take the time to set yourself up for success.
Understanding Your Scope

While traditional scopes usually come with windage and elevation turrets that you can adjust, thermal scopes typically don’t have those. Instead, you’ll have to learn how to make digital adjustments.
If you’re not sure how to adjust your scope, check out the owner’s manual before heading out. The last thing you want is to be trying to figure it out in the field.
What You’ll Need
https://www.instagram.com/p/CCVXHvZDDvE/
Before you head out to the range to sight in your scope, make sure you have what you need to have a successful outing. For starters, use the exact caliber rounds that you’ll be using when you use your weapon for real.
Bullet drop affects different caliber rounds differently, so if you swap it out after the fact, you’re going to miss your target. Second, make sure that you have the appropriate targets for a thermal scope.
You won’t be able to effectively see a regular paper target with a thermal scope, so you should invest in a thermal target board to help you sight in your scope. These targets glow under thermal lighting, so they’re easy to see with a thermal scope.
But if you’re on a budget, all you need to do is generate heat around your target. You can try setting up hand warmers around your target, though this won’t work as well as a dedicated thermal target.

Sighting Your Thermal Scope
https://www.instagram.com/p/CI8XDvxlOzM/
Once you’ve got everything you need and understand your scope, you’re ready to head out to the range. Just make sure that you bring everything with you and that you know how to shoot your weapon. If you’re new to shooting, you might find that you’re struggling to sight your scope because of a lack of technique and skill on your part.
Set Up Your Target
The distance that you set up your target depends on what you’re shooting, but since you set up thermal scopes on rifles most of the time, it’s typical to set your target up 100 yards out.
https://www.instagram.com/p/CI6kwTyjvOj/
Setting up your target at the correct distance is crucial, as it’s what you’ll be making all your adjustments based on the field. So, if you think you sighted your scope in at 100 yards but actually sighted it in at 90 yards, all your shots are going to be about 10 yards off after you make your final adjustments.
That might not sound like much, but it can be the difference between making your shot and heading home emptyhanded.
Take Your Shots
Once you’ve set up your target, the next step to sighting in a thermal scope is to head back to the shooting block and take your shots. The minimum number of shots that you need to take while doing this is three, but unless you’re an experienced and confident shooter, we recommend taking at least five.
Make Adjustments
https://www.instagram.com/p/CAvF4I8H3_4/
Once you’ve taken your shots, it’s time to see what you hit. Head out to your target and take a look. You want all of your shots clustered together. If they’re not, you need to adjust your shooting technique before making any adjustments to your scope.
However, if all the holes are in the same area, you can make adjustments to get your scope toward the bullseye. You’re going to make adjustments horizontally and vertically, not diagonally. Measure from the center of your cluster horizontally and vertically to the bullseye.
At 100 yards, each MOA equals 1 inch. Your scope will determine how many clicks equals one MOA. Before heading back to the shooting position, mark each hole that way. This way, when you’re making future adjustments, you don’t get confused by which holes were already there and which ones are new.
Take More Shots
https://www.instagram.com/p/CJ04io-jysw/
Once you’ve made your adjustments, head back to the starting block and take your shots again. Once again, the minimum number of shots you need to take is three, but we recommend at least five for less experienced shooters.
Make Adjustments
Head back out, and make sure that all your rounds are clustered in the same area. If all the rounds are clustered around the bullseye, you’re good to go. If not, measure again from the center of the cluster and adjust from there.
Whatever you do, don’t adjust if you don’t have a cluster. If you do this, you’re going to jump back and forth over the bullseye, which can be an extremely frustrating experience.
Wash, Rinse, and Repeat
You need to continue with these steps until your cluster is around the bullseye. Once it is, you’ve successfully zeroed your thermal scope, and you’re ready to head out!

Summary
While zeroing a thermal scope presents its own set of challenges, it’s not nearly as hard as some people make it out to be. The real challenges are finding an appropriate target and learning how your scope works.
But once you’ve mastered those things, zeroing a thermal scope is no different than zeroing a traditional scope. Don’t let it overwhelm you, and you’ll have your new thermal scope zeroed in no time!
You might also be interested in some of our top-trending posts:
- Low-Glow vs No-Glow Trail Cameras: Which to Choose?
- 7 Best Night Vision Scopes – Reviews & Top Picks
- How to Sight in a Crossbow Scope for Beginners
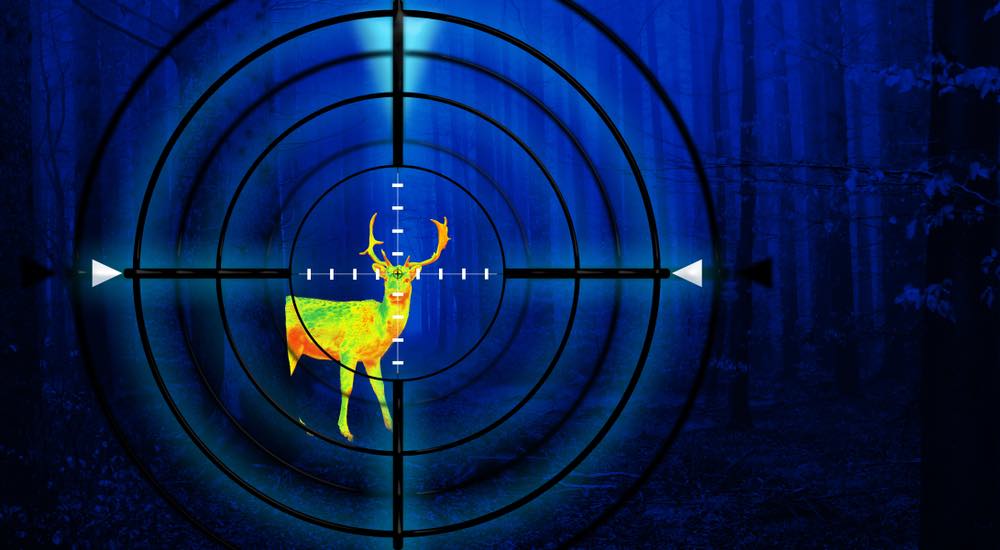
Featured Image Credit: funstarts33, Shutterstock
About the Author Robert Sparks
Robert’s obsession with all things optical started early in life, when his optician father would bring home prototypes for Robert to play with. Nowadays, Robert is dedicated to helping others find the right optics for their needs. His hobbies include astronomy, astrophysics, and model building. Originally from Newark, NJ, he resides in Santa Fe, New Mexico, where the nighttime skies are filled with glittering stars.
Related Articles:
How to Clean a Refractor Telescope: Step-by-Step Guide
How to Clean a Rifle Scope: 8 Expert Tips
Monocular vs Telescope: Differences Explained (With Pictures)
How to Clean a Telescope Eyepiece: Step-by-Step Guide
What Is a Monocular Used For? 8 Common Functions
How to Clean a Telescope Mirror: 8 Expert Tips
Brightfield vs Phase Contrast Microscopy: The Differences Explained
SkyCamHD Drone Review: Pros, Cons, FAQ, & Verdict
