
Optics Mag is reader-supported. When you buy via links on our site, we may earn an affiliate commission at no cost to you. Read more.
Outdoor Photography: 15 Tips for Incredible Photos
Last Updated on

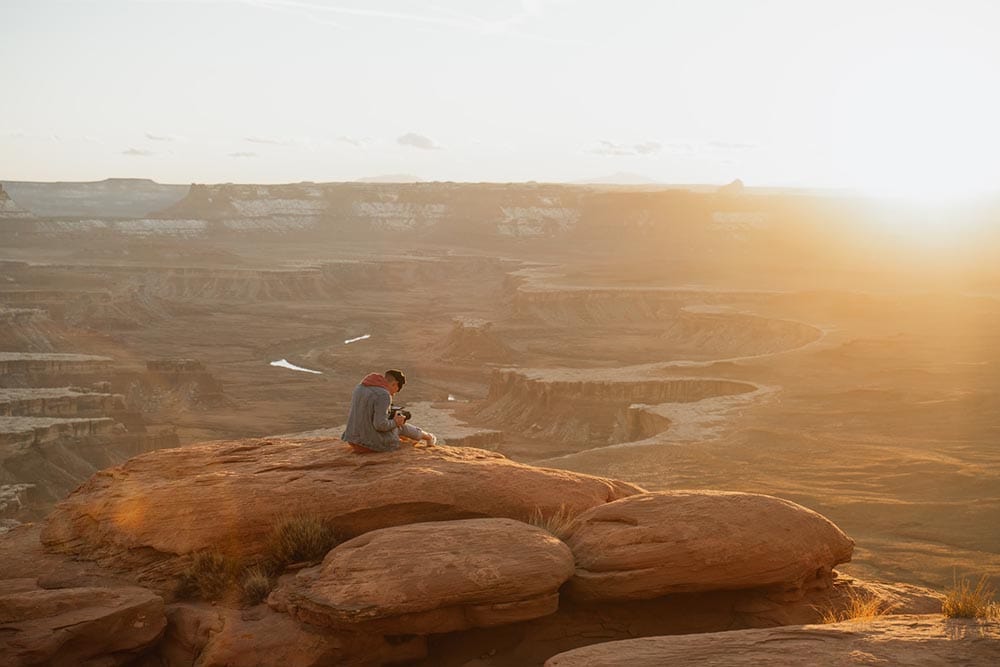
Whether you want to get the best outdoor portrait photos or simply want to ensure the best holiday photos from a once-in-a-lifetime trip, getting the best outdoor photos is important. But a lot of people struggle with things like lighting and composition. Below are 15 tips to improve your outdoor photography skills and to try and ensure better photos.

Outdoor Photography: 15 Tips for Incredible Photos
1. Plan Ahead
Try to plan ahead as much as possible. This means ensuring that you are where you want to be at the right time of day—when the lighting will be at its optimal and when crowds will be sparser, for example. You should also plan what you need to take with you. If you can get a vehicle to the site, you can carry a few more items. However, if you are trekking up a mountain to get some panoramic shots of the horizon, plan to take only the essentials.
2. Timing Is Everything
Although natural lighting tends to lend itself well to portraits and other photographs, it raises plenty of its own challenges. Ideally, you should avoid the time of day when the sun is directly overhead. It casts awkward shadows, and it is also likely to be the time when there are the biggest crowds.
3. Sun at Your Back
Another challenge with outdoor lighting is ensuring that it lights the subject, rather than causing a silhouette or diminishing detail. In most instances, this means that you want the sun at your back. This does increase the likelihood that any people you are photographing will have the sun in their eyes, but you can use natural shade or ensure that the sun is low enough that it won’t be too blinding.
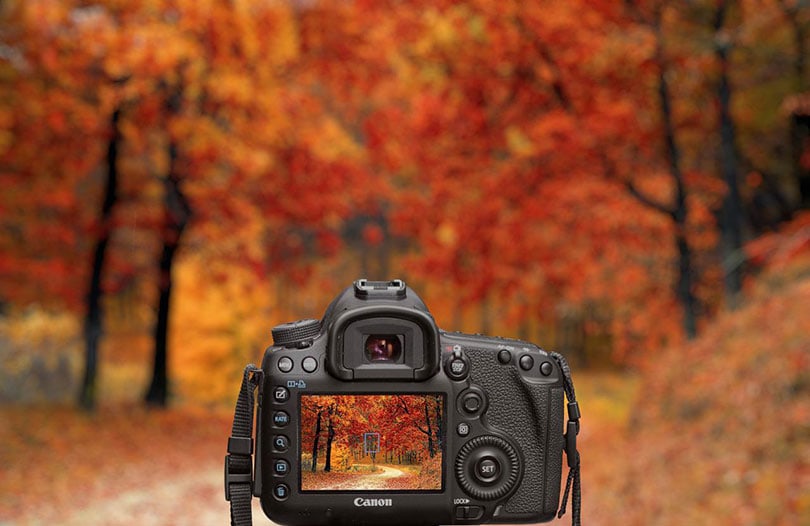
4. Raw Format
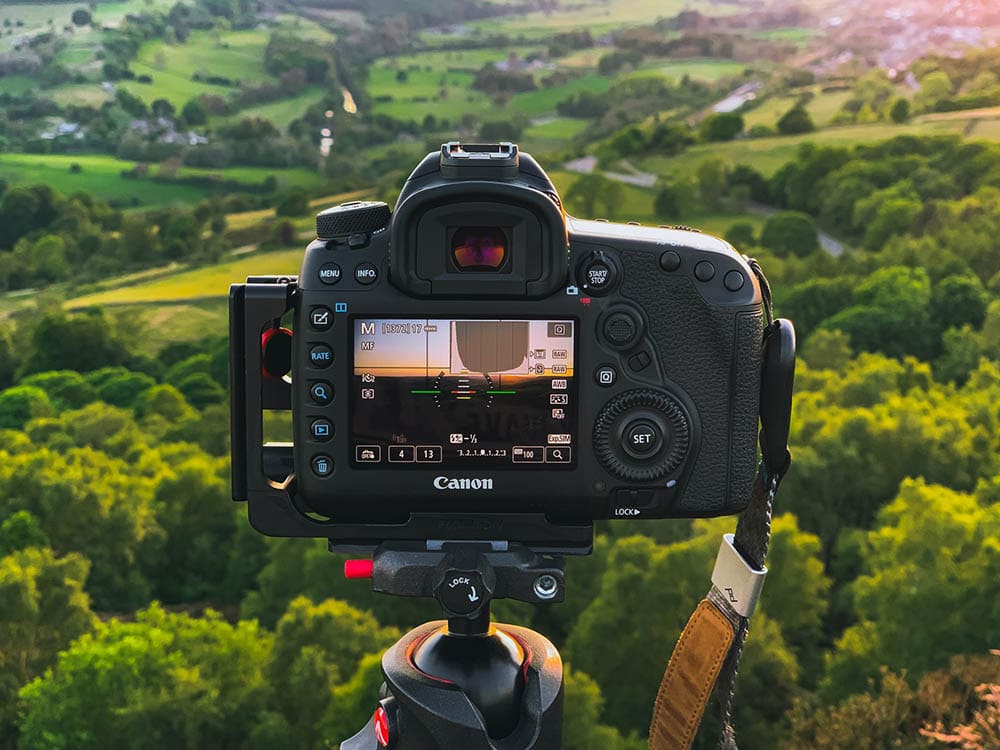
If you will be doing any editing after the photos are taken, you will want to use raw format. It enables better editing and post-processing. You might as well start out shooting in raw format, even if you don’t initially plan to edit after the event.
5. Wide Angle Lenses Work Best for Landscapes
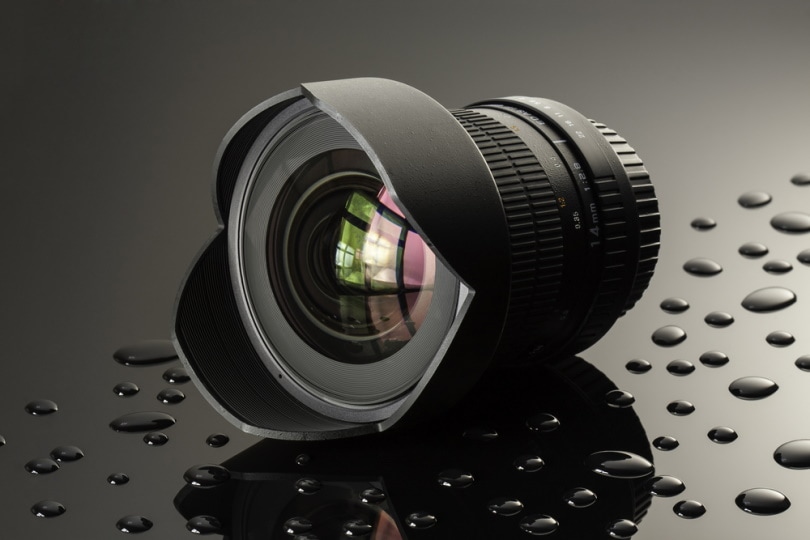
Wide-angle lenses work well for landscape photographs. They give a sense of space, and they can accentuate distance, height, and more. They are also useful when you incorporate foreground into your composition, which is another important tip.
6. Foreground Adds Interest

Staging can make the difference between a reasonable snap and a top-quality photo composition. It gives context, highlights space and distance, and enables you to use leading lines and other composition tricks.
7. Make the Eyes the Focus

When photographing people, unless you are taking candid shots or the people aren’t the primary subject of the photos, focus on the eyes. Not only does it draw the viewer’s attention to the eyes, but it also works to soften the appearance of the skin, helping cover any blemishes and making for a better portrait picture.
8. Use a Reflector — Natural or Otherwise

There are plenty of light reflective surfaces in most outdoor locations. Almost any white surface will work as a reflector that more efficiently bathes the subject in light, reducing shadows and ensuring better lighting in the composition. If you are unsure whether there will be an appropriately placed white wall or white delivery van, buy an inexpensive reflector and take it with you. Sheets and other white objects will work, but you may need to fashion some kind of base or holder for them since they can be awkward to carry.
9. Avoid Distractions
Sometimes, a random sheep in the background of a photo works well, but not if it distracts from the main point of the image. Similarly, power lines, passing cats, or people walking past can detract from the subject of the photo. Try to stage and frame the image in such a way as to avoid such distractions.
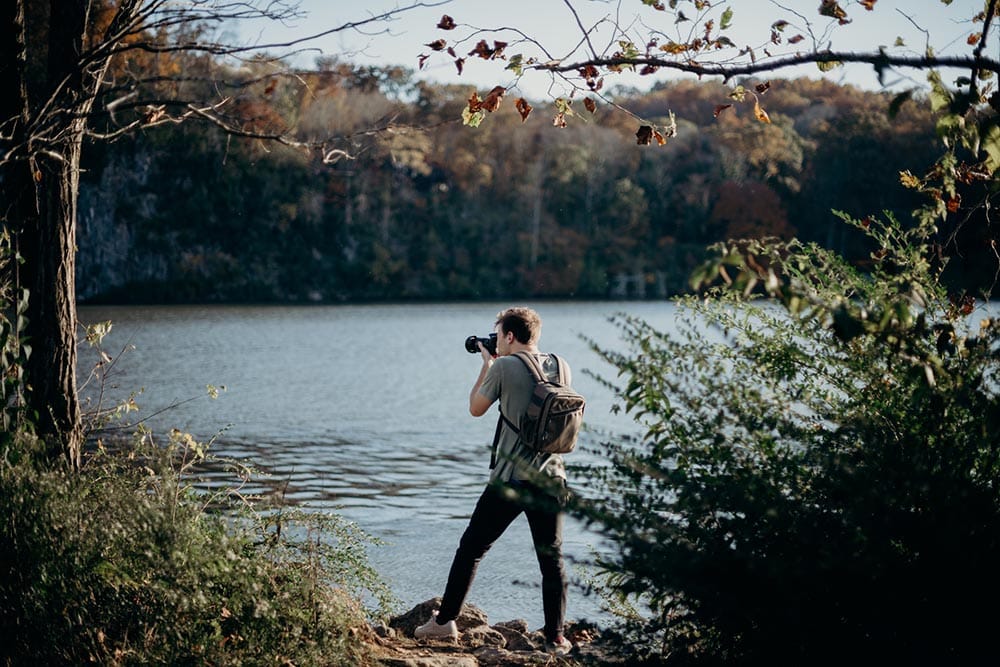
10. Telephoto Lenses Work Best for Nature Shots
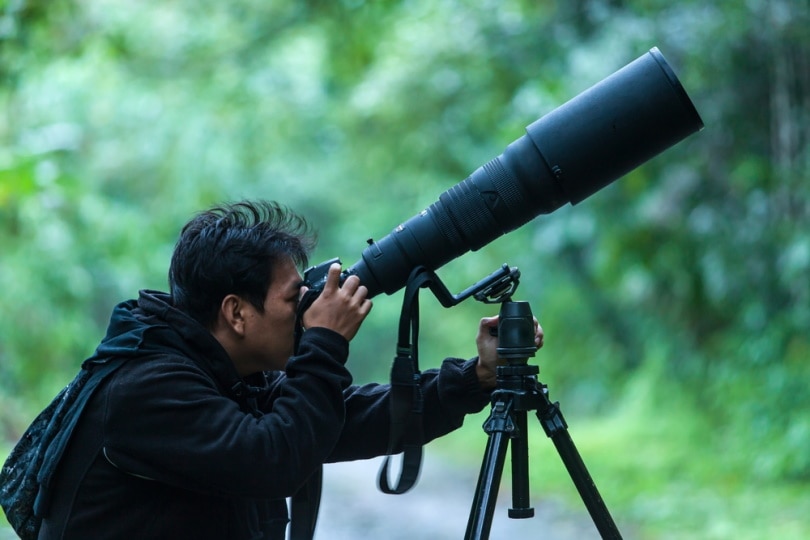
While the wide-angle lens is usually ideal for panoramic and portrait shots, the telephoto lens is better for nature shots. For photos of wildlife, it lets you zoom in and get detailed photos without getting close enough to scare the subject away. It can also be used to get a better image of objects and locations that would otherwise be too far away.
11. Get Creative
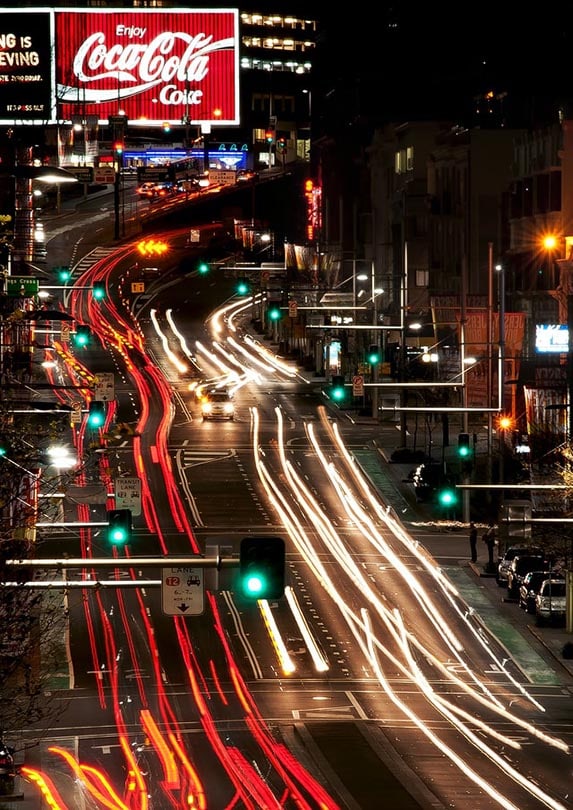
A slower shutter speed can blur movement and create incredible effects. Try using it when photographing anything that moves, especially with waterfalls and even clouds. Even if you don’t want the effects, you can still benefit from a little motion blur to soften images.
12. Don’t Cut Images in Half

Having the horizon appear halfway down your pictures will make the image appear as though it is cut in half. Frame the horizon in the top half of the composition to give more foreground or lower it if you’re looking to showcase an interesting or differently colored sky.
13. Use a Focal Point
Images typically require a main focal point. This focal point can be anything from a mountain to a cloud to a small group of people in the distance. Having a focal point helps guide viewers.
14. Lead the Eye
To really guide a person’s eye, though, is to lead their vision. Leading lines are lines that do exactly that—they lead a person’s eyes to the main focal point of the photograph. Leading lines can be straight, such as roads or fences, or you could use a meandering river or seemingly randomly placed stepping stones.
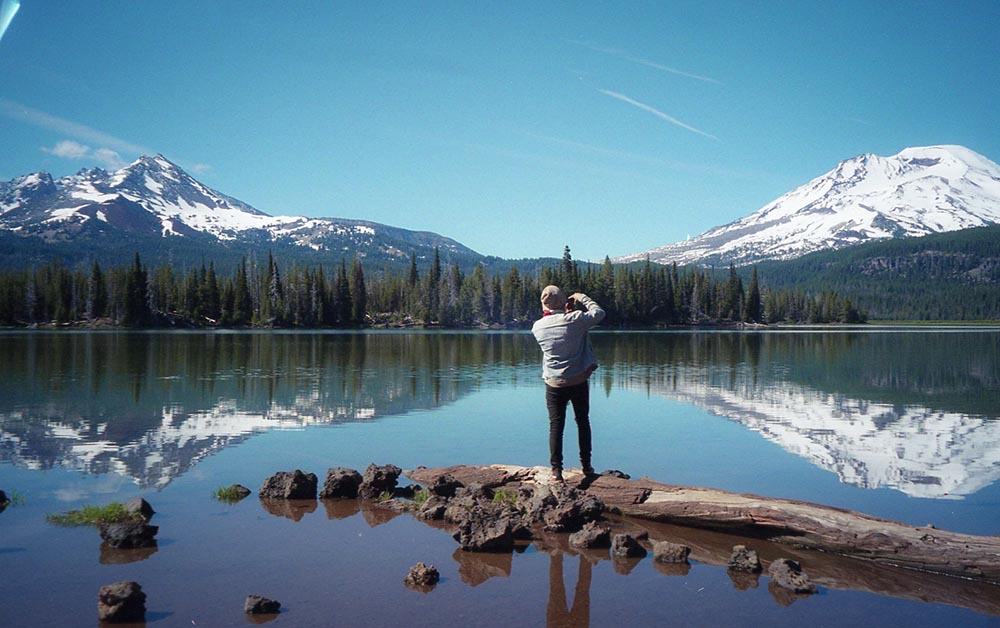
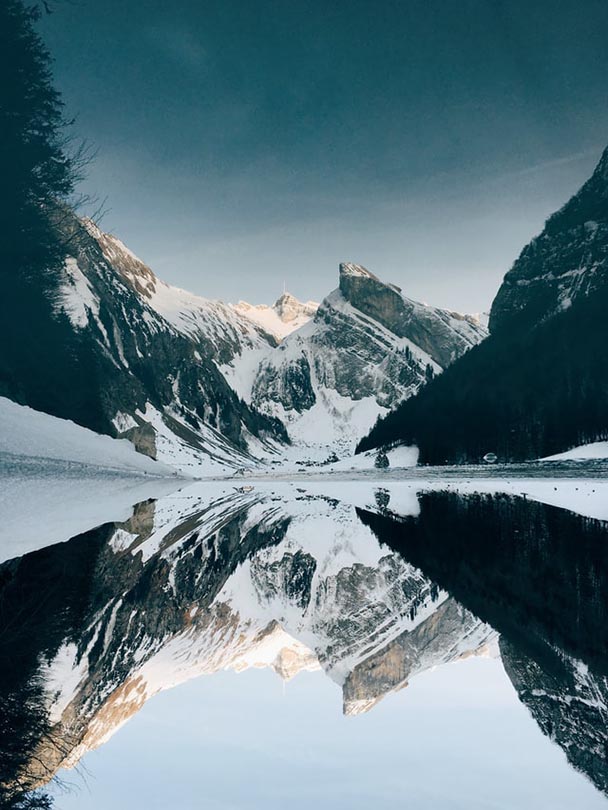
15. Use the Water

Water is excellent for photographing and for helping to expand and enhance photographic compositions. You can use the reflection of the water or slow the shutter speed for a motion blur or softening effect.

Conclusion
Outdoor photographs provide plenty of opportunities for good pictures. Use the natural light, but make sure to avoid awkward shadows. Avoid distractions in the foreground and background, and try to assist viewers of the picture by providing a clear focal point and using leading lines to direct the eyes to that point.
Featured Image Credit By Dan Meyers, Unsplash
Table of Contents
- Outdoor Photography: 15 Tips for Incredible Photos
- 1. Plan Ahead
- 2. Timing Is Everything
- 3. Sun at Your Back
- 4. Raw Format
- 5. Wide Angle Lenses Work Best for Landscapes
- 6. Foreground Adds Interest
- 7. Make the Eyes the Focus
- 8. Use a Reflector — Natural or Otherwise
- 9. Avoid Distractions
- 10. Telephoto Lenses Work Best for Nature Shots
- 11. Get Creative
- 12. Don’t Cut Images in Half
- 13. Use a Focal Point
- 14. Lead the Eye
- 15. Use the Water
- Conclusion
About the Author Robert Sparks
Robert’s obsession with all things optical started early in life, when his optician father would bring home prototypes for Robert to play with. Nowadays, Robert is dedicated to helping others find the right optics for their needs. His hobbies include astronomy, astrophysics, and model building. Originally from Newark, NJ, he resides in Santa Fe, New Mexico, where the nighttime skies are filled with glittering stars.
Related Articles:
How to Clean a Refractor Telescope: Step-by-Step Guide
How to Clean a Telescope Eyepiece: Step-by-Step Guide
How to Clean a Rifle Scope: 8 Expert Tips
Monocular vs Telescope: Differences Explained (With Pictures)
What Is a Monocular Used For? 8 Common Functions
How to Clean a Telescope Mirror: 8 Expert Tips
Brightfield vs Phase Contrast Microscopy: The Differences Explained
SkyCamHD Drone Review: Pros, Cons, FAQ, & Verdict