
Optics Mag is reader-supported. When you buy via links on our site, we may earn an affiliate commission at no cost to you. Read more.
How to Repair Binoculars at Home: Beginner’s Guide
Last Updated on

When you use your binoculars, you expect everything to work and get a crystal-clear image, so when you put your binoculars up to your eyes and get a blurry image, it can be more than a bit frustrating.
Add in the fact that optics repairs can get quite expensive, and you’ve got yourself into a conundrum. You don’t want to buy a new pair of binoculars, but you don’t want to spend the money to send them off for repairs either.
The good news is that with a little know-how, you can fix most issues, saving yourself a ton of money and frustration in the process.
In this guide, we’ll walk you through everything you need to know to fix three of the most critical components of your binoculars and walk you through everything you need to know before you start.
Before You Start
Before you start tearing into your binoculars, we recommend read the next few tips. While it might take you a few extra minutes, it could end up saving you a few hundred bucks and hours of frustration. Take it from someone that’s been there, and these next few sections are must-reads.
Verify the Warranty
If you own a more expensive pair of binoculars, the chances are that it’s still under warranty. If it is, don’t start tearing apart the binoculars to see what’s going on. Instead, reach out to the manufacturer or find an authorized dealer to get your binoculars repaired.
Yes, it might take a few days longer, but you’re going to keep your warranty intact. Almost every manufacturer voids your warranty as soon as you start to tear them apart.
So, while you might be able to fix your binoculars for only a few bucks this time, if something larger pops up, you’re going to be on the hook for repairs since you voided the warranty.
However, if someone already voided the warranty or your binoculars don’t have a warranty, keep reading this guide to see what you can do.

Gather Supplies
You’re going to want to make sure that you have all the necessary tools before you start. While you’re going to need specialized tools for each job (which we’ll get into later), there are a few tools you’re going to want to have around no matter what repair job you’re doing.
To begin with, you’re going to want a small screwdriver set – the same set you’d use for eyeglasses. Binoculars are full of small screws holding everything together, and you’re going to need the proper tools to take everything apart and put it back together.
Second, you’re going to want the owner’s manual for your particular set of binoculars. While this isn’t absolutely necessary, it’s going to save you a ton of frustration trying to track down various parts of your binoculars.
If you don’t have the physical owner’s manual, try tracking one down online. If you can’t find it, you’re not entirely out of luck, though.
The Repair Guide

Once you’ve verified that you can’t get your binoculars repaired under warranty and have tracked down all the necessary equipment and guides, you’re ready to start your repairs. There are three major components that we’re going to break down how to repair here, the lenses, prisms, and focusing knob.
If you’ve already identified the problem with your binoculars, just jump to the section that you need for step-by-step instructions on how to fix your optics.
Fixing Lenses
The lenses are one of the most critical parts of your binoculars, so if something is wrong with them, you’re going to notice. While you can’t fix broken or cracked lenses, if they’ve simply fallen out of adjustment or need a thorough cleaning, we can help you out. Keep in mind that any time you adjust the lenses, you need to clean them.
Additional Supplies Needed
- Microfiber wiping cloth
- Soap and water
- Small measuring caliper
- Small 90-degree pick
- Tweezers
While your lenses are a critical piece of the binoculars, it’s not unheard of for them to shift out of position, especially if you accidentally drop your binoculars. The good news is that with a little know-how, you put them right back into place.
Start by identifying the small screws on the side of your binoculars holding your lenses in place. These screws are typically extremely small and can be hard to see without a magnifying glass. Use the appropriately sized screwdriver from your binocular screwdriver kit to remove the screws.
Once you’ve removed the lenses, you need to clean them. If they’re relatively clean, all you need to use is a microfiber cloth, but if they’re filthy, you can use a soap and water mixture. Just make sure to leave plenty of time for them to dry completely before reinstalling them.
Once you’ve removed the lenses, measure the inside of your binoculars with your caliper. You need to find the center point of each lens cup. Once you’ve identified the location, mark it with the pick – be sure not to leave a large gauge, a small little marking will do the trick.
Once the lenses are clean and dry, reinstall them at the center point using a pair of tweezers. Never use your fingers as this can smudge the lens, causing you to need to clean them all over again.
Once you’ve put the lenses back in place, retighten the screws to hold them in place. Take a look through your binoculars to see if everything is in the right place. If it’s not, you’ll have to repeat the process to find the correct center point for the lenses.
Even a small difference from the center point can leave your binoculars out of alignment.
Fixing Prisms
When it comes to binocular repairs, the prisms are the most challenging part to fix. When the prisms come out of alignment, you’ll start having double vision, and you’ll need to collimate your binoculars. While this is by far the trickiest problem to fix, but that doesn’t mean you can’t do it.
Additional Supplies Needed
- Tripod and tripod adapter
When you’re collimating your binoculars, the first thing you need to do is find a target. This is usually best accomplished at night and using the brightest object in the sky, typically the moon. Mount your binoculars on your tripod in a way that’s easy to see through them, and so they won’t move. Furthermore, the tripod needs to be level.
From there, you’re going to want to defocus one of the lenses. This might sound counterintuitive, but it’s going to make everything easier when you start to make your adjustments.
At this point, you should notice that you have one blurry image and one clear image – and they shouldn’t line up. If they do, then your prisms aren’t the problem, and you don’t need to collimate your binoculars.
If those images don’t line, upstart by adjusting the horizontal screws. Make each adjustment at 1/8th of a turn at a time and give yourself plenty of time between each adjustment for your eyes to readjust. Bring the images halfway together with one horizontal screw before bringing it the rest of the way together with the screw on the other lens.
While this should get the images much closer, they still won’t line up perfectly. For that, you’ll need to adjust the vertical screws. You’ll make these adjustments in the same way that you adjusted the horizontal screws.
Once you’ve brought the two images together, refocus the one lens and test out your binoculars. You shouldn’t have double vision anymore, and you should be good to go!
Fixing the Focusing Knob
If you’re having problems with your focusing knob, there’s good news – generally, this is one of the most straightforward components to fix on your binoculars.
Additional Supplies Needed
- Colorless and odorless grease
- Cotton swabs (for grease application)
Start by removing the screw on the top of your focusing knob. This will allow you to remove the knob itself and see what’s going on inside. From there, use one of the cotton swabs to clean out everything inside.
When you’re looking inside, take a peek at all the gears as you’re cleaning them. If you see any broken gears, you’ll need to replace them. However, this is typically rare, and most problems with the focusing knob come from a lack of lubrication.
That’s why once you’ve cleaned everything out with the cotton swab, you should use a new cotton swab to apply clean grease to all the moving components. While you need to apply a generous amount of grease and thoroughly cover every component, you don’t want to apply too much either.
Too much grease can jam up the gears and not give them any space to move. So, be generous with the grease, but don’t go overboard with it.
Once you’ve thoroughly greased everything, go ahead and reattach the focusing knob and tighten the screw that holds it in place. Check to see if it works, and if it does, you’re done!

In Conclusion
While repairing your own binoculars can take some time and patience, you’ll be able to save a ton of money while having a rewarding experience. Hopefully, this comprehensive guide walked you through everything you need to know to get your optics working like new again.
Just remember to take your time, and if you’re not comfortable making repairs, take it to an optics repair shop before you start. Because if you tear apart your binoculars, it’s easy to mess things up and make the problem far worse if you don’t know what you’re doing.
But when you do it the right way, you can get a crystal-clear image and a little better understanding of how your binoculars are working to enhance your next outing!
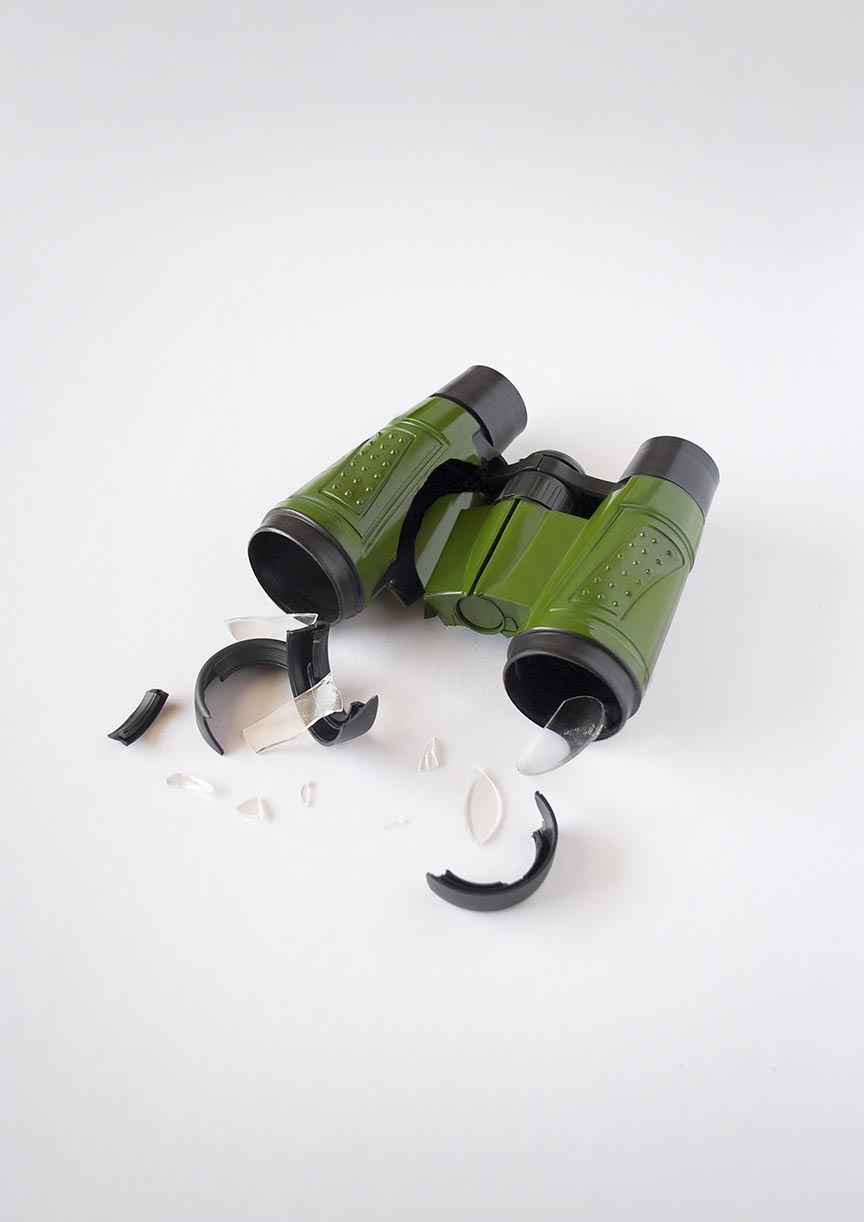
Featured Image Credit: Pixabay
About the Author Robert Sparks
Robert’s obsession with all things optical started early in life, when his optician father would bring home prototypes for Robert to play with. Nowadays, Robert is dedicated to helping others find the right optics for their needs. His hobbies include astronomy, astrophysics, and model building. Originally from Newark, NJ, he resides in Santa Fe, New Mexico, where the nighttime skies are filled with glittering stars.
Related Articles:
How to Collimate Binoculars: 9 Expert Tips
How to Clean a Refractor Telescope: Step-by-Step Guide
How to Clean a Telescope Eyepiece: Step-by-Step Guide
Can You Use Binoculars to Look At Stars? How to Choose the Right Pair
How to Choose Binoculars for Bird Watching: 10 Expert Tips
How to Clean a Rifle Scope: 8 Expert Tips
Monocular vs Telescope: Differences Explained (With Pictures)
What Is a Monocular Used For? 8 Common Functions