How to Photograph Waterfalls: 8 Tips & Tricks
Last Updated on

Taking pictures is easier than ever nowadays, with everyone carrying a camera around in their pocket all the time. However, taking truly outstanding pictures is an art form unto itself.
Waterfall photography takes an already challenging art and adds new difficulties to getting that perfect shot. However, even with the added challenge, some simple tips and tricks can help you improve your shots.

Before Photographing Waterfalls
You don’t necessarily need a fancy camera or equipment to take a great picture of a waterfall. However, if you really want to take the shots you capture to the next level, there are a few things that you’ll want to ensure that you have.
Things to have with you include:
- DSLR camera
- Tripod
- Shutter release switch
- Various lenses
- Time to wait for the perfect shot

Top 8 Tips for Taking the Perfect Waterfall Photograph:
There’s no silver bullet that will make every picture you take magical. But there are definitely some things you do to maximize your success rate. Let’s take a look at eight tips and tricks for photographing waterfalls.
1. Turn Down Your Camera’s ISO
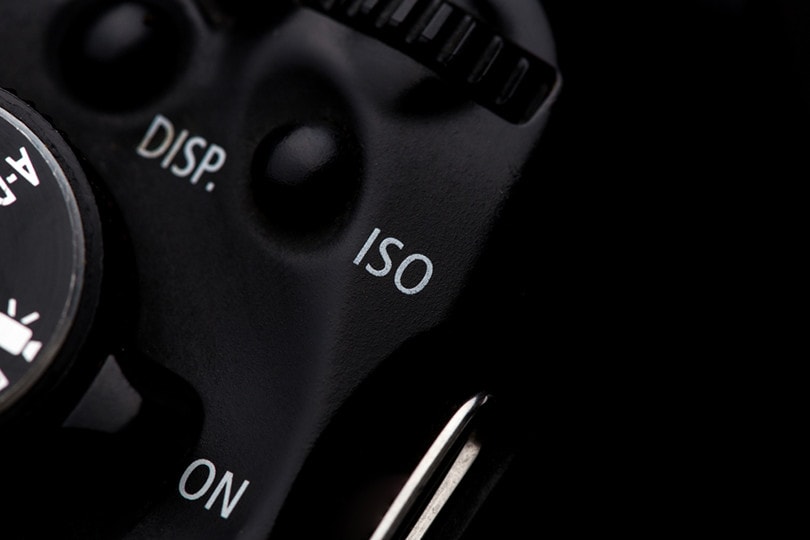
Adjusting the ISO setting on the camera will either make a picture darker or lighter, which can lead to over or underexposure. When taking a waterfall shot, it’s easy for a photo to turn out overexposed because of the color of the water itself and the fact that there is typically a lot of light. Set your ISO to the lowest setting and switch to a lower aperture with your lens. Between f/11 and f/16 should be good.

2. Use a Tripod
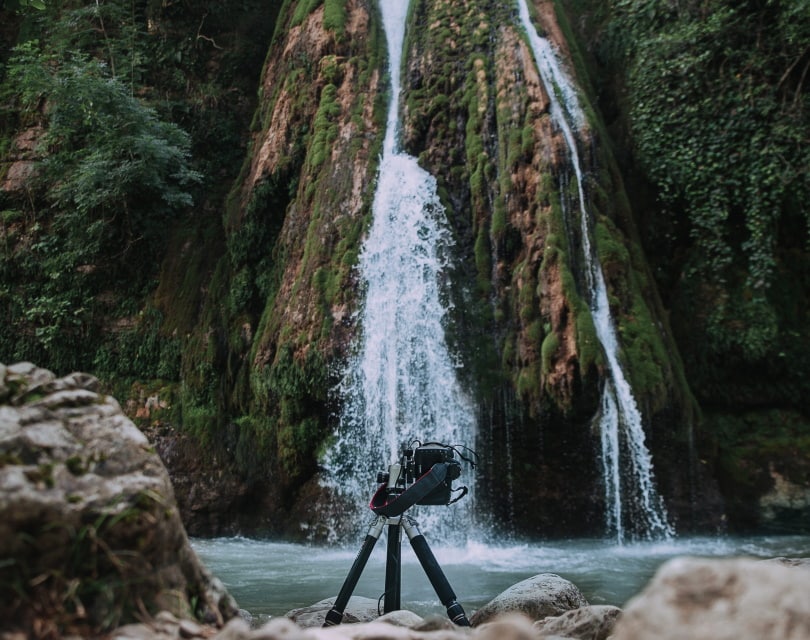
Because you need to use a much longer exposure time to capture the rushing water down a waterfall, the camera cannot move. So, investing in a tripod will make a world of difference in what you can catch.
One thing to remember with tripods is that you want to spend a bit of money on them to ensure you get a high-quality one. Typically, these tools live up to the old saying, “you get what you pay for.”
3. Use a Remote
Another great way to prevent any movement is through a remote control. You don’t have to touch it again once your camera is set up. With some cameras on the fancier end of the spectrum, you may even be able to connect it to your phone through Bluetooth at no additional cost.

4. Use a Slow Shutter Speed
We’ve all seen those incredible pictures of a waterfall where the water has that dreamy, haze-like appearance. The only way to achieve this effect is by having a slow shutter speed. This will give the water that blurry look while everything around it stays crisp and clear.
Your shutter speed directly affects how dramatic this effect is, so it’s mostly preference. If you’re looking for a good place to start, many people find 1 or 2 seconds about right.
5. Experiment with Focal Points
The smaller your aperture, the wider the angle of view. This enables you to focus on objects in the foreground, and the rest of the picture stays clear and in focus. This enables you to choose different focal points within the same photo range to give different effects to it.

6. Shoot with the Right Light
Anyone who takes their photography seriously knows how important the right lighting is. Taking large shots of nature means you can’t rely much on artificial lighting. So, sometimes you may have to wait for the perfect natural light. Experiment with different times to see how you like the results.
7. Don’t Rush the Composition
Part of the joy of landscape photography is capturing the little details that other people may miss when looking at the same scene. So, don’t just rush into the shoot to take pictures. Take the time to go in and look around the scene for different things to showcase.
Composition is one of those things that an experienced photographer will personalize to their particular style. However, some traditional techniques, such as Leading Lines or the Rule of Thirds, can be extremely helpful to start.

8. Experiment with Wide-Angle or Telephoto lenses
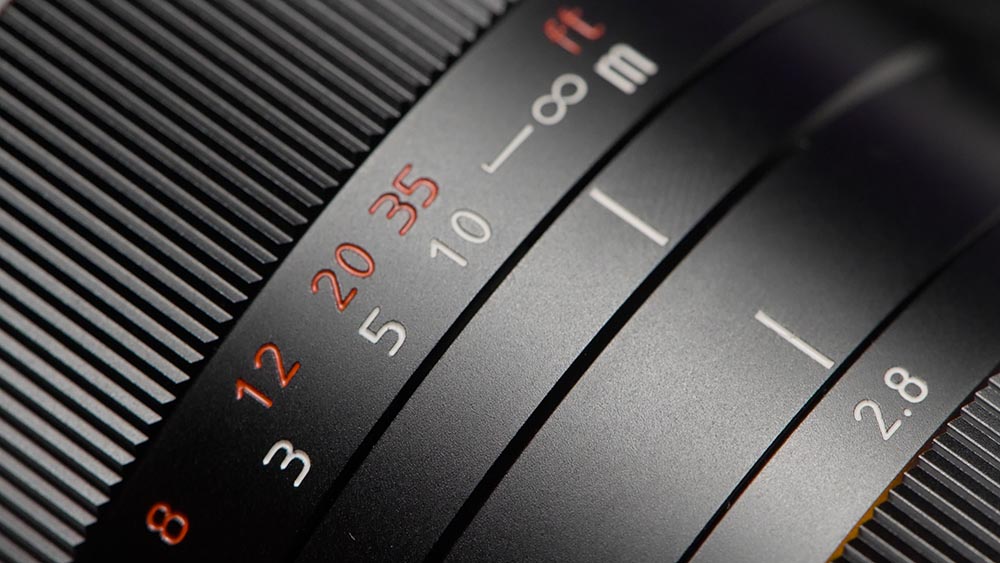
Both wide-angle and telephoto lenses will capture the exact same scene very differently. The wide angle will provide a wider view of the landscape. In contrast, the telephoto can take clear pictures of objects far away. These can be quite expensive for a good pair. However, if you get to that level, they will be a great addition to your waterfall photography.

Summing Up
Even if you’re using your cellphone, you can still experiment with some of these tips, like using a tripod and slow shutter speed or simply experimenting with different natural lights. So, don’t feel like you can’t take incredible shots just because you don’t have a “fancy camera.”
See also:
- Night Photography Settings (Plus 6 Tips You Should Know)
- How to Photograph a Sunset: 14 Tips & Tricks
Featured Image Credit By: Štefan Štefančík, Unsplash
About the Author Shea Cummings
Shea Cummings is a passionate content writer who believes that the power of words is immeasurable. He leverages years of experience in various trades such as carpentry, photography, and electrical to bring his articles to life. His goal is to provide his readers with information that delights and informs. When he's not writing you can find him spending time in the outdoors or playing some Minecraft on the Xbox with his wife and two sons.
Related Articles:
How to Collimate Binoculars: 9 Expert Tips
How to Clean a Rifle Scope: 8 Expert Tips
How to Choose Binoculars for Bird Watching: 10 Expert Tips
How to Clean a Refractor Telescope: Step-by-Step Guide
How to Clean a Telescope Eyepiece: Step-by-Step Guide
Monocular vs Telescope: Differences Explained (With Pictures)
What Is a Monocular Used For? 8 Common Functions
How to Clean a Telescope Mirror: 8 Expert Tips
