10 Candle Photography Ideas to Get You Inspired
Last Updated on
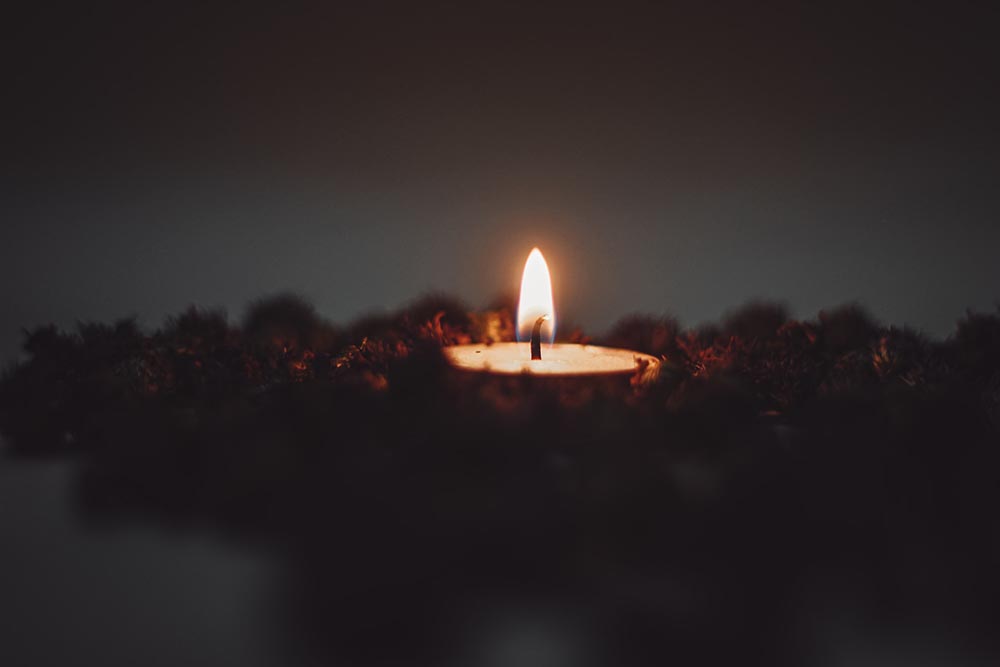
When in the hands of a photographer, a candle can be a powerful tool. It conveys mood and meaning, creating a unique backdrop for your pictures. It also flickers light in unique ways that make it easy to get creative.
In that vein, here are 10 different candle photography ideas that you can use for inspiration for your next candlelit photoshoot!

The 10 Candle Photography Ideas to Get You Inspired
1. Line ‘Em Up
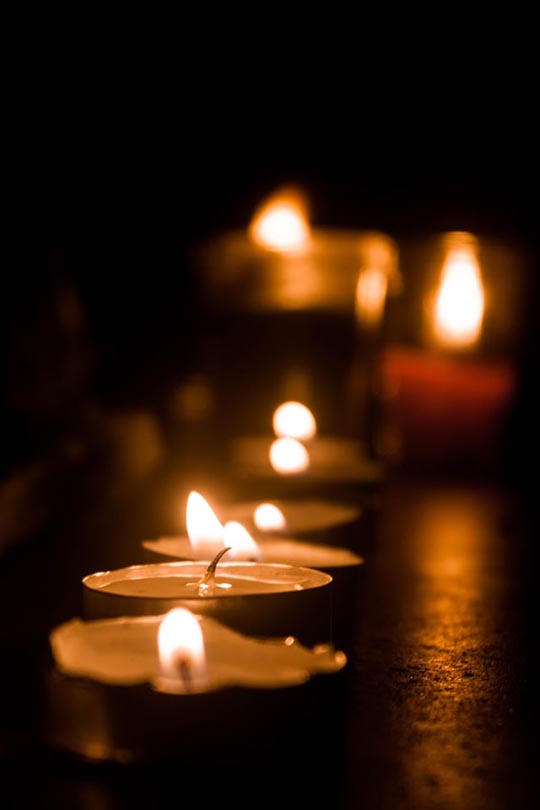
If one candle looks nice, why not go for a dozen? The cool thing with this design is that you can mix things up. You can use three different candles and space them out, or you can use a hundred and line them up for as long as the camera can see.
Feel free to work the edges with different elements, or stack candles as far wide as they head back. You can also use shadows to highlight the area outside the line of the candle’s light. Get creative!
2. Use the Shadows

Candles create flames and flames create shadows. The cool thing about shadows in photography is that they can set a mood. With the right elements, candles and shadows can convey romance, but change the background and you can create suspense or horror.
Figuring out how to use shadows in your candle photography is a huge step toward creating some of the most powerful images out there.
3. Smoky Fixtures

The two most common methods to add an element of smoke to your candle photos are to blow out the flame or to keep a burnt-out match in the photo. However, these are just two ideas, and there are plenty of other ways to work smoky elements into your candle photos.
One thing is for sure, no matter how you do it, smoke adds a great element to candle photos.
4. Put It Out

When we think of candles, we tend to think of them being lit. But to mix things up, try taking a picture with the candles when they’re not burning. It can signify things to come or blend into the background, or you can blow it out and highlight the smoke.
Find new ways to insert symbolism into your pictures by photographing the candle after it stops burning, and you might just unlock great pictures.
5. Don’t Highlight Them

This is candle photography, but try using candles as a supporting element, not the central focus. Add candles to other pictures where you don’t focus on them, and see what you can do.
Sometimes, candles can set the mood simply by being in the photo, even if people don’t look right at them when they first see the picture.
6. Make It Natural

Everybody likes natural elements in their pictures. While candles are undoubtedly human-made, it still looks great when you place candles in more natural scenery.
Just be careful when you’re putting lit candles near a natural scene so you don’t accidentally catch anything on fire.
7. Change the Focus
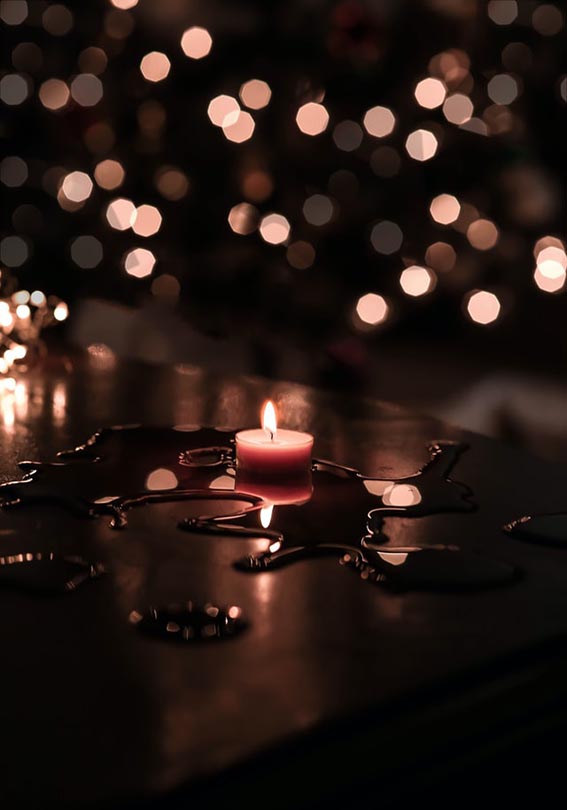
Depth of field is a powerful tool in any photograph, and it’s no different with candle photography. You can put candles in the foreground and blur out the rest to create a surreal image, or you can even put the candles in the blurred-out portion of the photograph.
If you do it right, shifting the candles to either portion can create a scene that you couldn’t otherwise replicate if everything was crystal clear.
8. Tell a Story

Candles can be highly symbolic elements in your photograph. They’re commonly used in wedding photos, where it’s easy to share a story of love.
But if you put them with different backgrounds, you can tell a story of tragedy, despair, helplessness, fear, excitement, thoughtfulness, relaxation, and so much more. When it comes to conveying a message, a candle can be a powerful tool.
9. Edit the Picture
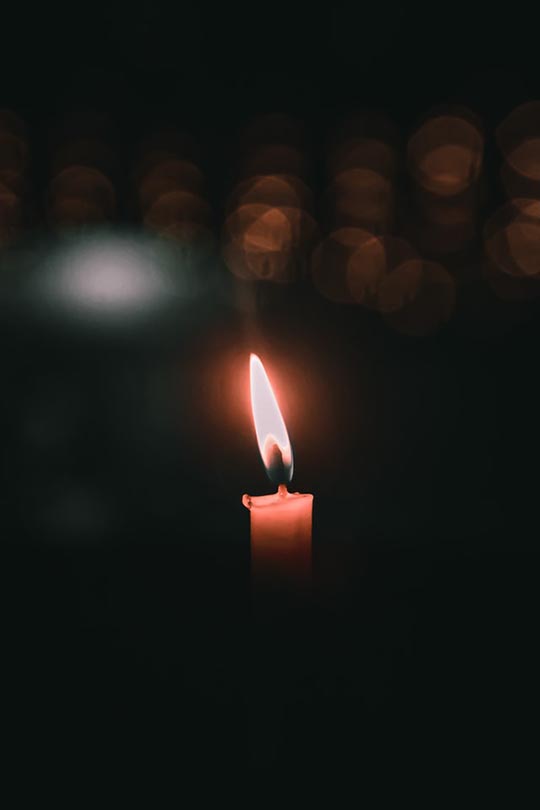
While photo-editing is a skill that you’ll need to master for this idea, if you take the time to tackle it, it opens a whole new world of possibilities for you to explore.
Whether it’s editing certain portions of the candle and superimposing them in different situations, changing the color of the flame, or something else entirely, the possibilities are endless with photo editing.
10. Product Photography
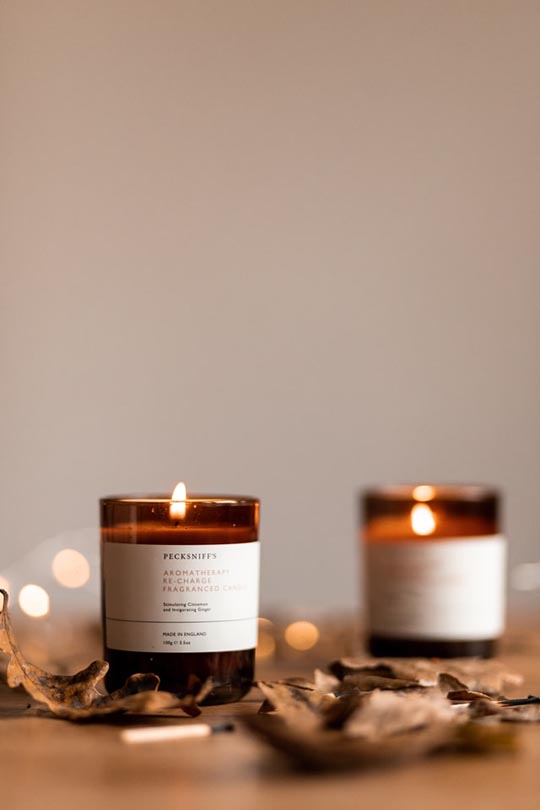
It’s not what gets most photographers excited when they pull out their camera, but candles are huge in the product photography field. In fact, if you’re looking to build a product photography portfolio, candles can make fantastic portfolio pieces.

Conclusion
Even if all you have is a camera and a few candles, you have more than enough for outstanding photographs. Don’t overthink it but get creative. Mix things up and experiment — you might just surprise yourself with the results and inspire yourself for even more pictures in the future!
See also:
- 19 Dog Photography Ideas to Get You Inspired
- 12 Product Photography Ideas to Get You Inspired
- 12 Narrative Photography Ideas to Get You Inspired
Featured Image Credit: Meghna R, Unsplash
About the Author Robert Sparks
Robert’s obsession with all things optical started early in life, when his optician father would bring home prototypes for Robert to play with. Nowadays, Robert is dedicated to helping others find the right optics for their needs. His hobbies include astronomy, astrophysics, and model building. Originally from Newark, NJ, he resides in Santa Fe, New Mexico, where the nighttime skies are filled with glittering stars.
Related Articles:
How to Clean a Refractor Telescope: Step-by-Step Guide
How to Clean a Telescope Eyepiece: Step-by-Step Guide
How to Clean a Rifle Scope: 8 Expert Tips
Monocular vs Telescope: Differences Explained (With Pictures)
What Is a Monocular Used For? 8 Common Functions
How to Clean a Telescope Mirror: 8 Expert Tips
Brightfield vs Phase Contrast Microscopy: The Differences Explained
SkyCamHD Drone Review: Pros, Cons, FAQ, & Verdict
