
Optics Mag is reader-supported. When you buy via links on our site, we may earn an affiliate commission at no cost to you. Read more.
When Do You Use a Fluorescence Microscope?
Last Updated on

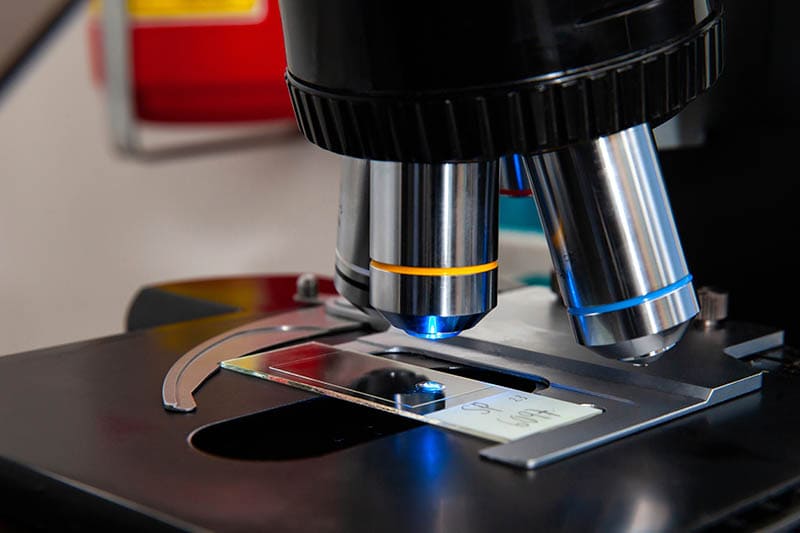
There have been several advancements in microscopy techniques over the years. These range from traditional optical microscopes to more modern electron microscopes. One of these techniques is fluorescence microscopy. It uses lasers and fluorescent dyes to observe living cells in greater detail. A fluorescence microscope helps study living cells.
Carl Reichert, August Weisse, and Richard Zsigmondy helped develop the first fluorescence microscope. Since then, these microscopes have become better and more complex. Today, we use fluorescence microscopes for numerous purposes.

What Is a Fluorescence Microscope Used For?
A fluorescence microscope helps study living cells. The nature of fluorescent dyes allows you to introduce them into cells without causing any damage.
Keeping the cells intact is essential because it allows researchers to study cells in their natural state. Doing so is not always possible with other microscopy techniques.
A fluorescence microscope has the following applications:
- Identification of Biological Samples: Researchers often use a fluorescence microscope to identify structures in a sample. They can target specific structures by tagging them with fluorescent dyes. The technique helps identify cells, proteins, and other molecules.
- Detection of Gene Expression: A fluorescence microscope can also help study gene expression. For instance, if you want to study real-time gene expression in living cells, you can use a fluorescence microscope.
- Live Cell Imaging: Scientists might want to study live cells to understand how they function or to track their movements. A fluorescence microscope is ideal for such applications.
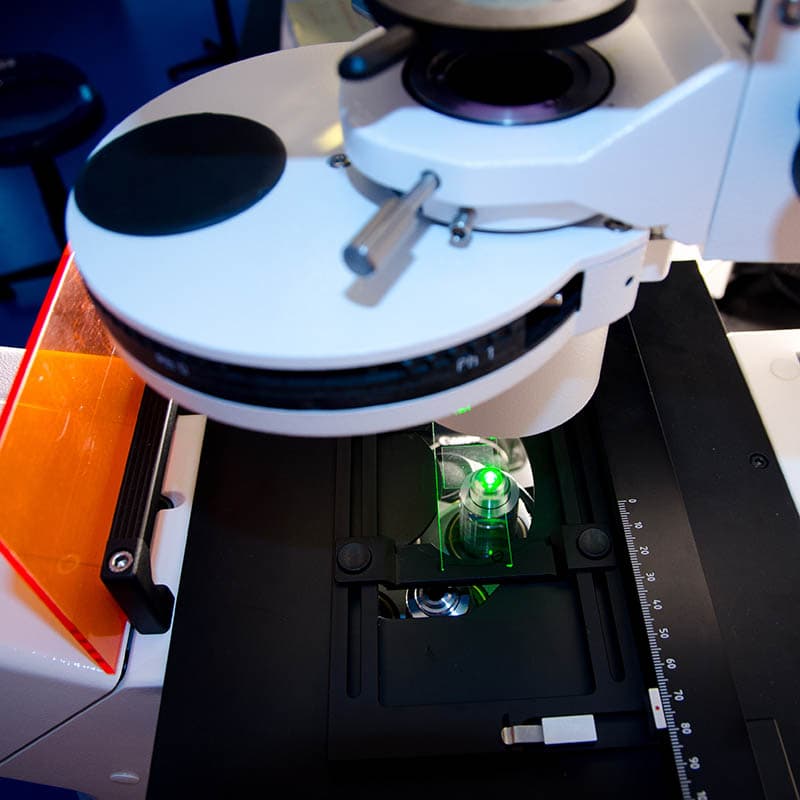
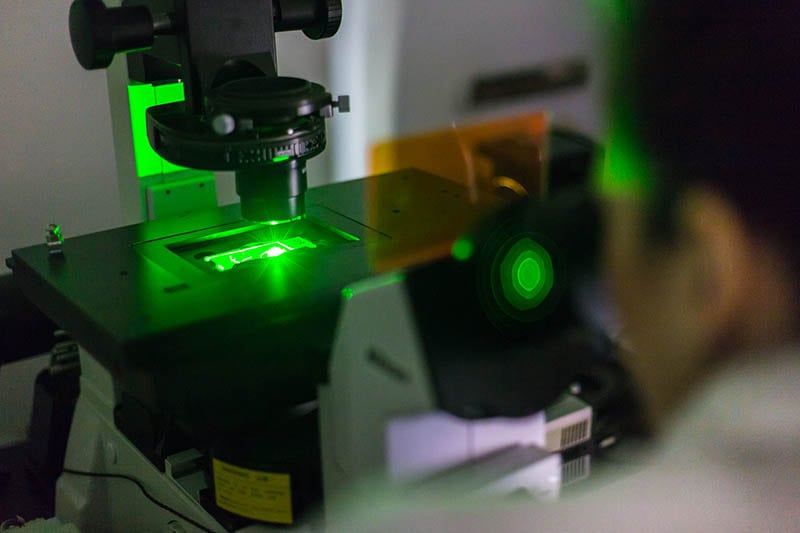
How Does a Fluorescent Microscope Work?
A fluorescent microscope has a light source that uses electricity to produce ultraviolet (UV) light. The UV light passes through a UV filter and onto the sample.
How it works:
- Then, the sample is hit with a second light source, usually blue, green, or violet light.
- The sample scatters this light in different directions.
- Some of this scattered light passes through the lens and onto a detector, such as a CCD camera.
- The image is displayed on a screen or computer monitor.
When learning about the principle of this microscope, it’s also essential to understand what fluorescence is. In simple terms, fluorescence is the light emitted by a material when exposed to ultraviolet light.
Not all materials fluoresce, but the materials that fluoresce have different emission spectra. That’s why it’s possible to use different dyes and stains to get different colors in a fluorescent microscope image. For example, you can use a green dye to label one structure in a sample and a red dye to label another. The green dye will emit green light, and the red dye will emit red light.
Components of a Fluorescent Microscope
A fluorescent microscope is more complicated than a simple optical microscope. It also has a few more components. Here are some of them.
Fluorophores
A fluorophore emits light when it absorbs light at a shorter wavelength. The most common fluorophores used in fluorescence microscopy are organic dyes. These are usually conjugated molecules with alternating single and double bonds. Light hitting a fluorophore can cause an electron to jump from a low energy orbital to a higher energy orbital. The electron will eventually fall back down and release a photon of light. The light’s color depends on the energy difference between the two orbitals.
Since these microscopes help in biological studies, most fluorescent dyes have been designed for these applications. For example, phalloidin is a stain that tags actin fibers in muscle cells of mammals.
Light Source
Since the fluorophore needs to absorb light to emit light, a light source is necessary. In most cases, this is a mercury-vapor lamp. Sometimes, lasers are also used. Lasers are powerful and can be focused on a very small area. Therefore, it can be helpful when you want to study a specific specimen area.
Some studies also use high-power LEDs or xenon arc lamps. You can select the light source based on availability, power, and wavelength.
Emission Filter
When the fluorophore emits light, this light is usually in the form of photons. The energy difference between the two orbitals determines the photons’ specific wavelength. However, not all photons emitted by the fluorophore will be of this wavelength. There will be some photons emitted at other wavelengths too.
An emission filter removes these unwanted photons. It allows only photons of a particular wavelength to pass through. The most common emission filters are longpass filters, bandpass filters, and dichroic mirrors. For example, longpass filters only allow photons with a wavelength longer than the cut-off wavelength to pass through.
Digital Camera Systems
Some microscopes also have a digital camera system to take pictures or videos of the specimen. For example, you can take a picture of a cell or a specific stage in cell division using the built-in camera. The system is usually connected to a computer so that you can view, edit, and save the images or videos.
Limitations and Shortcomings of Fluorescence Microscopes
While fluorescence microscopes are powerful tools, they also have certain limitations. Here are some of them:
Photobleaching
Photobleaching is the irreversible loss of fluorescence due to exposure to light. It is a common problem in microscopy and can be a particular issue when studying live cells.
With use, fluorophores will lose their fluorescence ability due to photobleaching. The chemical damage due to electron excitation causes photobleaching of fluorophores.
Only Shows Labeled Structures
Light microscopy lets you see all structures in a sample. But fluorescence microscopy can only show you the structures labeled with fluorophores.
Before viewing them under a fluorescence microscope, you need to label the structures of interest. The added step can be time-consuming and limit the types of experiments you can do.
Phototoxicity
Phototoxicity is the toxic effect of light on living cells. When you use a fluorescence microscope, you expose your cells to light, which can be harmful.
Prolonged exposure to light can damage cell membranes. It can also alter gene expression and cause other problems. Therefore, it is a concern when studying live cells.
Tips for Using a Fluorescence Microscope
The steps to use a fluorescence microscope will differ based on the model of the microscope and the specimen under study. But some general tips will apply to most microscopes.
Tips:
- Do not look directly at mercury lamps. They release visible UV radiation, which can be harmful to your eyes. Instead, always use the filters provided with the microscope to protect your eyes.
- When using a mercury lamp, count the hours you have used it. If you use it past its expected lifespan, it can cause the microscope to explode.
- Select the dyes or stains according to the specific needs of your specimen. Some dyes or stains are more toxic than others, so follow the safety precautions on the labels.
- Avoid getting the oil from the slide on the objective when using oil immersion objectives. Clean the lens properly after use.
Frequently Asked Questions
Can a Fluorescence Microscope Help Study Genetic Material?
You can use a fluorescence microscope to study DNA and RNA by first tagging the nucleic acids with fluorescent dyes. Once the nucleotides are labeled, they can be visualized under ultraviolet (UV) light. It will cause them to emit light at a different wavelength than the incident UV light. The process is called fluorescence in situ hybridization (FISH).
What Are the Benefits of Fluorescence Microscopy?
Fluorescence microscopy is a powerful tool because it allows us to study living cells without harming them. Additionally, we can use multiple fluorescent dyes to label different structures or molecules within the same cell. The technique is called multiplexing.
Which Fluorophores Are Used for Fluorescence Microscopy?
The most common fluorophores in fluorescence microscopy are green fluorescent protein (GFP), Alexa Fluor dyes, and DAPI.

Final Thoughts
A fluorescent microscope is used to study living cells without harming them. For example, you can label different structures in a cell with fluorophores, which will emit light when exposed to UV light.
Fluorescence microscopy is a powerful tool for research and has many applications in the life sciences. The technique allows you to study a cell’s genetic material, proteins, and other molecules.
Featured Image Credit: Matej Kastelic, Shutterstock
About the Author Jeff Weishaupt
Jeff is a tech professional by day, writer, and amateur photographer by night. He's had the privilege of leading software teams for startups to the Fortune 100 over the past two decades. He currently works in the data privacy space. Jeff's amateur photography interests started in 2008 when he got his first DSLR camera, the Canon Rebel. Since then, he's taken tens of thousands of photos. His favorite handheld camera these days is his Google Pixel 6 XL. He loves taking photos of nature and his kids. In 2016, he bought his first drone, the Mavic Pro. Taking photos from the air is an amazing perspective, and he loves to take his drone while traveling.
Related Articles:
Can You Use Binoculars to Look At Stars? How to Choose the Right Pair
How to Clean a Refractor Telescope: Step-by-Step Guide
How to Clean a Telescope Eyepiece: Step-by-Step Guide
How to Clean a Rifle Scope: 8 Expert Tips
Monocular vs Telescope: Differences Explained (With Pictures)
What Is a Monocular Used For? 8 Common Functions
How to Clean a Telescope Mirror: 8 Expert Tips
Brightfield vs Phase Contrast Microscopy: The Differences Explained