What Are Trail Cameras & How Do They Work?
Last Updated on
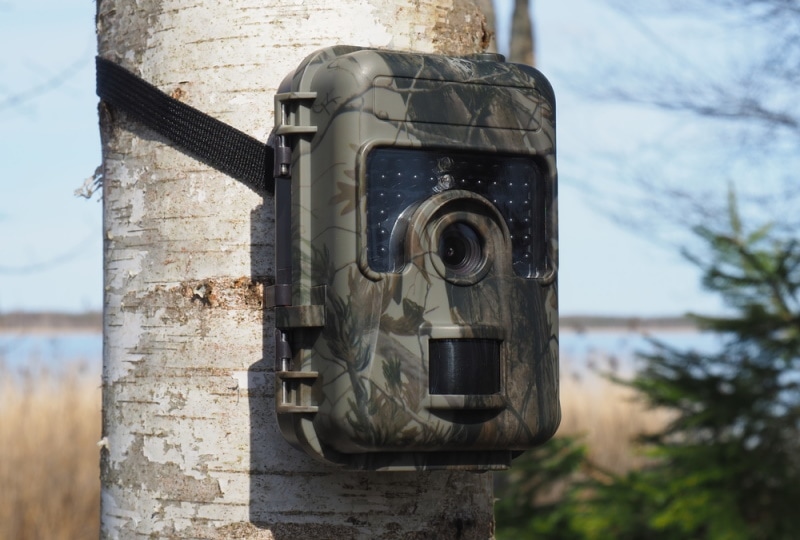
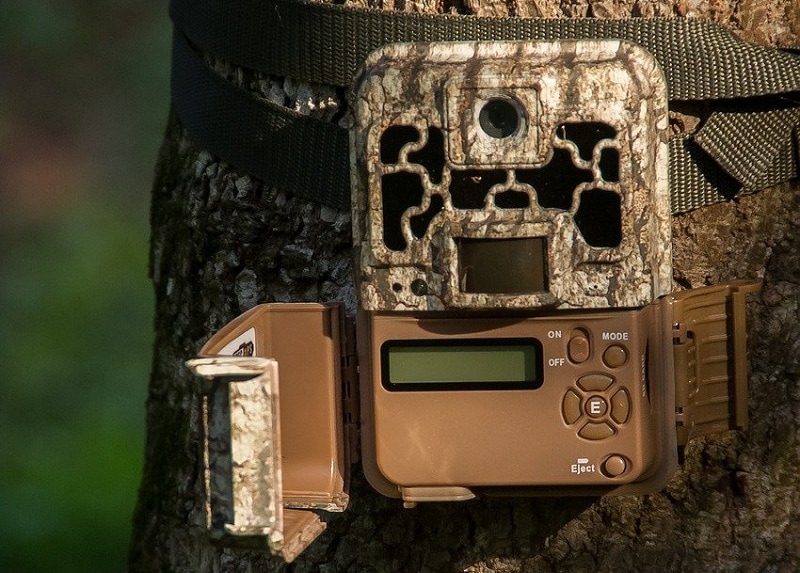
Trail cameras are a common tool among nature and wildlife enthusiasts, hunters, bird watchers, and photographers. They allow people to track, observe and photograph wildlife in their natural environment without disturbances. They are commonly weather-resistant, meaning they can operate even during harsh outdoor conditions.
If you’d like to know more about these cameras, check out the valuable details below and determine if a trail camera would help you see animals of your interest.

How Do Trail Cameras Work?
Trail cameras have various components that help them detect and capture animals in the wilderness. Below are the key features allowing your trail camera to function properly.
Detection
The detection features inside trail cameras monitor movement and temperature in front of them. Once they detect a change in the temperature or a movement in front of the camera, the trigger activates. That way, it captures the photo.
Batteries
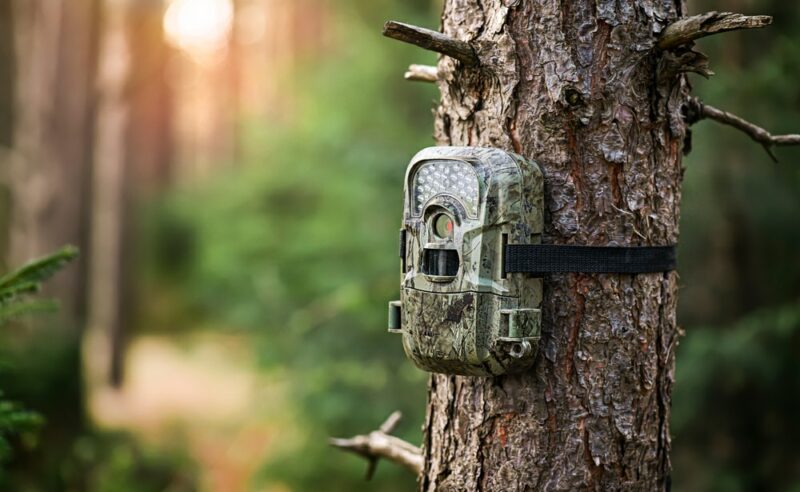
To function, trail cameras operate on batteries, which typically use very little power. Because of that, once you set up a trail camera, it can last for weeks, if not months, before needing a battery replacement. Depending on the model you own, the batteries can be rechargeable, although most trail cameras use standard AA batteries.
PIR (Passive Infrared Sensors)
Passive Infrared Sensors, also known as PIR, are another crucial component of trail cameras. They are in charge of detection as they’re required for the device to notice temperature changes. The technology of PIR works both day and night, making it an excellent choice for trail cameras.
The PIR technology triggers the shutter, allowing the camera to take photographs or short videos. During the day, the pictures and videos can turn the same as if taken by a smartphone. However, at night, the device switches to an infrared mode which takes black and white shots instead of being full color.
That’s why many trail cameras have features such as a flash or an infrared flash that allow you to take better night shots.
Picture Quality
The picture quality will vary depending on the specification of your trail camera and the number of megapixels (MP) it has. You can use cameras with lower megapixels for hunting and birdwatching, while people engaging in high-quality wildlife photography need trail cameras with a high megapixel count.
Setup and Viewing
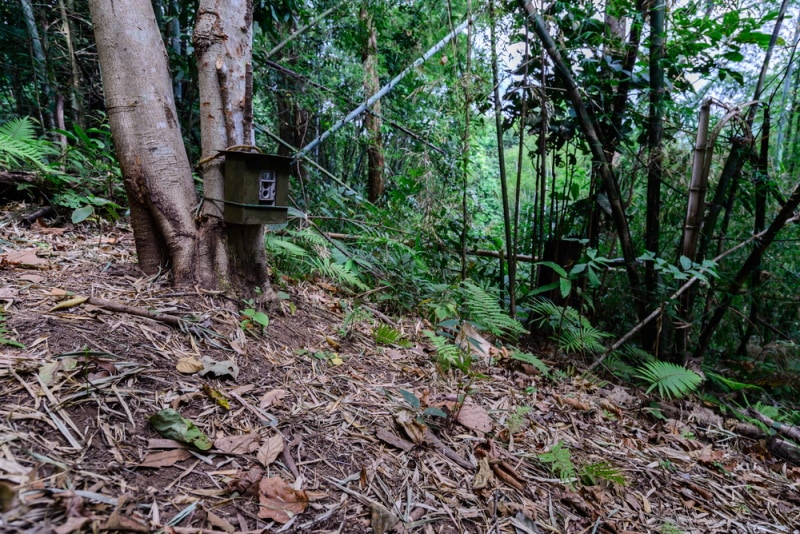
This factor also varies model per model. Some trail cameras will have a screen where you can operate the camera and view existing shots. Others might have an option for you to use a mobile app to view the shots and operate functions within the camera.
What Are the Different Types of Trail Cameras?
There are two different types of trail cameras:
Standard
These trail cameras are simpler than cellular trail cameras, and they take a photo every time something moves in front of your camera. Once it captures a photograph, it saves it to an SD card which you can later take out and put in your computer to view the footage.
Depending on the model, the standard trail camera might also be able to shoot short videos. These are typically more affordable than cellular trail cameras, requiring you to go to the place where the camera is placed to take the SD card and retrieve the footage.
Cellular
These trail cameras operate similarly to standard trail cameras, and they capture photos whenever they detect movement. However, they don’t store footage onto an SD card. Instead, these cameras use cellular networks to transmit the photograph to the internet.
That way, you can view it on your smartphone, laptop, or computer, which makes it much easier to see what you’ve captured. Specific models allow you to change the camera’s settings directly through your phone, making the whole handling experience much easier.
These trail cameras are typically more expensive, and they come with additional costs. You’ll need to pay for a cellular network and a plan depending on how many pictures you take and how many trail cameras you have.

Where Is It Used?
Trail cameras are used by anyone who wants to observe animals in their natural habitat. That includes animal lovers and enthusiasts, hunters, birdwatchers, photographers, and researchers. Basically, people install trail cameras whenever they want to observe animal activity and take photographs of the animals.
Advantages and Disadvantages of Trail Cameras
Trail cameras vary per model, and some are better than others. However, they all have similar advantages and disadvantages, which we can divide into the pros and cons of standard trail cameras and the pros and cons of cellular trail cameras.
Standard Trail Cameras
- Affordable
- No hidden costs
- You commonly need to go to the camera’s location to get the SD card
- Night shots are typically black and white

Cellular Trail Cameras
- Possibility of remotely controlling the camera and viewing footage
- Fast speeds of data transmission
- Various accessories
- External power sources
- Expensive
- Needs a data plan
- Possible hidden costs

Frequently Asked Questions (FAQs)
What To Look for When Buying a Trail Camera?
There are a couple of things to look for when buying a trail camera to ensure it will have all the needed features for your demands.
- Recovery Rate: The recovery rate represents the time your trail camera takes to process a photograph and become ready for a new shot. Trail cameras with shorter recovery rates will allow you to capture multiple pictures of your subject as it approaches the camera.
- Trigger Speed: The trigger speed refers to the time the trail camera needs to pick up the motion and take the photograph. Most trail cameras have fast triggers that work in a second during the day, and the more shots you want, the faster your trigger speed should be.
- Detection Zone Size: It’s better to look for trail cameras with a wide detection zone. Otherwise, you might miss some pictures because narrow detection zones can’t capture the animal properly.
How To Choose a Suitable Mounting Location for a Trail Camera?
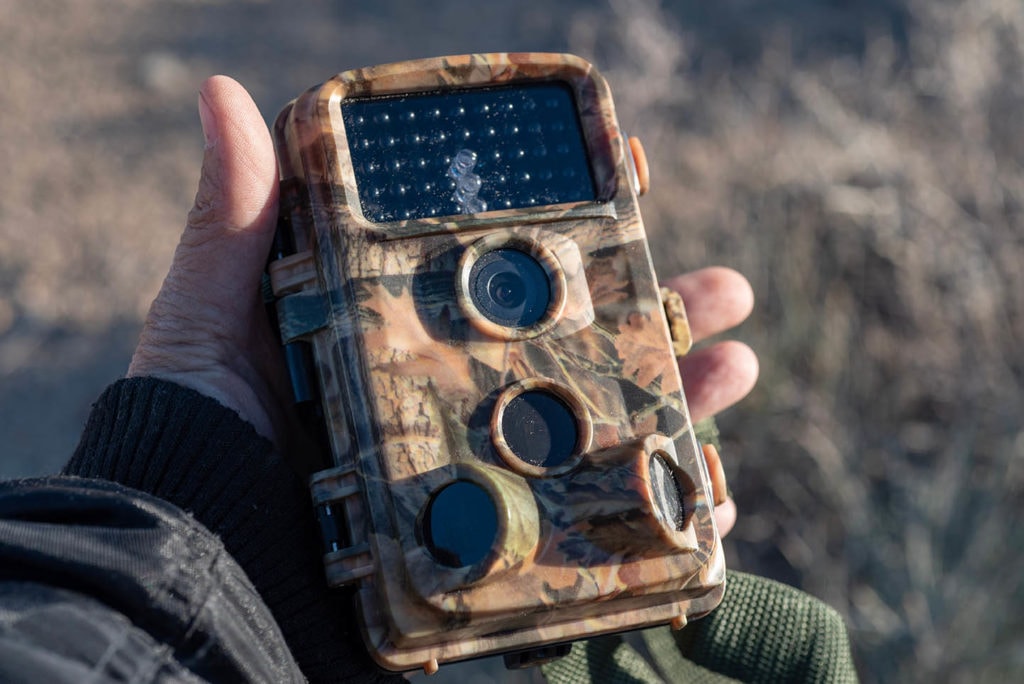
To gain the most out of your trail camera, you need to mount it at a suitable location where you’ll be able to capture wildlife shots. Here are some tips on finding the best spot to place your trail camera:
- Mount the trail camera near water and food sources
- Position the camera towards the north to get a better picture, avoiding direct sunlight
- Place the trail camera at the height of the desired animal you want to observe
- Angle the camera downwards if you place it on a tree
- Clear out any possible obstacles in front of your lens
How To Mount a Trail Camera
The mounting technique you’ll use on your trail camera will depend on the mounting system that the camera uses. Most newer models have straps that allow you to attach the trail camera to a tree, fence, or similar location. However, some models need screwing into the location, while there are stake-mounted options for open environments.

Final Thoughts
Hopefully, after reading our article, you’ll have a better sense of trail cameras, and you’ll understand how they operate. That way, you’ll be able to determine which trail camera will work for your needs. You should also be able to find good locations where you’ll get some great footage of the wildlife in that area.
Featured Image Credit: GS23, Shutterstock
About the Author Visnja Radosavljevic
Visnja is a creative, adaptable content writer that covers various topics such as DIY, pets, home improvement, travel, gardening, and more. As a young mom and a college student, she didn’t have enough time to balance her personal and work life, so after multiple years of working a regular 9 to 5 job, she decided to pursue her passion and make a living out of it. She has been writing for a couple of years now, helping people to find valuable and interesting information online.
Related Articles:
Binocular Magnification Chart: Numbers & Distances Compared
How to Clean a Refractor Telescope: Step-by-Step Guide
How to Clean a Telescope Eyepiece: Step-by-Step Guide
How to Clean a Rifle Scope: 8 Expert Tips
Monocular vs Telescope: Differences Explained (With Pictures)
What Is a Monocular Used For? 8 Common Functions
How to Clean a Telescope Mirror: 8 Expert Tips
Brightfield vs Phase Contrast Microscopy: The Differences Explained
