
Optics Mag is reader-supported. When you buy via links on our site, we may earn an affiliate commission at no cost to you. Read more.
How to Program a Trail Camera (Easy Beginner’s Guide)
Last Updated on

You just got yourself a new trail camera and you are ready to just strap it onto a tree right now. Hold on just a second, you’ve got a few steps to take before you can sit back and let the magic happen. The excitement of finally getting those images to see what is going on around your property is running through your veins.
Until you realize you have to set it up.
Don’t worry, it is really simple and this how-to guide is going to show you the steps to program your trail camera.

Getting Started
Before you can even set up a trail camera, you need one. Finding one that suits your needs is pretty easy. Searching online will give you various ones, and what it comes down to is what you want out of this.
Once you have the one you want, then it is time to make sure you have everything for it. Most cameras are going to come with all the extra things like tree straps to make your life easier. Once you get it home, check to make sure everything is there and then you can move on to the first step.
1. Check the Batteries
No one wants to be stuck ready to go without fresh batteries. Now, you are going to have a few options when it comes to batteries.

Here are your options for the batteries for your trail camera:
- Lithium
- Alkaline
- Rechargeable
All of them are pretty good options and it really depends on many times you are planning on checking your camera.
The best bet for the longest performance is going to be lithium batteries. They last the longest and have the most power for the longest amount of time. Alkaline batteries drop in performance once they reach 50% which will hurt the quality of your photos or video. Rechargeable batteries have a lower power output that will also affect the quality of your photos.
Think about how often you want to check your camera. Every few weeks, few times a month, or even every week is an option. Also, think about the climate you are in. Colder climates are going to need batteries that pack a bigger punch.
Batteries will probably last you longer than the next part of the set up, which means you may have to check your camera more than you think.
2. Load the SD Card
Without the SD card, your trail camera is pretty useless. This is the spot that is going to store all the images so you can see them later. You are going to want to have more than one so you can swap them out without missing anything your camera provides.
One thing to keep in mind is that SD cards are not made equal. You’re going to want to use a guide on what type of card is best for you and your camera. A quick rundown is that the better the class, the higher the quality will be. Another thing to note is that the more space you have on your card, the more photos you can have. There are some great middle ground SD cards that will work well for beginners just starting out on their journey.
3. Configure the Settings
Once you have the right SD card, it is time to look at the settings of your trail camera. Now most will have three main settings that you can see on the LCD screen.

These settings are:
- Burst Mode
- Video Mode
- Time Lapse Mode
So what is burst mode? It is the setting that is going to take still pictures in bursts. This means that you can take many pictures all at once rather than just one at a time.
However, with the still pictures remember that the higher the resolution the less space you will have on your SD card. If you are planning on leaving this out for a whole season or a few months, then lower resolution is going to be the best method possible.
Video mode is exactly what it sounds like. You’ll have the option to pick which resolution you like. Typically, to save space, you are going to want to have the lowest resolution setting.
Finally, there is time lapse mode, which is fairly easy to set up. This means that your camera will only run when you tell it to. This could be before dawn and before dusk, or from any time you think is best. Then you set how many times the camera is triggered.
For example, if you have it set to interval of 5 minutes and a duration of 15 seconds. The camera will record a video or burst mode pictures every 5 minutes for 15 seconds each.
4. Testing Phase
Now that you’ve got it set up with timing and how you want it, it is time to do one of the most important steps. Making sure it works. This part is really easy, despite being a pain in the butt to have to do.
Place your camera on a chair or table outside and walk in front of it a few times. That’s it.
Now make sure it took the photos by looking at them. This is simply taking the SD card out and plugging it into your computer to check. If the images are there and clear, then you are ready for the next step.
5. Perfect Placement
You’ve got your settings down. Now it is time for the fun part. Finding the perfect place for your camera to be.
Here are some tips for you to get the best placement for your camera:
- Point your camera north to avoid the glare of the sun
- Have it about 30 to 48 inches off the ground
- Keep the line of sight clear for the camera
- Pick a sturdy tree or post to place your camera on
You are going to want to secure your camera with the straps included in the kit you bought. Make sure it is tight enough that it won’t come off the tree, but loose enough for you to be able to get it off if needed.
Another tip is to have a way to disguise your scent from the area. You’re going to be there often enough that the animals around may get too scared to be there if they smell you. It isn’t necessary, but it is helpful.
6. Sit Back and Relax
Once your camera is set up, you have one job. Let it do its job and remember to check on it from time to time. Once it is all set, you are going to be able to see what is going on in the area.
Final Thoughts
Setting up and programming a trail camera is as easy as that. Once you have it down, you can swap out the SD cards easily and even set up other cameras in the area. You never know what you might capture on film, but it is all worth it once you have everything set up.
- If you don’t have your trail camera yet and are looking for some buying advice, check out: Our 8 Features to Look For to Buy a Trail Camera You’ll Love
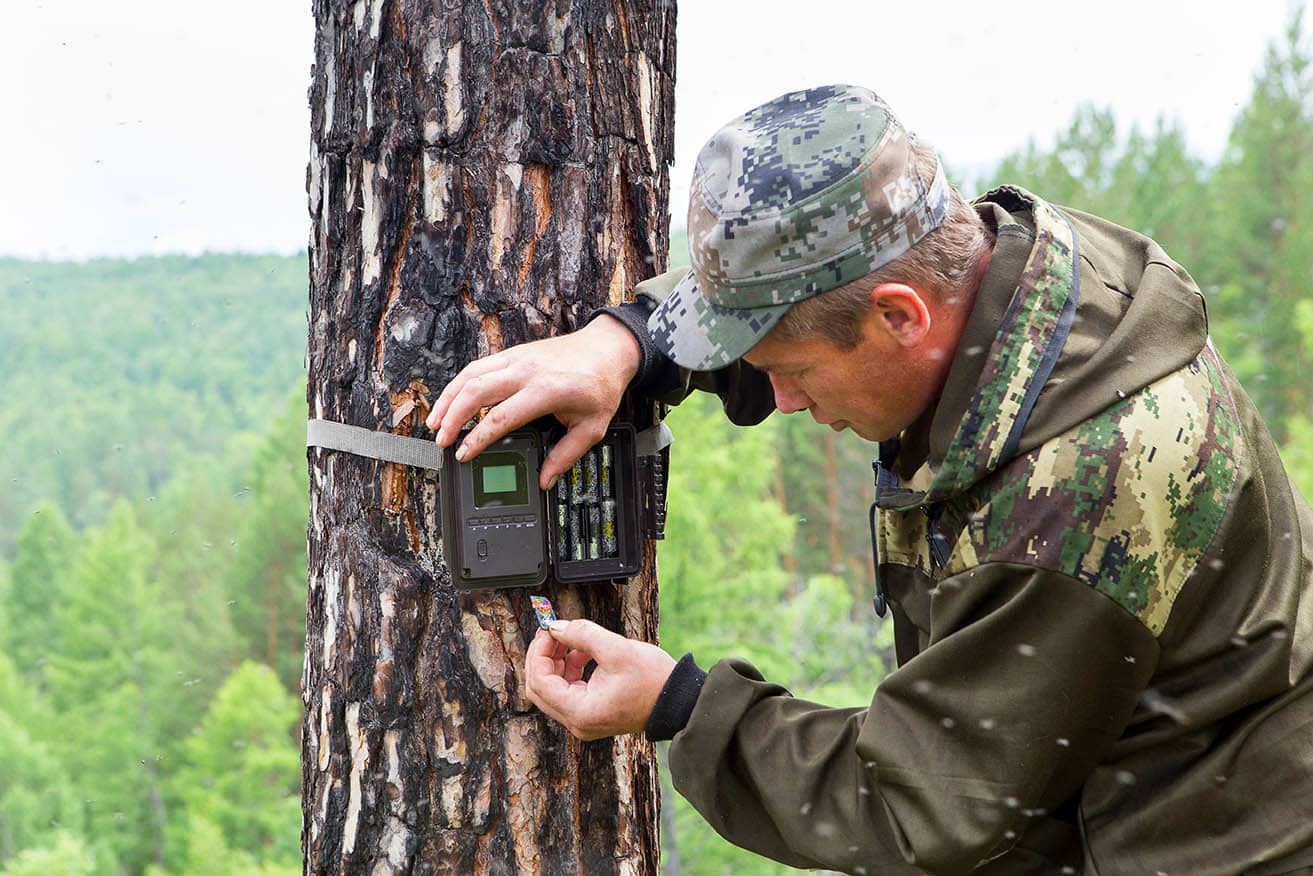
Featured Image: sandid, Pixabay
About the Author Robert Sparks
Robert’s obsession with all things optical started early in life, when his optician father would bring home prototypes for Robert to play with. Nowadays, Robert is dedicated to helping others find the right optics for their needs. His hobbies include astronomy, astrophysics, and model building. Originally from Newark, NJ, he resides in Santa Fe, New Mexico, where the nighttime skies are filled with glittering stars.
Related Articles:
How to Clean a Refractor Telescope: Step-by-Step Guide
How to Clean a Telescope Eyepiece: Step-by-Step Guide
How to Clean a Rifle Scope: 8 Expert Tips
Monocular vs Telescope: Differences Explained (With Pictures)
What Is a Monocular Used For? 8 Common Functions
How to Clean a Telescope Mirror: 8 Expert Tips
Brightfield vs Phase Contrast Microscopy: The Differences Explained
SkyCamHD Drone Review: Pros, Cons, FAQ, & Verdict