
Optics Mag is reader-supported. When you buy via links on our site, we may earn an affiliate commission at no cost to you. Read more.
Buying a Trail Camera You’ll Love: 8 Features to Look For
Last Updated on

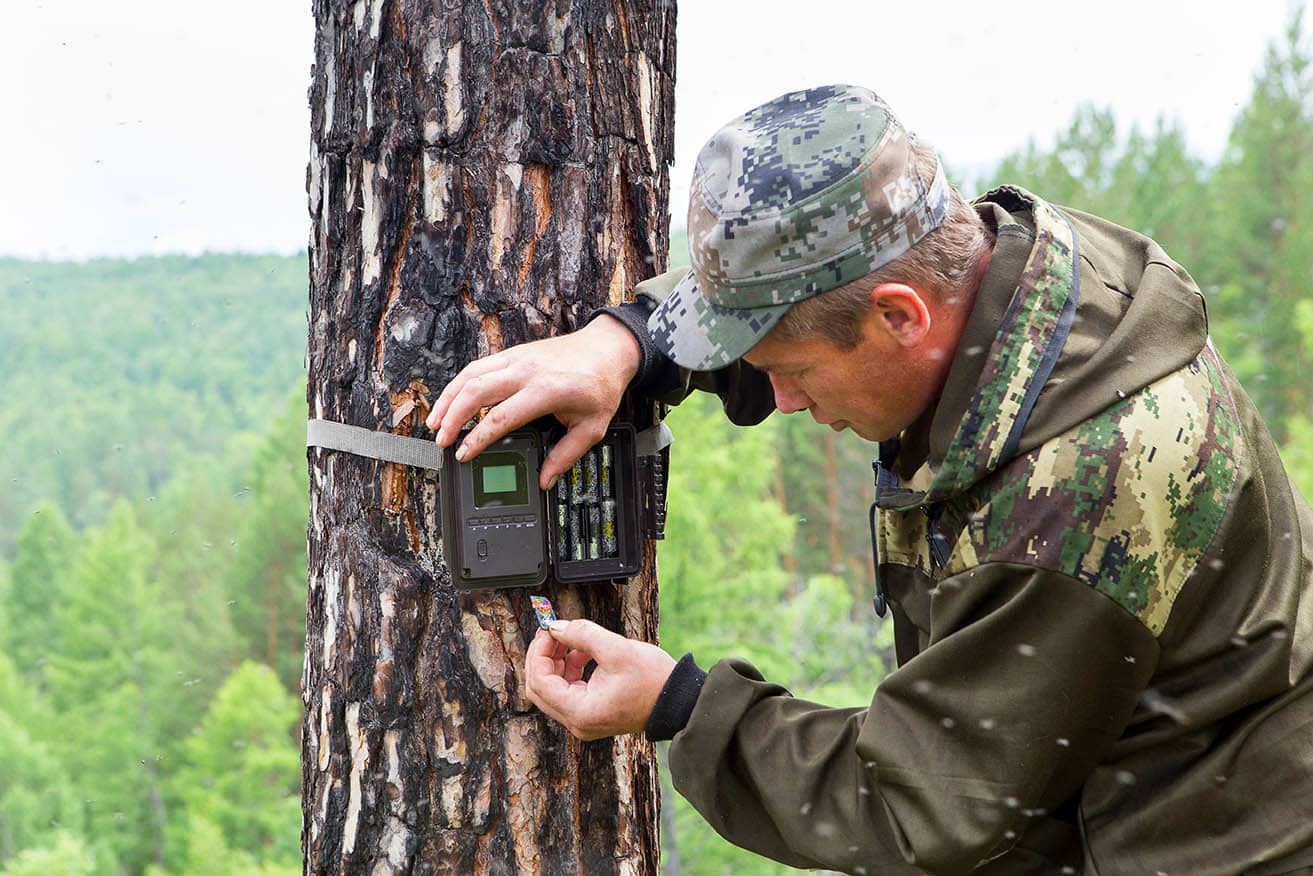
Getting a new trail camera is an exciting time. However, there are so many features that you may not know what to look for. Don’t worry, we put together a list of some of the best features to look for in a trail camera. Here are the eight features to look for when heading out to get your new trail camera.
What to Look for in Your Trail Camera
When going to get either your first or your new trail camera, there are features that you need to look at for.
1. Battery Life
What use is a dead trail camera? You could have ten and all the batteries could have died on you and you would not know till you got there. Simply put, always check the lifespan of batteries before you put them into your trail camera.
Not just that, look into the different kinds of batteries. There are three options: lithium, alkaline, and rechargeable. For optimum power, use lithium batteries. They are more expensive, but they pay off in the long run. Alkaline batteries lose performance when as the battery spends its charge, which means once the battery drops below 50%, the quality drops, too. Rechargeable batteries are nice, but they don’t last as long as lithium or alkaline.
2. Photo Resolution
Back when the trail camera was introduced, they were using film. Nowadays, people are out there taking magazine quality photos with their trail cameras. What this comes down to is megapixels. The more the better. We all want HD quality, but you can’t do that if you have a poor lens. If you are looking for sharp images, go with a better-quality lens and one that can take pictures with more pixels.
When you are looking at the trail cameras keep an eye out for what kind of resolution it gives. The bigger the number, the better. The industry standard is 4-5MP, but you can find top-tier models that give 30MP, which is way more than enough for HD.
https://www.instagram.com/p/CLuu0ybHPtb/
3. Trigger Time
Back in ye old days of the trail camera, there were more big buck butts than actual antlers being seen. Why is that? Well, that happens to do with the trigger time and recovery time of the camera. See, the trigger is what tells the camera to take the picture or video. When looking at trail cameras, you are going to want to have a reaction time of 0.5 seconds. This is what is going to be the difference between getting the big racks and the big butts. The faster cameras are going to be a little pricier, but it is well worth the money.
4. Detection Range
Detection range is what is going to tell your camera that there is something to take a picture of. The further away something is, the less likely it is to be caught by your trail camera if your range is low. While you may not need a long range all the time, it is handy if you decide to move your camera from one place to another. This is what makes it versatile for everyone. The general rule of thumb is to get one with a range of 500 feet or more.
5. No Glow
Now, this is a feature that is a must-have when it comes to trail cameras. Most of your pictures are going to be taken at night. A big scary flash of a camera is going to run off most of your game. Deer are going to scatter, and you are going to get nothing. This is where infrared cameras or no glow cameras come into play. It is going to allow you to get amazing pictures without scaring anything away.
6. LCD Screen Review
The LCD screen is going to come in handy for sure. It is one of the few things that is going to make your life easier when programming your trail camera. This points everything out and leaves you knowing what you are doing. The downside is it can drain your battery sooner. However, the compromise is seeing your settings laid out in front of you and the ability to see where the camera is pointed without wasting a photo.

7. Video Mode
Video mode is one of the features that can be hit or miss for a trail camera. However, if you have a high-quality camera that shoots in HD then you are going to get stunning video. This can range from 3 to 300 seconds.
It may seem useless, but if you are planning on capturing bucks, then this feature comes in handy. You can monitor what the buck is doing and if he brings any of his friends along too. It will also show a pattern of how he is around rut season, making it easier to know what to look for and when.
8. Time Lapse
Time-lapse is this amazing tool that allows you to take a burst of pictures in a set amount of time. It also allows you to capture pictures, even if there is no motion to set them off. This can allow you to capture photos of deer or other game just starting to peek out of the shadows. It also allows you to have control over when the camera goes off. In the long run, this can save your battery life if you only set it to go off twice a day.
Conclusion
Getting a new trail camera is an exciting time. Knowing what you want in that camera makes it easier to find what you are looking for, though. Not every feature is going to fit everyone, but if you want to get the most out of your camera, then keep an eye out for these features.
- You might also like:What Is Burst Mode and How Should You Use It?
Featured Image Credit By MarieKaz, Shutterstock
About the Author Robert Sparks
Robert’s obsession with all things optical started early in life, when his optician father would bring home prototypes for Robert to play with. Nowadays, Robert is dedicated to helping others find the right optics for their needs. His hobbies include astronomy, astrophysics, and model building. Originally from Newark, NJ, he resides in Santa Fe, New Mexico, where the nighttime skies are filled with glittering stars.
Related Articles:
What Is the Best Binocular Magnification for Hunting? Optical Features Explained
How to Clean a Refractor Telescope: Step-by-Step Guide
How to Clean a Telescope Eyepiece: Step-by-Step Guide
How to Clean a Rifle Scope: 8 Expert Tips
Monocular vs Telescope: Differences Explained (With Pictures)
What Is a Monocular Used For? 8 Common Functions
How to Clean a Telescope Mirror: 8 Expert Tips
Brightfield vs Phase Contrast Microscopy: The Differences Explained