
Optics Mag is reader-supported. When you buy via links on our site, we may earn an affiliate commission at no cost to you. Read more.
11 Parts of a Compound Microscope (With Pictures)
Last Updated on

Microscopes are a handy tool for scientists or hobbyists to view interesting subjects that would otherwise be impossible with the naked eye. There are many types of microscopes, each for its own purpose. If you’re reading up on compound microscopes, you probably already know they have multiple lenses to support different perspectives. However, you may be wondering what parts they are made of, in addition to what role they play in the overall use of the equipment.
The 11 Parts of a Compound Microscope
1. Base
The base of a microscope is exactly what you’d expect; it’s the bottom area that keeps the rest of the microscope from toppling over. This area also holds the lighting fixture (if provided) in place and is made of either hard plastic or metal. Professional compound microscopes have a steel base most of the time, as it helps promote stability during observation. On some microscopes, you’ll be able to adjust the base so that the level of the microscope is uneven, but this may not be needed in all use cases. The base is also referred to as the “foot” of the microscope.
2. Frame
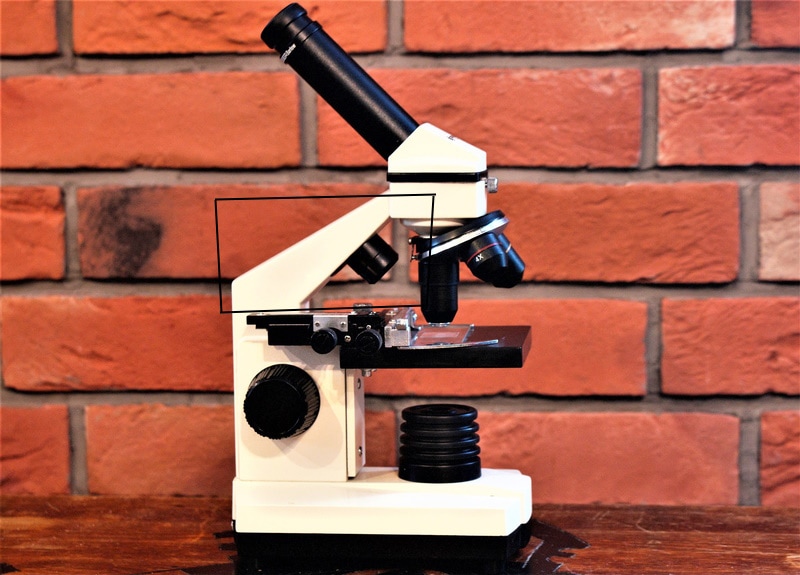
The area that covers most of a compound microscope is the frame, which is likely made of the same material as the base. A microscope frame holds all of the parts together—the lenses, stage, phototube, condenser, illumination, and more. The frame may also include a carrying handle for transport, as they can be quite heavy with their glass and metal construction. In this case, this part of the frame may be called the “arm”.
3. Eyepieces

All modern microscopes have an eyepiece, which is the area where an observer can view the subject on the stage. It’s located on the top of the compound microscope, with a long, tubular shaft with a marking that displays its magnification power. It isn’t uncommon to see binocular eyepieces – or a dual-eyepiece setup. Binocular eyepieces make the viewing process much easier than the strain that’s concentrated on one eye with a singular eyepiece. The eyepiece also houses the diopter adjustment dial/wheel, which enables the user to change the focus of the lens.
4. Objective Lenses

At the center of the microscope are a trio of three objective lenses, which magnify the subject based on its power. Typically, the magnification power varies, as with a compound microscope, there are multiple lenses. The equipment you have may carry a mix of 5x, 10x, 20x, 40x, or even 100x magnification for each individual objective lens. They are used for different kinds of objects based on their size or viewing purpose.
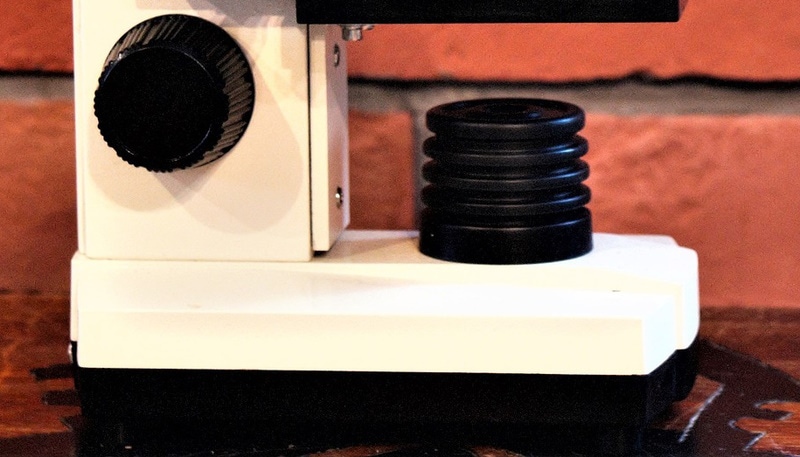
5. Light or Light Source
Close to the bottom of the compound microscope is a light or area for a light source to be implemented. This light illuminates the subject for proper viewing accuracy and the user can make adjustments to the luminosity according to their needs. Keep in mind that some microscopes may contain a mirror rather than a light. In any case, the light or mirror is situated below the stage where it can be seen through the diaphragm above.
6. Revolver
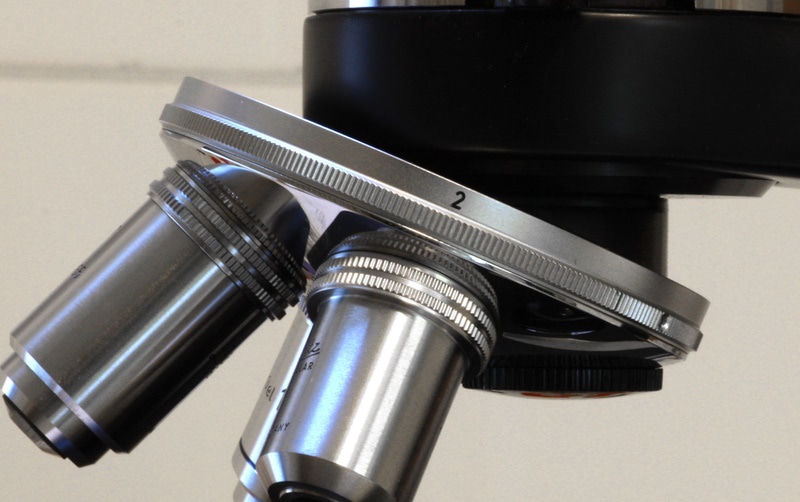
Revolvers are the attachment that house the multiple objective lenses. It’s a sort of “swivel” that can be turned according to whichever one you need. It may also be known as the “nose piece” or “turret”. There isn’t much else to it, as it only really has one function.
7. Stage
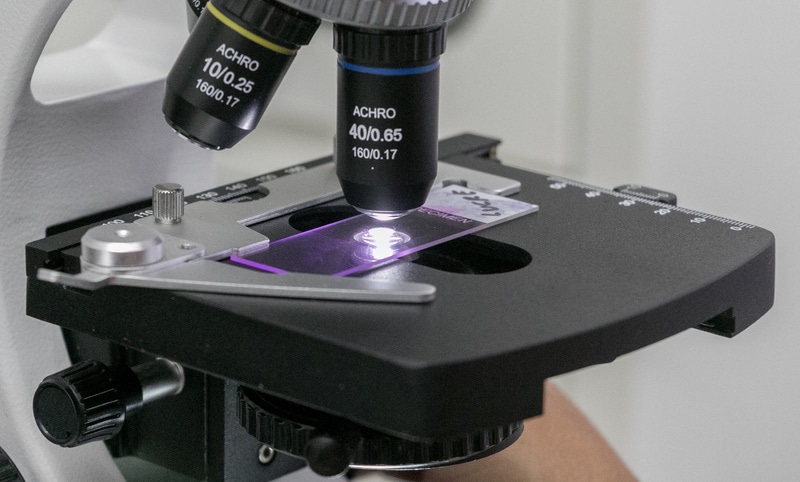
The stage has a name that fits its purpose well; it’s a platform for the slides or observable subjects to be placed. It’s a sturdy area that can be adjusted if the height is too low or high, using the focus wheel – which we’ll explain in a moment. The stage has a “stage clip” as well, which is what holds the sample or object slide in place. A stage has an opening in the middle, which allows the light or mirror to illuminate the slide.
8. Focus Wheel
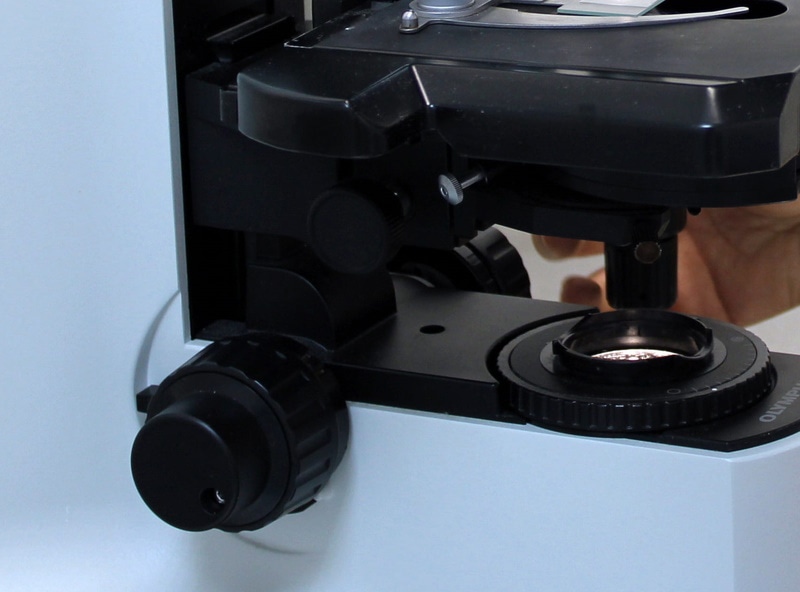
To move the stage up or down, observers must use the focus wheel to make adjustments. It’s a small knob or “wheel” right on the side of the microscope’s frame. With this function, you can make slight changes for the best viewing experience. On the focus wheel, you can see the numerical markings; these indicate precise measurements, so you don’t need to mess around with focus when reviewing a slide you’ve set in place previously. Just remember to note down the exact point that the wheel was set to before removing your slides.
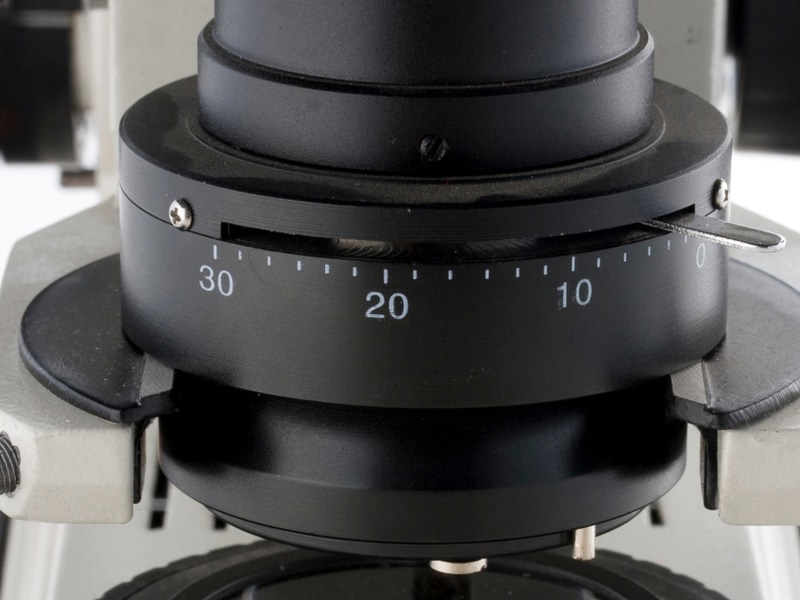
9. Diaphragm/Aperture
The diaphragm is placed just beneath the opening on the stage of the microscope. Diaphragms are a tool that shapes the light how you desire. Both the brightness and the actual shape of the light can be bent into different fashions. Normally the shape will be a cone, as the light is passing through a circular opening. This can be made smaller or bigger depending on your needs. In the end, the results will vary depending on the level of light that passes through your sample. Translucent slides may require more light, while transparent slides may require less.
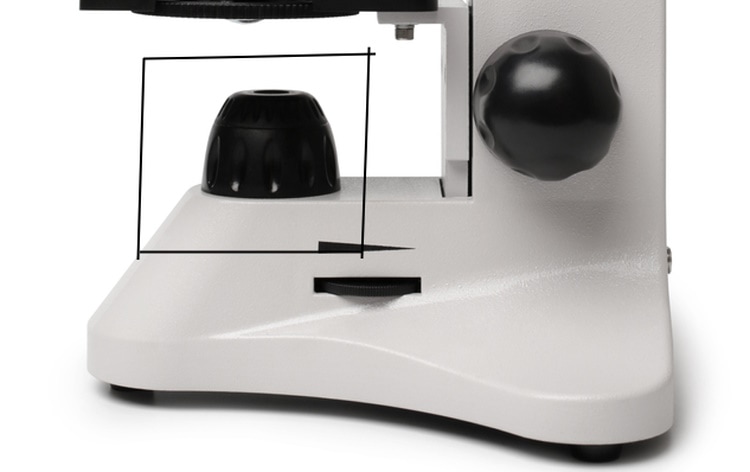
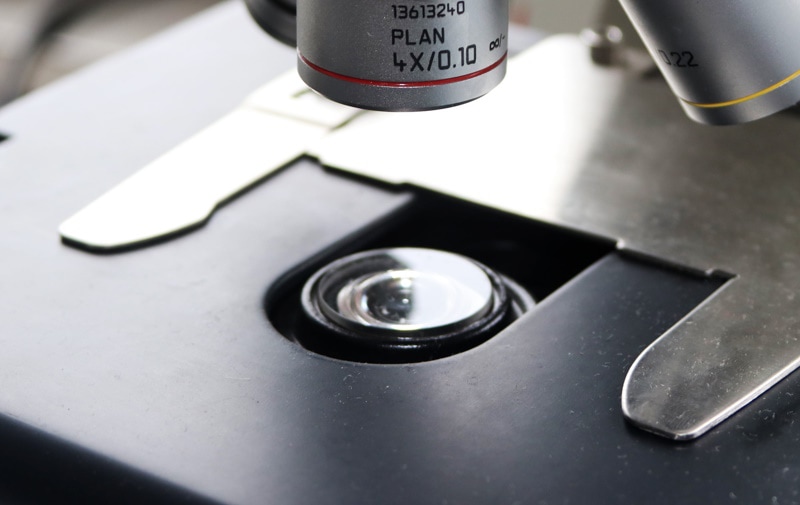
10. Condenser
A condenser is a lens that can be found just underneath the diaphragm and stage. Its main purpose is to increase the viewing resolution of the sample so that the details appear clearer. To do this, the condenser focuses the light coming from the illuminator and concentrates it on the subject. There are condensers that are specialized for extreme magnifications, such as 1000x. These are called Abbe condensers and can have their height adjusted to match the appropriate focus distance.
11. Phototube
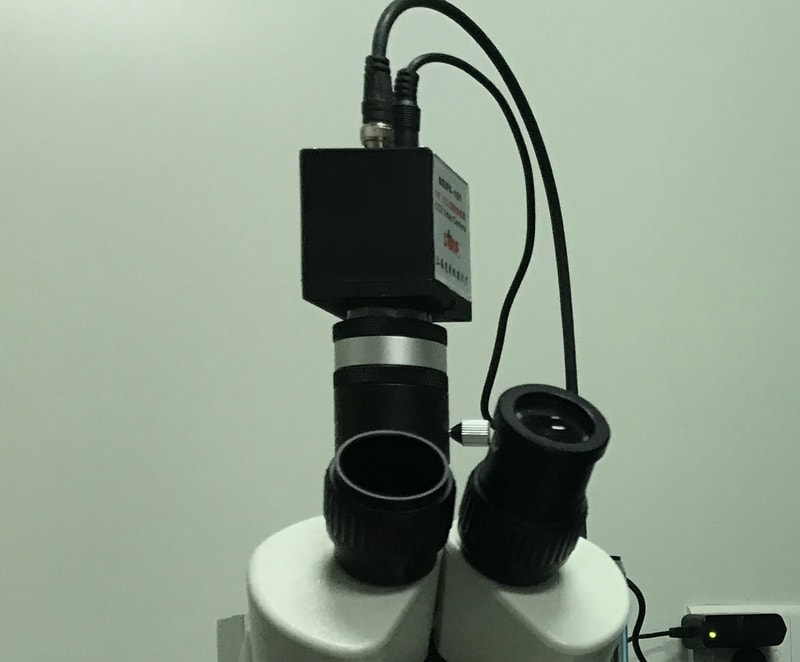
Located close to the eyepiece area is the phototube. Phototubes are not a necessary component for a compound microscope’s function but rather a way to collect photo data for later analysis and documentation. A camera can be attached to the microscope by mounting an adapter onto the camera’s sensor, which also mounts to the microscope. Always remember to use a tripod for microscope photography, as it will keep everything steady, and you won’t end up with a blurry result.
Final Thoughts
The compound microscope is an incredible piece of scientific equipment that enables you to view a completely new world. Whether you’re viewing biological samples or the surface of a rock, there are a vast number of subjects to explore. But it’s important to know how the compound microscope works.
We think you’ll walk away with some valuable information about the functions of each part of this tool; now, it’s just time to take a closer look!
Featured Image Credit: Magnetic Mcc, Shutterstock
About the Author Robert Sparks
Robert’s obsession with all things optical started early in life, when his optician father would bring home prototypes for Robert to play with. Nowadays, Robert is dedicated to helping others find the right optics for their needs. His hobbies include astronomy, astrophysics, and model building. Originally from Newark, NJ, he resides in Santa Fe, New Mexico, where the nighttime skies are filled with glittering stars.
Related Articles:
Monocular vs Telescope: Differences Explained (With Pictures)
How to Clean a Refractor Telescope: Step-by-Step Guide
How to Clean a Telescope Eyepiece: Step-by-Step Guide
How to Clean a Rifle Scope: 8 Expert Tips
What Is a Monocular Used For? 8 Common Functions
How to Clean a Telescope Mirror: 8 Expert Tips
Brightfield vs Phase Contrast Microscopy: The Differences Explained
SkyCamHD Drone Review: Pros, Cons, FAQ, & Verdict