Optics Mag is reader-supported. When you buy via links on our site, we may earn an affiliate commission at no cost to you. Read more.
What Are Leading Lines? How Do I Use Them in My Photos?
Last Updated on
Leading lines are intentionally positioned lines that appear in the photograph. They draw the viewer’s eye to a point of interest. You can use horizontal, vertical, diagonal, or converging lines to focus on one part of the photograph and encourage your viewers to do the same.
The trick to using leading lines is that they should be subtle and organic so that the viewer is drawn to this specific area without realizing it. To learn more about leading lines and how to use them in your photos, keep reading.
Leading Lines Explained
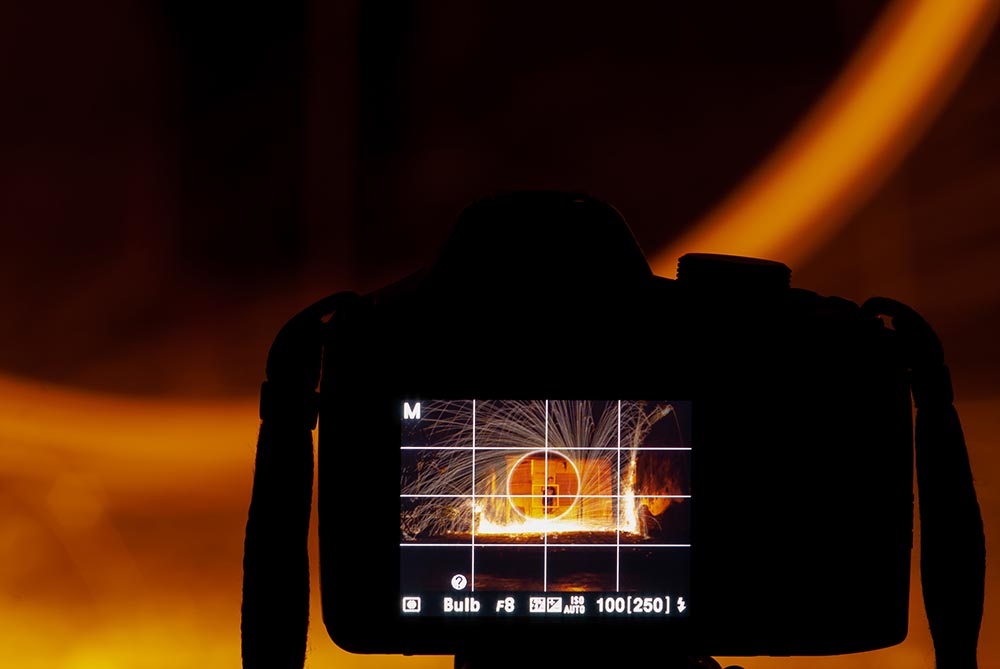
Whenever you take a photograph, you should have a specific focal point in mind. You can use organic lines to naturally encourage your viewer’s eye to look at this focal point. You can do this by using leading lines in the shot.
Leading lines are natural or organic lines in the photograph. These lines direct the viewer’s eye towards a designated focal point. It is the photographer’s responsibility to create these lines or set up the photo in such a way that they naturally appear in the photograph.
Image By: Dolan Mbengi, Shutterstock
Four Types of Leading Lines
There are four main types of leading lines to use, including:
Horizontal Lines: Horizontal lines stretch across the image’s width area. They are most often used in nature and landscape photography, and they are used when shooting pictures with a wide-angle lens.
Vertical Lines: Vertical lines draw the eye up or down the frame. Often, vertical lines are used in street and fashion photography to communicate power or hierarchy.
Diagonal Lines: Diagonal lines enhance images with depth of field. They often create some sort of movement or change. You can also use diagonal lines to emphasize distance.
Converging Lines: Converging lines draw the eye to a point of convergence. It’s best to put the subject of your image right at the axis of these lines.
Make sure to use the different leading lines strategically. If you use the wrong line, your image may not convey the message you intend it to.
How Are Leading Lines Different From Paths?
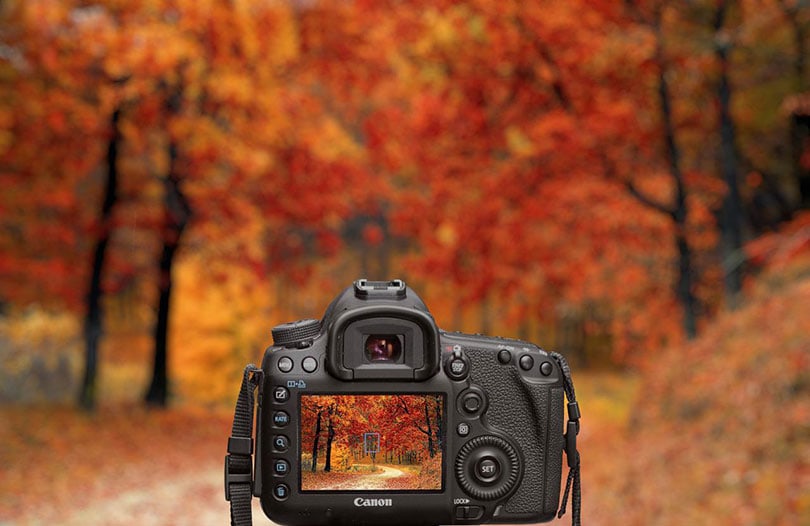
Leading lines and paths are similar, but they are not identical. On the one hand, leading lines and paths draw the viewer’s eyes to a focal point to give perspective. On the other hand, paths are used to draw your viewer’s eye to a horizontal line. Leading lines, in comparison, are more versatile because you can use them to point out different focal points. If you need versatility and flexibility, select leading lines.
Image By: flutie8211, Pixabay
How to Use Leading Lines
Using leading lines effectively can be difficult at first. Here are five steps for creating a fantastic picture using any one of the four leading line strategies above:
1. Study the Environment
Study your environment to find any natural lines or structures that you can use as strong leading lines. It’s important to do this first. After all, you won’t be able to use leading lines if there are no leading lines in the area.
In addition to looking for natural leading lines, look at the location and time of day. Understanding the environment, lighting, and moving factors will ensure you get the best shots.
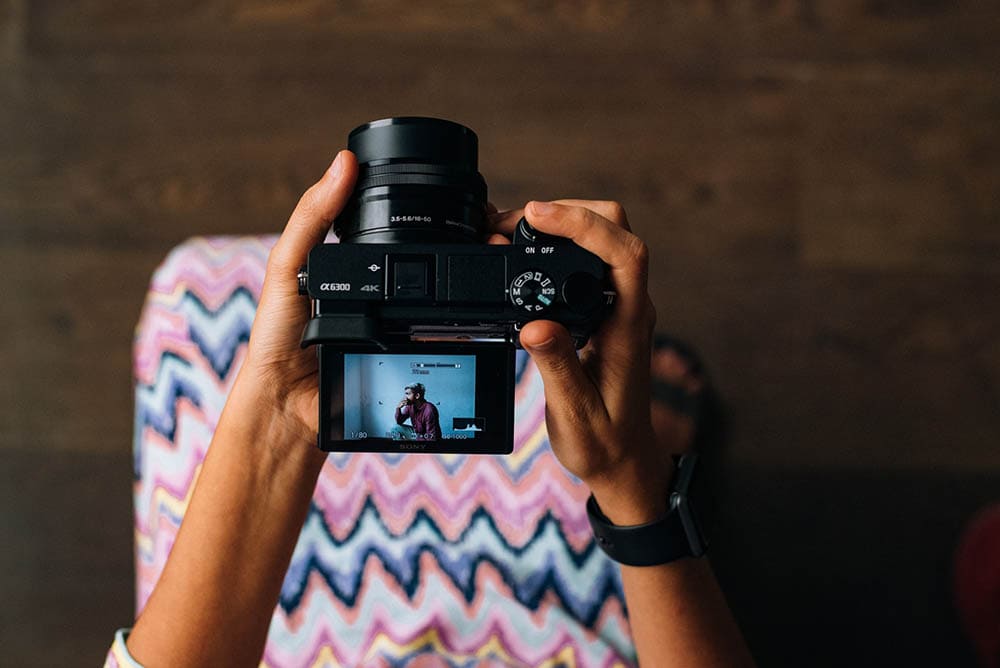
2. Determine Your Focal Point
Once you find a spot that has good lighting and strong leading lines, determine your focal point. Look at the focal point from different angles so you can decide the best location to take the photograph from.
Image By: Prasanna Kumar, Unsplash
3. Position Yourself
Position yourself accordingly to take the shot. Although there may be a lot of leading lines, you have to determine which one is best for the picture at hand.
4. Adjust Settings
Now that you are in place, adjust your camera setting. You specifically need to adjust for lighting conditions. You might need to adjust the shutter speed, aperture, or ISO. You might even want to take practice shots to see how the environment looks on camera.
5. Take Many Shots
Any professional photographer will tell you that it’s best to take many shots, so you have options come time for editing. Take many shots from varying angles, as well as camera settings, to get many options. You might even consider using different leading lines for further options.
Final Thoughts
Leading lines are natural lines in the photograph that suddenly direct the viewer’s eyes to the photograph’s subject or focal point. As the photographer, you have to be able to notice leading lines and photograph them accordingly, so they do their job.
Use the five steps above to create great shots using leading lines. Don’t forget to experiment with different types of leading lines as well to master the art of leading line photography.
Featured Image Credit: Kanjanee Chaisin, Shutterstock
Robert’s obsession with all things optical started early in life, when his optician father would bring home prototypes for Robert to play with. Nowadays, Robert is dedicated to helping others find the right optics for their needs. His hobbies include astronomy, astrophysics, and model building. Originally from Newark, NJ, he resides in Santa Fe, New Mexico, where the nighttime skies are filled with glittering stars.