Trail Camera Not Taking Pictures? 9 Common Fixes
Last Updated on

It can be incredibly frustrating to go out to your trail camera after it’s been up for a while only to discover that it hasn’t taken any pictures, it stopped taking pictures after a short period of time, or is taking pictures that don’t show you what you want to see.
In this article, we’re going to go over nine of the most common problems that prevent trail cameras from taking pictures entirely. Then we’ll briefly go over what issues can cause bad pictures.
Most of the time, if your trail camera is not taking pictures, the problem will fall into one of three categories: an issue with the SD card, an issue with the battery, or an issue with camera placement or settings. Luckily, all of these issues are easy to fix, so before you get on the line with customer service, make sure you’ve gone through these possible problems and resolved them.

Issues With the SD Card
There are a few things you can check with your SD card to see if it may be the culprit.
1. Wrong Type of SD Card
For a trail camera, you are likely using an SD card with at least 32 GB of capacity, and maybe much more than that. The trouble is that SD cards with a capacity of more than 32 GB are SDXC cards, while cards with 32 GB or less are SDHC cards. A lot of cameras can use either type of card, but some are limited to SDHC, so if you’ve put a higher capacity card in, it won’t work.
You can check the documentation for your camera and it should specify what types of cards it is compatible with.
If you’ve verified that the type of card you’re using is correct, then the next step would be formatting the card.

2. SD Card Needs to Be Formatted
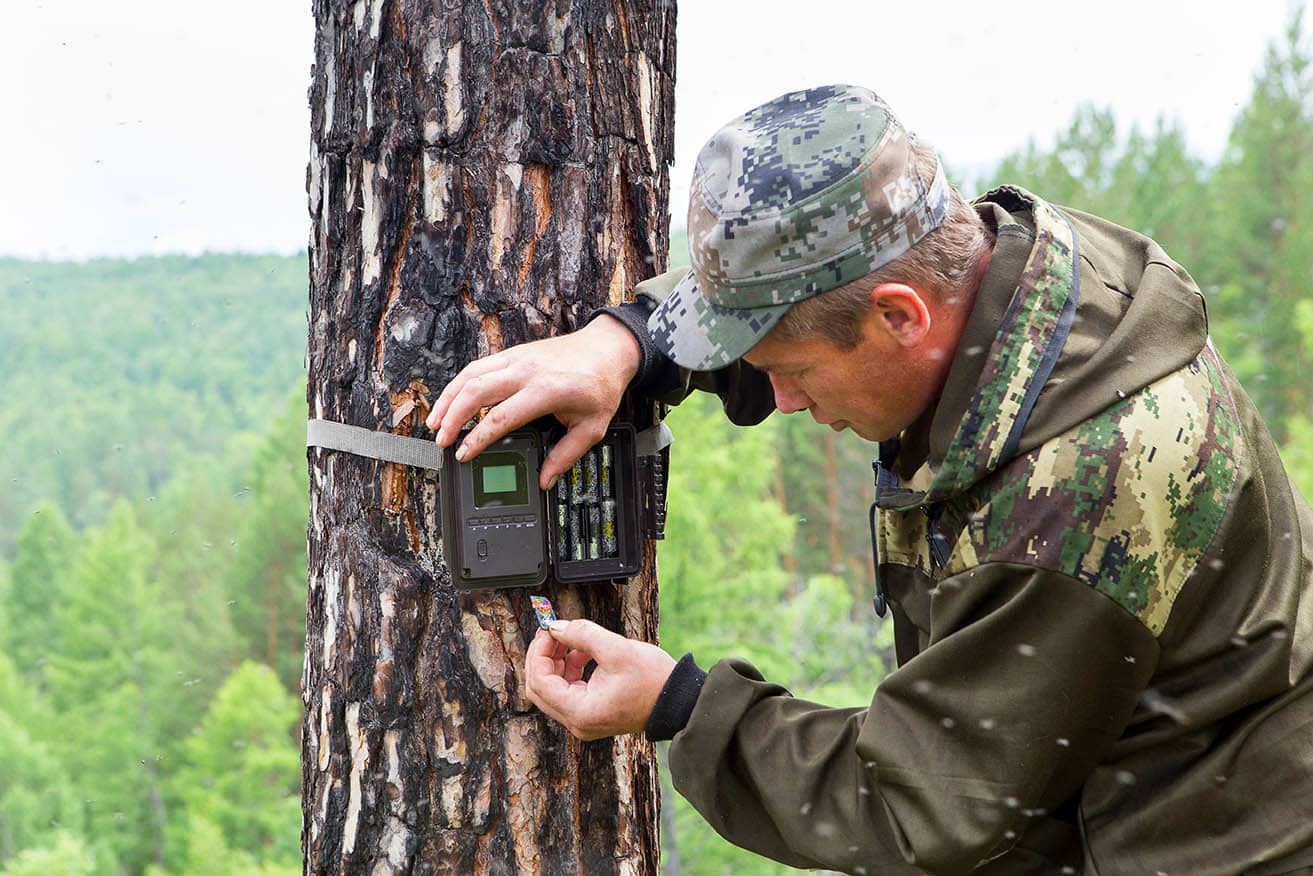
Brand-new SD cards often need to be formatted before they can be used. You may have a trail camera that can perform this operation on the card once it’s inserted, but it’s more likely that you’ll need to do this with your computer before putting it in the camera. Even cards that have been working fine sometimes need to be formatted.
Formatting is essentially just wiping the card clean of any previous data or file system that was on it previously and replacing it with a new system. To format a card, simply place it in your computer and when it pops up on your desktop or explorer window, right-click and select “format”.
As long as you are using the same computer to format the card as you will to copy the pictures over once they’re taken, then you can probably stick with the default settings. If the card is more than 32 GB in capacity, you can choose “exFAT” as the file system for maximum compatibility. For 32 GB or lower, FAT32 or FAT16 are good choices.
3. SD Card Is Locked
This may seem like such a simple thing, but it can be incredibly aggravating to discover that the SD card you thought had been recording this whole time was actually locked and unable to record. All SD cards have a little slider on the side that can click up and down to either lock or unlock the card. The locking mechanism is designed to prevent the data on the card from being accidentally overwritten.
It is common for people to lock a card after recording something important to protect the data inside until they are able to copy the files onto their computer. A locked SD card will not allow any new data to be written to it, so even if the camera is taking images, it can’t save them anywhere.
This is an easy fix. Simply slide the little plastic piece to the picture of the open padlock and you’re good to go. While frustrating, this is actually the easiest and fastest problem to resolve.
4. SD Card Is Damaged
SD cards are pretty tough little devices, so unless your card has been dropped from high up onto sharp rocks or been hit hard with something, it should last a long time. SD cards have been known to work fine even after being put through the wash riding in a pants pocket. As an SD card gets older, you will most likely start to notice that some of the pictures have glitches or are corrupted.
This should happen long before the card fails completely, so you should have some warning that the card is on the way out before you lose an entire batch of photos, but it’s certainly possible that the reason the camera isn’t taking photos is that the SD card is damaged.
Before you use your card for target practice, though, you should check a few other potential causes first.

Battery Issues
5. Batteries Are Dead
This is probably the first thing you tried, but just in case you haven’t yet, you should absolutely try swapping out the batteries, even if the ones currently in the camera are new. Dead batteries are easy enough to understand, but there are a few considerations with batteries specifically with trail cameras that may not be as obvious.
6. Corrosion Is Preventing Good Contact

Being outdoors in the hot sun, wet rain, and cold snow will cause even the most rugged trail camera to show signs of wear and tear. One of those signs is battery corrosion. If you notice a white, powdery substance in the battery compartment, especially near the contact points, there is a chance that the corrosion is interfering with the proper transmission of power.
You can scrape the corrosion off and try putting new batteries in to see if that resolves the issue.
7. Alkaline vs. Lithium Batteries
Alkaline batteries may be cheaper (sometimes a lot cheaper), but lithium batteries last much longer, and when your trail camera may need to run for a week, a month, or even longer without new batteries, using lithium instead of alkaline can make a great deal of sense. It can also prevent you from losing out on valuable photos that help you track wildlife on your property.

Settings or Placement Issues
Even if everything inside the camera is working perfectly, there may be issues with the camera’s settings or where the camera is placed that are preventing the camera from taking pictures. Often, if this is the case, you’ll likely have some photos, just not of what you were intending to capture. However, sometimes this can result in getting no pictures at all.
8. Settings Issues
Most trail cameras have more than one mode, and if you switch out of motion-activated mode, the camera won’t detect motion and won’t take any pictures. A lot of cameras have a time-lapse mode, a video mode, and even a manual mode. The camera won’t work as expected if it’s in any of these modes unless that’s what you want the camera to do.
Some cameras also allow you to control things like the flash for night-time shooting and which sensors the camera uses to detect motion. Setting these incorrectly can cause the camera to fail to take pictures, or to take them too slowly to capture what you want.

9. Placement Issues
Manufacturers are notorious for advertising the “theoretical” maximum range for the sensor and flash, so if you’ve placed your camera far enough away from the trail to be at the edge of that advertised range, then that might be why it’s not taking pictures.
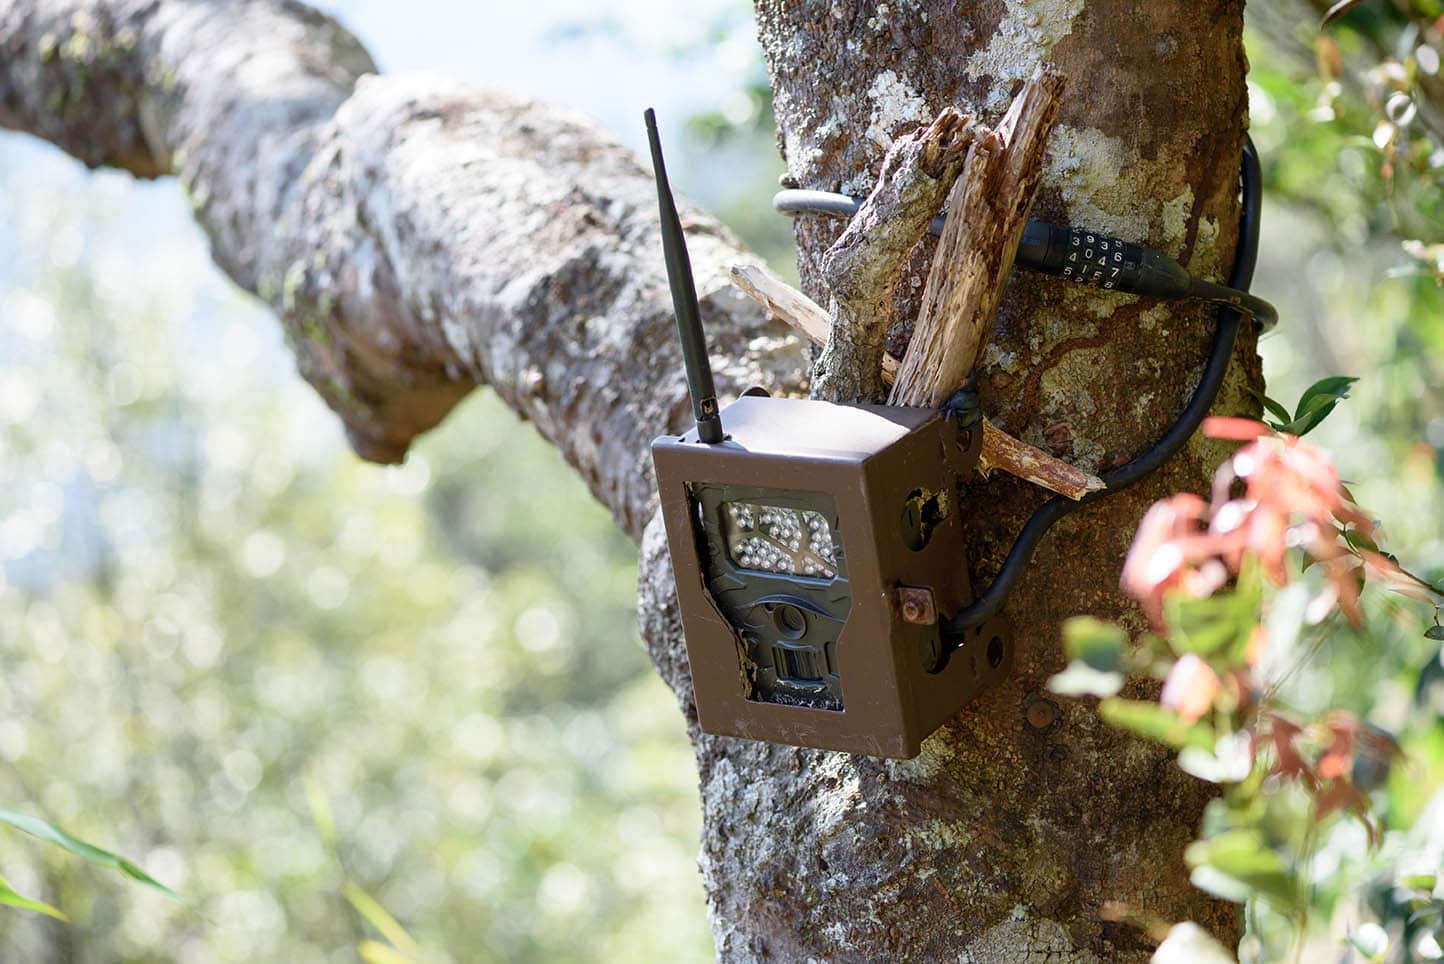
Another issue can come if you place the camera too high and don’t angle it down enough (or angle it down too much). Placing the camera high can be a good way to prevent theft and cover a wider area, but it also increases the distance from your camera to the target area, so it will need to be closer than it would if it were at eye level.
There are plenty of other issues that can come from where the camera is placed, but most of them will lead to bad pictures being taken instead of no pictures at all.

Trail Camera Taking Bad Pictures
So, if you’ve got your camera working but now it’s taking pictures that are unusable for one reason or another, here are a few reasons why that might be the case.
Camera Shutter Speed and Other Settings
Ideally, you’d want your camera to snap a crystal-clear picture the instant that it detects motion, and continue taking pictures as long as it continues to detect that motion. However, once a sensor detects motion, it has to turn on the actual camera, focus the lens, then snap a picture. This process can take a few seconds depending on your camera, and if it’s too slow, you’ll miss out on the good shots and end up with something sub-par.
If your camera allows you to manually adjust the settings, you’ll want to try for the fastest shutter speed you can get while still having a bright enough picture. If you’re not a photographer, you can just let the camera set shutter speed automatically.

The trail camera needs to be able to take clear pictures in bright daylight and total darkness with the help of a flash of some kind, so proceed with caution if you are trying to tinker with settings that affect the image quality. Any changes you make that improve the photos in the daytime will likely worsen the photos at nighttime and vice versa.
Placement Issues That Can Lead to Bad Photos
Having the camera placed too far away from the target area is the number one culprit when you end up with a hundred photos of the same empty scene, so make sure that your camera is well within the advertised range of the sensor and flash. Having the camera pointed at an angle where the lens can catch the glare of the sun can also ruin photos.
Sometimes this is obvious, but the effects can also be more subtle and just make the image look soft or blurry.

Conclusion
If none of these solutions are able resolve your problem with your trail camera, it may be worth giving the customer service department a call and seeing about the warranty on your camera. If it’s not the batteries, the SD card, or the placement, then the only other likely option left is the camera itself. Best of luck, and happy trails!
Featured Image: SERGEI PRIMAKOV, Shutterstock
About the Author Robert Sparks
Robert’s obsession with all things optical started early in life, when his optician father would bring home prototypes for Robert to play with. Nowadays, Robert is dedicated to helping others find the right optics for their needs. His hobbies include astronomy, astrophysics, and model building. Originally from Newark, NJ, he resides in Santa Fe, New Mexico, where the nighttime skies are filled with glittering stars.
Related Articles:
How to Clean a Refractor Telescope: Step-by-Step Guide
How to Clean a Telescope Eyepiece: Step-by-Step Guide
How to Clean a Rifle Scope: 8 Expert Tips
Monocular vs Telescope: Differences Explained (With Pictures)
What Is a Monocular Used For? 8 Common Functions
How to Clean a Telescope Mirror: 8 Expert Tips
Brightfield vs Phase Contrast Microscopy: The Differences Explained
SkyCamHD Drone Review: Pros, Cons, FAQ, & Verdict
