
Optics Mag is reader-supported. When you buy via links on our site, we may earn an affiliate commission at no cost to you. Read more.
How to Zero a Rifle Scope at 100 Yards – 2026 Guide
Last Updated on

Have you ever spent the day at the range only to have your bullets go all over the place? What about having them consistently miss in the same direction? Chances are you need to zero your scope – otherwise, you’re never going to hit your target.
There’s good news if you’ve never zeroed your scope before – it’s quick and easy. In this guide, we’ll walk you through everything you need to know about zeroing your scope before walking you through how to do it step by step.

What Does Zeroing Your Scope Mean?
While it’s the job of your scope to hone in on your target, if you don’t zero your scope you still won’t hit anything. That’s because when you’re zeroing your scope, you’re lining up the reticle in your scope with the area that the bullet actually hits.
And when you’re zeroing your scope to 100-yards, you’re lining this up to 100-yards, which accounts for bullet drop and your specific rifle variations.
Why Is It Important to Zero Your Scope?
Like we mentioned before, if you don’t zero your scope you’re going to have a hard time hitting your target. These effects are only going to become more pronounced the farther away your target is.
Whether you’re going out for a hunt or spending the day at the range, everything is going to be far more enjoyable if you take the time to zero your scope correctly.

Steps to Zero Your Rifle Scope at 100 Yards
Now that we’ve established how vital zeroing your scope is, we’re going to walk you through exactly how to do it. While it’s not hard, it can be a little time-consuming and frustrating if you’re new at it. Just take your time because if you screw this up, you will only run into more problems with future shots.
1. Set Everything Up
Before you start taking any shots, set everything up. Set the target out to 100-yards, attach the scope to your rifle and get everything ready to go. It’s important to set everything up in the same way you plan on using it. If you make adjustments after you zero your scope, you’re going to have to do it all again.
2. Set Windage, Elevation, and Make All Other Adjustments
Once again, you need to set this all up the correct way – otherwise, you’re only going to run into more issues when you’re taking your actual shots. Take your time, get the proper magnification, and make sure that you get a crystal-clear image with the focus ring. Take your time here – these are the most important steps.
3. Take Your Shot and Observe
Once you’ve set everything up, take your shot – in fact, take three. Line up the reticle on your scope with the bullseye and pull the trigger. You should have a “cluster” somewhere on your target.
If you don’t have a cluster, this isn’t a problem with the scope or rifle – it’s a problem with you. Take some deep breaths and relax. Get back to the basics until you get the bullet cluster.

4. Make Adjustments
If you have a cluster, you’re in good shape! Observe how far off from the bullseye each shot is and make your adjustments. You want to make your adjustments based on the average of all three shots. So, if each shot is between 4″ and 6″ high, adjust 5″ down. Do the same thing with any necessary horizontal adjustments.
While you’re making adjustments, don’t always try to make all the adjustments in one go. While you might think that four clicks will straighten out your shot, it might actually take two or three, and now you’ve over-corrected and need to take it back the other way.
When you’re making large adjustments, it becomes far more likely that you’re going to jump from side to side over the target. This can be incredibly frustrating and take a lot longer than it needs to. Take your time and make small adjustments each time.
5. Wash, Rinse, and Repeat
Once you’ve made your adjustments repeat the necessary steps until your bullet clusters and land on the bullseye. Once you’ve done this, you’ve successfully zeroed your scope, and you’re ready to go!
Just remember to shoot in clusters – otherwise, you might be making adjustments based on a mistaken shot, and this can slow down the whole process and have you start back over from square one.
You might also be interested in: What Distance to Zero an Air Rifle Scope?
Zeroing Your Scope Without Firing
While firing is the most popular and often the quickest way to zero your scope, it’s not the only way. While there are multiple methods you can use to zero your scope, we’re going to stick with one of the easiest – and that’s with a laser bore sight.

You’re going to install the laser bore directly into the muzzle of your rifle and then make the adjustments accordingly. However, you’ll need to make an additional adjustment for bullet drop.
While we’d love to give you a set-in stone measurement for bullet drop, the truth is that it varies depending on the caliber round that you’re shooting and what kind of weapon you’re shooting from.
You’re going to have to track down a calculator that allows you to input your weapon and the caliber ammunition you’re using to successfully zero your scope without firing a round.
Because this can be difficult, it’s why most people simply fire rounds to zero their scope to 100-yards.
Conclusion
You’re excited to use that new scope, and we completely understand the feeling. But you need to take the time to zero it out – otherwise, you’re going to think that your scope is a piece of junk even though it’s doing exactly what it should.
Hopefully, this guide walked you through everything you needed to know to zero your scope and reinforced this process’s importance. That way, the next time you line up your shot, you’ll know that you’ll get a perfect hit before you even pull the trigger.
You might also like some of our top-trending posts:
- Golden Eagle vs. Bald Eagle: What’s the Difference?
- How to Sight in a Bow Without Shooting It: 5 Easy Steps
- 7 Best Glock 43 Sights — Reviews & Top Picks
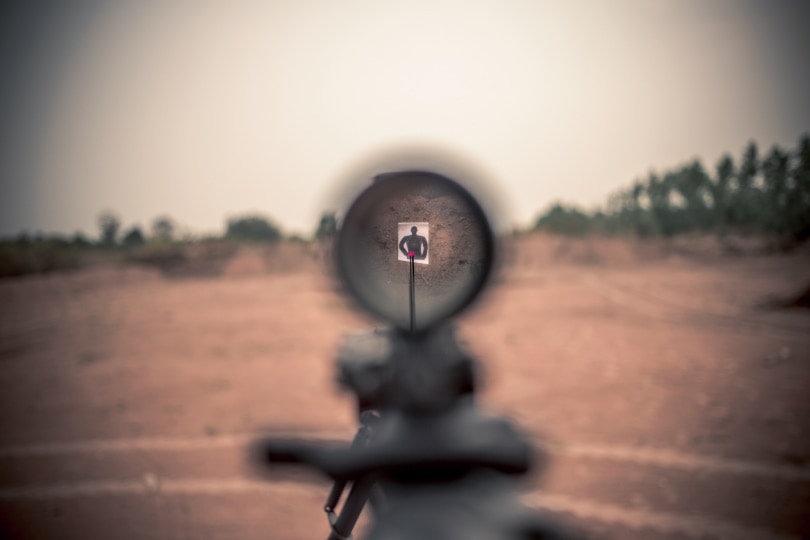
Featured Image: Robert Nyholm, Shutterstock
About the Author Robert Sparks
Robert’s obsession with all things optical started early in life, when his optician father would bring home prototypes for Robert to play with. Nowadays, Robert is dedicated to helping others find the right optics for their needs. His hobbies include astronomy, astrophysics, and model building. Originally from Newark, NJ, he resides in Santa Fe, New Mexico, where the nighttime skies are filled with glittering stars.
Related Articles:
How to Clean a Refractor Telescope: Step-by-Step Guide
How to Clean a Telescope Eyepiece: Step-by-Step Guide
How to Clean a Rifle Scope: 8 Expert Tips
Monocular vs Telescope: Differences Explained (With Pictures)
What Is a Monocular Used For? 8 Common Functions
How to Clean a Telescope Mirror: 8 Expert Tips
Brightfield vs Phase Contrast Microscopy: The Differences Explained
SkyCamHD Drone Review: Pros, Cons, FAQ, & Verdict