
Optics Mag is reader-supported. When you buy via links on our site, we may earn an affiliate commission at no cost to you. Read more.
How to Take Pictures Through Binoculars – 2026 Guide
Last Updated on

When you want to go from the world of birdwatching to the world of digiscoping, one of the easiest ways is to start taking pictures through your binoculars. While it might not be something that you’ve ever thought of before, if you’re just looking to take a few quick pictures here and there, it’s easier than you think.
In this guide, we’ll walk you through everything you need to know to start taking pictures through binoculars, including what you need to know before you start. We’ll have you snapping top-notch photos in no time!

Before You Start
Before you start trying to take pictures through your binoculars, there are a few things you should know to make your life a little easier. After reading this brief section, you’ll have a better idea of what you need and what you can expect when you’re taking pictures through binoculars!
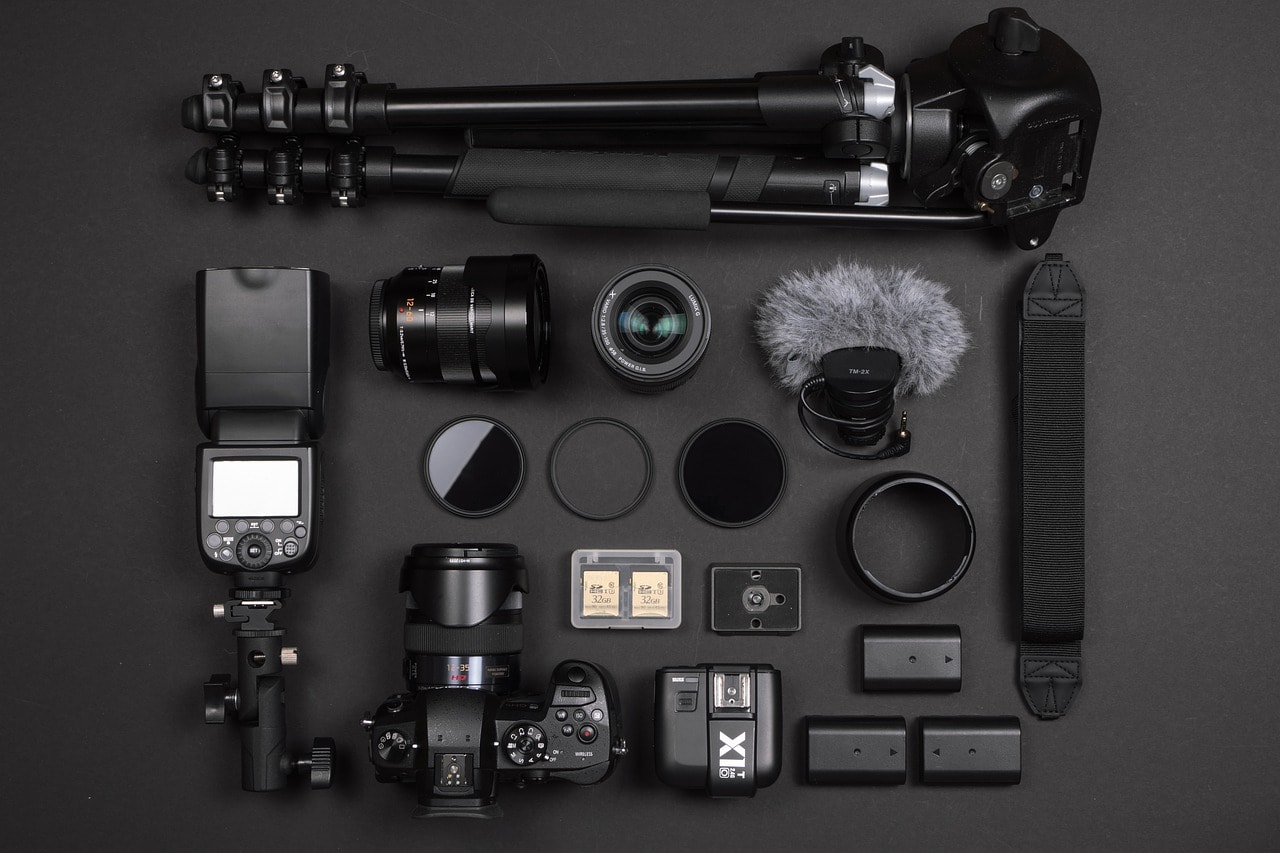
Getting the Right Equipment
Getting the right equipment is the most important step in the entire process can save you a ton of frustration and confusion. While you can line your iPhone up with just about any pair of binoculars and start taking pictures, if you’re looking for higher-quality images, there are a few different pieces of equipment that you should consider.
Below we’ve highlighted the three most significant considerations when setting up your binocular and camera for photos.
Picking Your Camera
When you’re picking out your camera, you need to make sure that the lens is smaller than the eyepiece on your binoculars. If it’s not, you’ll need to invest in a special adapter, and there’s no guarantee that they’ll make one that works for you.
That’s because most of the camera adapters are for cameras that have smaller lenses than the eyepieces on the binoculars. This requirement makes using a DSLR incredibly difficult.
While DSLRs can improve overall quality, it’s much easier to use a point-and-shoot camera or a smartphone camera when taking photos through a pair of binoculars.
Tripod
Whether you’re taking photos at a lower magnification or not, a tripod makes it far easier to get a picture that isn’t blurry. While it’s important at any magnification level, the more power you have, the more critical this feature becomes.
Keep in mind that you’ll also need an adapter to mount your binoculars to the tripod. Otherwise, you won’t have any way to mount your binoculars to take your pictures.
Camera Adapter
Once again, this isn’t a necessary piece of equipment, but it’s going to make everything a million times easier for you – especially as you take photos at higher magnifications.
Camera adapters are common for binoculars, and they keep your camera exactly where it needs to be to take clear images. When you pair a camera adapter with a tripod, there’s no reason that you can’t take crystal-clear high-quality images at any magnification.
Setting Expectations
If you think you’re going to line your iPhone up with your binoculars and take the perfect picture on your first try, you’re only fooling yourself. These things take time, and while you can speed the process along with the right equipment, it’s going to take time and practice.
But you really need to keep your expectations in check if you’re using lower-end equipment and skipping adapters and tripods. While you’ll still be able to take pictures, you’re going to have to stick to lower magnifications, and you’ll still end up with a few blurry photos.
Whether you’ve been doing it for a few years or it’s your first trip out, you’re not going to get every shot. Take plenty of photos and enjoy the process!
Binoculars vs. Telescopes
Deciding whether you want to take photos through binoculars or a telescope comes down to a few different factors, namely the target you’re shooting and your patience level.
There’s no questioning that telescopes can offer better magnification and easier adapters for DSLR cameras. But the tradeoff is versatility. It’s much easier to line up a pair of binoculars a take a photo, which gives them the edge when you’re taking pictures of birds or other moving objects.
But if you’re pointing your camera skyward, there’s no doubt that a telescope is going to offer you superior results. That doesn’t mean you can’t take great pictures with your binoculars. Just know what you’re getting into and the best setup for whatever you’re taking pictures of.
The Step-by-Step Guide to Taking Pictures Through Binoculars
Now that you have the basics down and a better understanding of what to expect, let’s dive into exactly what you need to do when you’re taking pictures through binoculars!
Setting Your Binoculars Up
The first thing you need to do is get your binoculars ready. Most decent binoculars will have foldable eyecups, and when you’re taking pictures, you want to fold those eyecups out of the way. Your goal here is to get your camera as flush with the lens as possible so move everything out of the way!
Once you’ve set up that part of the binoculars, mount your binoculars to your tripod if you plan to do so. While this isn’t necessary, it’s going to make everything easier and allow you to take pictures at higher magnification.
- You might also like: How to Fix Binoculars with Double Vision in 7 Easy Steps

Set Up Your Camera
Setting up your camera is the easy part. If you’re using a smartphone camera, all you need to do is click on the camera app, while if you’re using a DSLR or a point-and-shoot, all you need to do is turn the camera on. It’s an easy step – don’t overthink it.
Align the Camera or Setup the Adapter
If you’re putting a camera adapter onto your binoculars, this is when you want to do it. Once you mount the adapter, attach your camera, and you’re ready to go!
If you’re not using an adapter, all you need to do is line up your camera lens with one of the eyepieces on your binoculars. If you’re using a camera with a digital display, you can check that you’ve lined everything up properly by looking at the display.
Once you can see through the binoculars, you’ve lined everything up correctly! Keep in mind that if you’re lining everything up manually, you’ll need to hold the camera still and in place when you’re taking photos.
Make Sure Everything Is Focused
While it’s easy to remember to focus your binoculars when you’re looking through them, you can sometimes forget about the basics when introducing a new element. Make sure that you take the time to focus the binoculars every time you change the magnification.
If you don’t, you’ll either end up with blurry photos or spend a ton of time troubleshooting your setup when all you need to do was focus your binoculars.

Take Your Photos
At this point, you’ve already done all the hard work. Now all you need to do is line up your target and take your shot! When you’re taking your photos, don’t worry about getting the perfect shot every time. Instead, take a ton of pictures and sort through them later.
Edit Your Photos
Once you get back to the house, upload your photos to a photo editing software like photoshop. Even if you’re not an editing guru, you’d be surprised by the difference just a few moments in an app can make.
Many of these apps offer features that will automatically optimize the lighting, contrast, and straighten up the photo for you. That means even if you don’t have any skills at editing photos, you can still get a great shot with the click of a button!

Conclusion
While it’s a blast to go birdwatching or sky-gazing with binoculars, it’s only a matter of time before you want to start sharing that passion with others. Digiscoping is a great way to do this, and you can don’t need a fancy setup to get the job done.
Hopefully, this guide walked you through everything you needed to know and gave you the confidence to get out there and start taking pictures through your binoculars. While it can seem a little overwhelming at first, you’ll have it down and be showing off your photos in no time!
Featured Image Credit: Irina Nedikova, Shutterstock
About the Author Robert Sparks
Robert’s obsession with all things optical started early in life, when his optician father would bring home prototypes for Robert to play with. Nowadays, Robert is dedicated to helping others find the right optics for their needs. His hobbies include astronomy, astrophysics, and model building. Originally from Newark, NJ, he resides in Santa Fe, New Mexico, where the nighttime skies are filled with glittering stars.
Related Articles:
How to Collimate Binoculars: 9 Expert Tips
How to Clean a Refractor Telescope: Step-by-Step Guide
How to Clean a Telescope Eyepiece: Step-by-Step Guide
Can You Use Binoculars to Look At Stars? How to Choose the Right Pair
How to Choose Binoculars for Bird Watching: 10 Expert Tips
How to Clean a Rifle Scope: 8 Expert Tips
Monocular vs Telescope: Differences Explained (With Pictures)
What Is a Monocular Used For? 8 Common Functions