
Optics Mag is reader-supported. When you buy via links on our site, we may earn an affiliate commission at no cost to you. Read more.
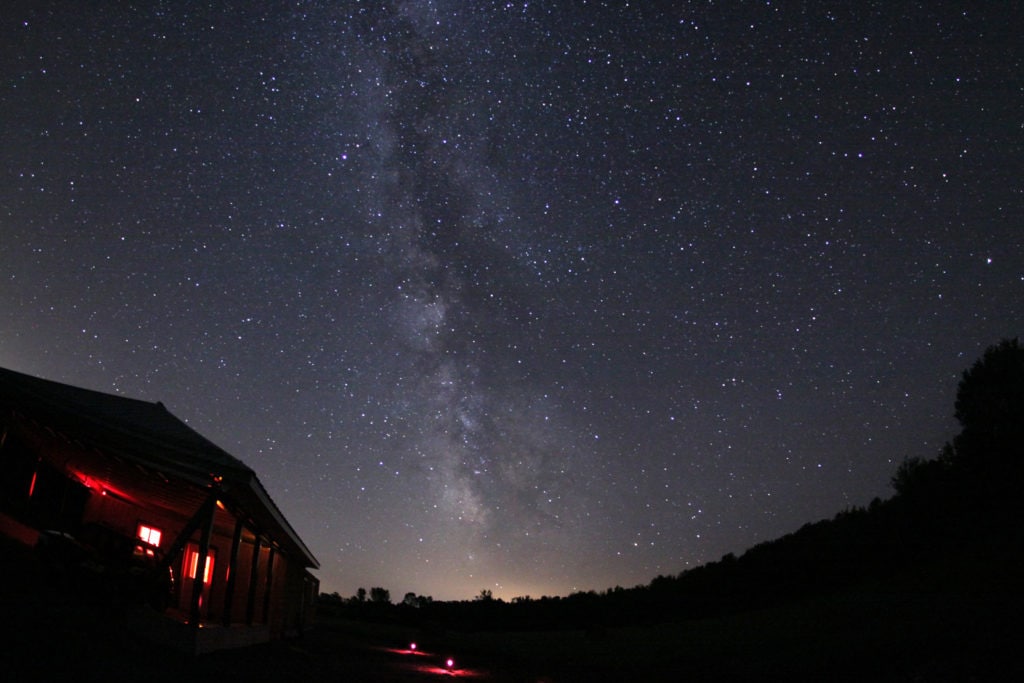
How to Photograph the Milky Way: 10 Tips & Tricks
Last Updated on

Perhaps you were scrolling through Facebook when the perfect picture of the Milky Way came across your timeline, or maybe you saw it in a magazine or from a Google search.
Either way, the spark is there, and you want to figure out how to get your own great pictures. It’s not the easiest process out there, so use these 10 great tips and tricks to save yourself some frustration in your quest to get the perfect Milky Way picture.

Top 10 Tips on How to Photograph the Milky Way:
1. Find the Right Time of the Year
While you might think that you can just go outside and point your camera at the sky and start taking pictures of the Milky Way, that’s just not how it works. The reason for this is that you need Earth to be facing the Milky Way.
Since the Earth sits on the edge of the Milky Way, this isn’t always the case. The Milky Way often faces the other side of the Earth at night. If you want to view the Milky Way at night, when it’s easiest to get good pictures, you want to head out either in July or August.
That’s a small window, but you will get the best possible results.
2. Wait for a New Moon
When you’re trying to take pictures of stars thousands of light years away, you need to minimize the amount of light out there. At night, one of the biggest sources of light in the sky is the moon.
To help minimize light pollution and get the best picture possible, it’s best to wait until as close to the new moon as possible. Since the lunar schedule might only give you two new moons between July and August, this means you might get two perfect days a year for your Milky Way pictures.
3. Wait for a Clear Night
One of the problems of taking pictures of deep-space objects from Earth is that you must have a clear shot between those objects and you.
While it’s not as noticeable at night because the skies are already dark, the sky can be full of clouds. If you point your camera up on those nights, you’re not going to capture anything but a zoomed-in shot of a cloud.
Even more challenging is the fact that you need a long exposure, and you don’t want clouds obscuring the view at any point during the shot. It’s not an easy balance to find, but if you want clear pictures of the Milky Way, you’ll need to get it.
4. Avoid Light Pollution
Even if you do all these things right, the wrong location can make the picture all but impossible to achieve. Light pollution is almost everywhere, making it extremely difficult to image deep sky objects like the Milky Way.
Use a light pollution map to find an area near you with the least amount of light pollution. While your geographic location might make a bit of light pollution unavoidable, the less you can get, the better your photos will turn out.
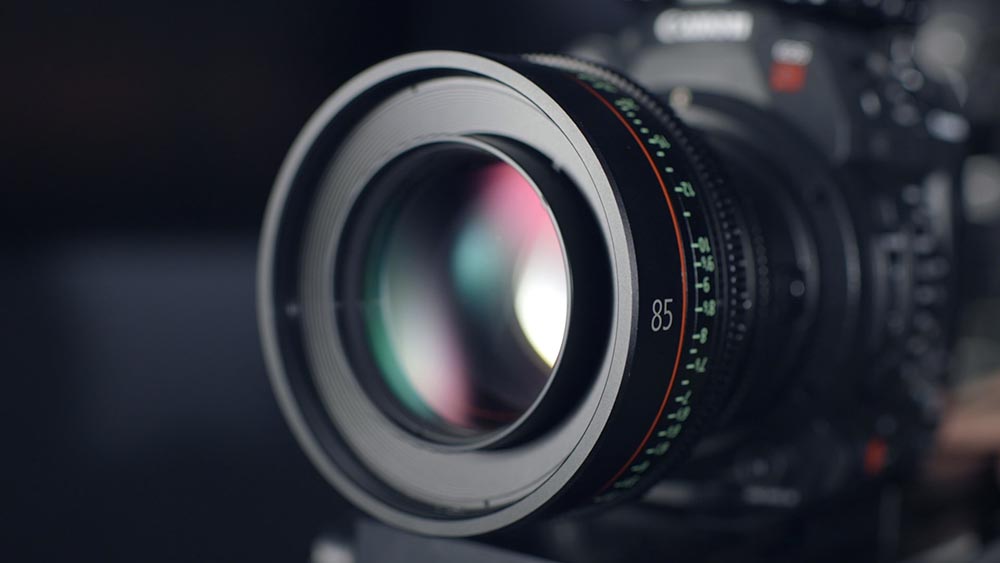
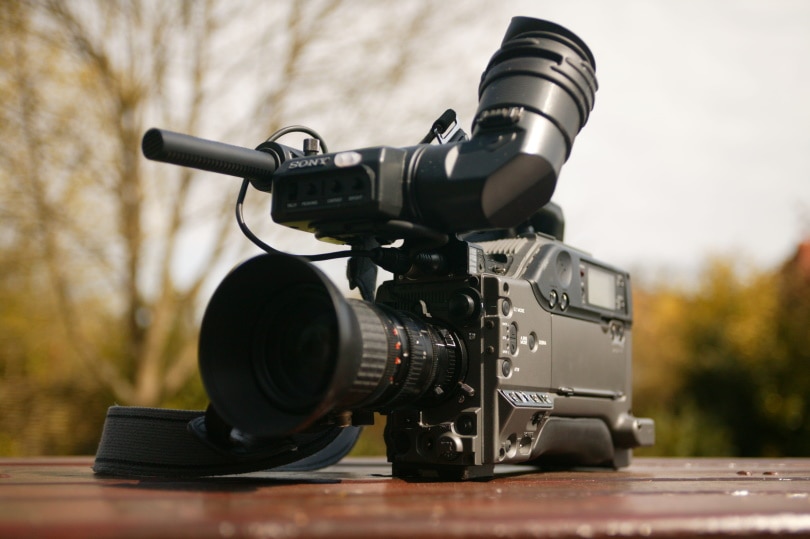
5. Get the Right Equipment

If you think that you can just run outside with your smartphone and point it at the sky and capture outstanding pictures of the Milky Way, you’re unfortunately mistaken. While you might be able to capture something by doing this, it won’t be near the quality of results that you can get with the right equipment.
If you already have a camera, you don’t need to spend that much on your initial setup. You’ll want at least a tracker, tripod, and a remote shutter.
6. Pick the Right Location
Did you know that you don’t get the same view of the Milky Way everywhere on Earth? If you’re looking for the best possible picture, you need to head to the southern hemisphere. The core of the Milky Way comes farther up the horizon there, making for more stunning pictures.
While you’re focused on the stars, you will also capture earthbound elements in your photos. Take this into account when you’re picking a place to set up all your equipment. While the Milky Way pictures should be great, the last thing that you want is a dumpster or another unsightly object on the bottom half of the image.
7. Take Multiple Photos
You never know what pictures will pan out and which ones won’t, so take many pictures while you’re out there. This will help for a few reasons.
First, if anything gets in the way of one of the pictures, you can “stack” them and remove the interfering object. With photo stacking, the more exposures you have, the better, so keep taking pictures throughout the night.
Second, the more pictures you take, the higher chance that you’ll get at least a few that you really love!
8. Edit Away
When you take a look at all your Milky Way pictures, it’s easy to toss a few for not being good enough. But with photo editing, you can turn them into something stunning.
Keep in mind that we’re not talking about completely transforming the night sky into something that doesn’t exist. But you can take out satellites that might have intercepted your photo or a quick-moving cloud that tried to ruin the day.
Don’t be afraid to stack the photos, and do a bit of editing to make the picture really pop!
9. Practice, Practice, Practice!
Nobody starts out knowing how to capture the perfect pictures of the Milky Way. It’s a process, and one of the best ways to learn what you’re doing is to go out there and do it.
Practice every chance you get, even if the conditions aren’t perfect. You’ll learn far more on a day with challenging conditions than you will sitting inside waiting for the perfect night that never comes.
10. Try Different Settings
Before you go to capture a perfect picture of the Milky Way, you should venture out at least a few times to try out different settings. This will give you a better understanding of what each part of your camera does, what each setting changes, and what exactly you need when it’s time to photograph the Milky Way.
You only get a few ideal days a year (if you’re lucky!) to take Milky Way pictures. Know everything about your equipment and astrophotography before you head out and potentially waste the perfect night.

Final Thoughts
Now that you know more about how to get the best pictures of the Milky Way, all that’s left is for you to go out and start practicing. The more time you spend with a camera pointed at the sky, the better you’ll get, and that’s what this is all about!
Featured Image Credit: Rene Tittmann, Pixabay
Table of Contents
About the Author Robert Sparks
Robert’s obsession with all things optical started early in life, when his optician father would bring home prototypes for Robert to play with. Nowadays, Robert is dedicated to helping others find the right optics for their needs. His hobbies include astronomy, astrophysics, and model building. Originally from Newark, NJ, he resides in Santa Fe, New Mexico, where the nighttime skies are filled with glittering stars.
Related Articles:
How to Collimate Binoculars: 9 Expert Tips
How to Clean a Rifle Scope: 8 Expert Tips
How to Choose Binoculars for Bird Watching: 10 Expert Tips
15 Crucial Facts About Ultraviolet Rays & the Sun
What Constellation Is Spica In? The Interesting Answer!
10 Interesting Leo Constellation Facts, Myths, and FAQs
15 Interesting Pegasus Constellation Facts, Myths, and FAQs
6 Interesting Sagittarius Constellation Facts, Myths, and FAQs in 2026!