Optics Mag is reader-supported. When you buy via links on our site, we may earn an affiliate commission at no cost to you. Read more.
How to Photograph Lightning: 10 Tips & Tricks
Last Updated on
The sky displays multiple atmospheric changes with gorgeous colors every day. As a photographer, you know how hard it is to capture these scenes in all their glory. When speaking of hard-to-capture scenes, lighting tops the list for most photographers.
Lightning is one of the most mesmerizing yet difficult photography ideas. It’s almost impossible to determine when and where the lightning will strike and which spot will give you the ideal angle.
One rule of thumb in these photoshoots is to keep your camera’s shutter open until the lightning strikes and close it immediately.
Let’s go through ten steps or tips to ace your lightning photography.
The 10 Steps For Getting the Best Lightning Photos:
Capturing the perfect lightning photo can get exhausting at one point. Here are 10 tips to avoid all the hassle and enjoy the best time at your lightning photoshoot:
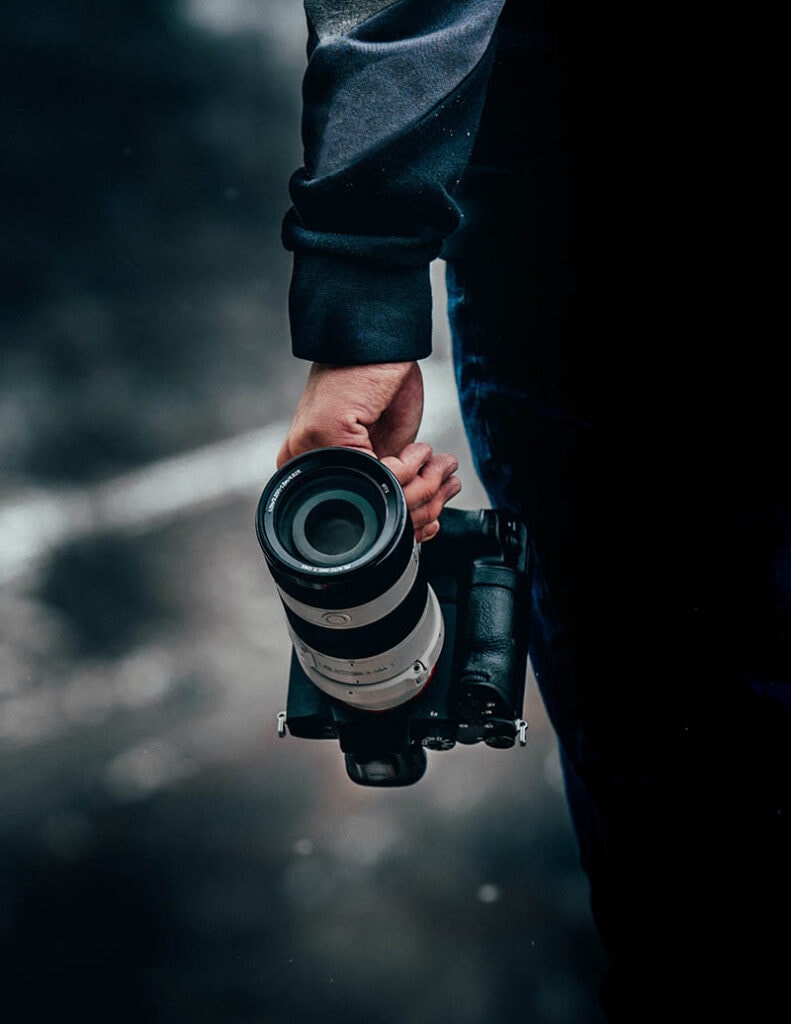
1. Choose the Right Camera
Image By: Saul Flores, Unsplash
The first tip is to find a camera with impressive outdoor or landscape photography results. The device must have the remote shutter release and manual focus features. It should also have a digital display to line up your shot and enhance the quality of pictures mid-shoot.
It’s better to get a digital single-lens reflex (DSLR) camera for lightning photoshoots.
If you opt for a point-and-shoot camera, you won’t have the features required for capturing lightning. These cameras also respond very slowly. But if you still want to buy a compact camera, always test it before purchasing.
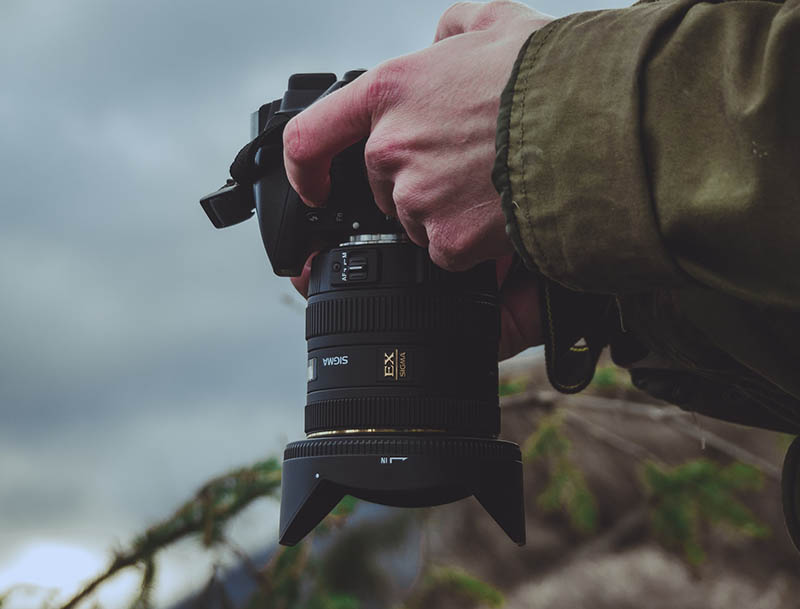
2. Pick a Wide-Angle Zoom Camera
A wide-angle zoom camera works best for lightning photoshoots, but it’s not a requirement. With a wide angle, you can fit more views in a shot and enhance your chances of capturing the perfect image.
You can attach an additional zoom lens to your camera. It will allow you to adjust the focal length to a specific angle and spot. This option comes in handy if the lightning changes its position or you want to focus on any other nearby thing.
3. Find the Perfect Location
Image Credit: Tadeusz Lakota, Unsplash
Picturing the perfect lightning can be tricky in the middle of a storm. It won’t give you quality photos and is also dangerous for you. So, the ideal location to capture the lightning lies between 6–10 miles from the storm. A mile closer to the storm can be dangerous, and a little farther may give you small, blurry strikes.
To determine the perfect location, figure out where the storm is heading. Then, stand in the position where the storm shifts across your view field instead of going away or towards it. It will ensure that the storm stays at an ideal distance for as long as possible.
Here are a few ways to evaluate a storm’s direction:
If the storm moves quickly, you can track its movement pattern with a compass.
Check with your local meteorologist to give you the exact calculations about the storm’s direction.
Get details from a storm tracking application.
Once you’re sure about the storm’s movement and direction, the next step is to choose a vantage point. This could be anything that’s virtually appealing, such as a natural monument. Such lightning photographs give viewers a reference frame to determine the storm’s size.
4. Set a Camera Support
You’d need a camera with the slightest movement to capture the best lightning photographs. If you hold the camera in your hands, you’ll never get a great shot without disturbances. So instead, use a firm object that keeps your camera still.
The best support is, of course, a tripod. But if you don’t have one, you can simply place the camera on anything with a solid grip. Regardless of what type of support you use, make sure to keep the camera’s view field towards the sky.
5. Take Safety Precautions
Image Credit: Ahsanization ッ, Unsplash
You already know the importance of staying far from the storm. Don’t move too close; don’t go too far. The best lightning strikes often happen at a distance of 2–3 miles from each other.
Thus, stay at a reasonable distance from the lightning spot. In fact, lightning can also occur miles away from the center of a storm, so you need to take some precautions.
These could be:
If you’re using a tripod, make sure you have a long shutter release cable. Metal tripods can serve as a lightning rod, and you need to be at an optimal distance from any potential lightning strike.
Never use an umbrella.
It’s better to stay inside a car or building during the shoot with windows rolled up.
Lightning can cause damage to tall structures like buildings, monuments, and trees. So stand at a distance from them, at least 50 feet away.
6. Tweak Your Camera’s Settings
Autofocus won’t give you the perfect lightning shots since the strikes are too fast. Also, it will be hard for the camera to follow every lightning strike with autofocus, resulting in blurry photos. That’s because autofocus searches for an object to focus on between different shots.
Therefore, adjust the setting to manual focusing. Many cameras have an external switch that allows you to change the device’s setting between manual and automatic focus. If your camera lacks any such physical button, look through its advanced settings from its digital display.
After that, switch the focus of your camera to infinity. It will keep your camera’s angle focused on one fixed point where the lightning will possibly strike.
You can find the infinity focus setting with an infinity symbol that looks like an 8. This focus setting is a part of the focus ring if you use a detachable lens. However, newer models don’t usually consist of the infinity focus feature.
If you have a new camera, it may allow you to focus beyond, which is exactly what the infinity focus is. So, tweak your camera’s setting to manual focus and infinity to capture the best lightning shots.
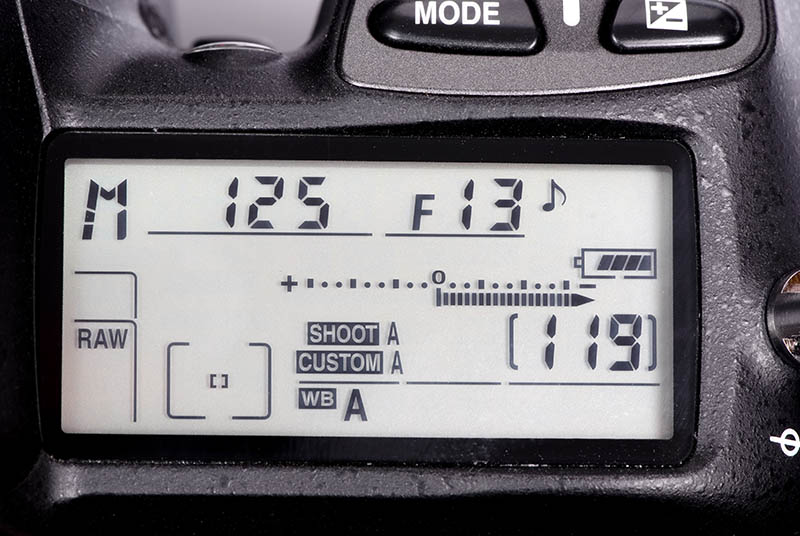
7. Set Your Camera’s ISO
Image Credit: DUO Studio, Shutterstock
ISO estimates the sensitivity of your camera to light. When working in the daytime, keep your ISO lower. Conversely, set it to higher when working at night. The best way to find the ideal ISO is through trial and error.
For starters, go for 200 ISO for your lightning photography. Typically, DSLR cameras have an ISO setting physical button, while compact ones have the option in the digital menu.
Remember that a lower ISO gives you less noise, so use the lowest ISO to get a clear picture of your lightning photography.
8. Adjust the Shutter Speed to “Bulb”
Setting the camera’s shutter speed to the “B” symbol or “Bulb” will enable you to control the shutter and exposure time. It’s almost impossible to trip the shutter just when the lightning strikes. The bulb keeps the shutter wide open until you close it on your own.
If your camera doesn’t allow you to manage the shutter manually, you can set its speed for the most prolonged duration. Typically, it’s around 10–30 seconds.
9. Take the Shot With a Remote Control
Image Credit: Thomas M Perkins, Shutterstock
It’s recommended to use a remote shutter when taking lightning shots. A remote control eliminates blurriness that usually occurs when pressing the button manually.
Start by opening the shutter with the remote, wait until the lightning strikes, and close it.
At this step, keep the exposure time in mind. It is the time duration during which the light can enter the camera and create an image. In simpler words, it’s the period when you open and close the shutter.
When a storm is nearby, your exposure time should be more than 15 seconds. On the other hand, it should be anywhere between 20 seconds to 2 minutes when the storm is far away.
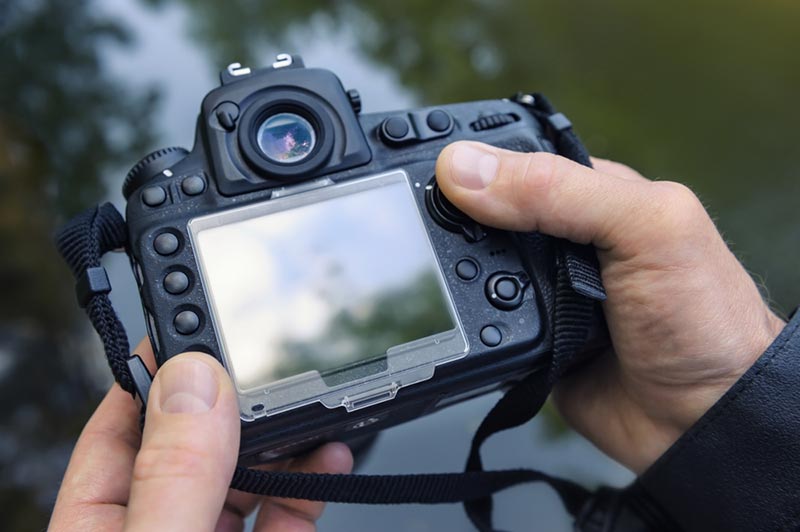
10. Review the Shots and Make Changes
Lastly, take a final look at all the shots and see if any need to be changed. In lightning photography, it’s necessary to make changes since it’s pretty challenging to get the pictures with the ideal angle and length of the lightning strike.
Remember that there is no one perfect setting that gives you the ideal lightning pictures. The weather, camera model, and your luck significantly impact your photographs.
Since many cameras now display the photo on the screen, you can quickly check the image quality during the shoot. Reduce the camera’s ISO if the picture seems too noisy or bright. Similarly, increase it if the photos look too dim.
If the lightning looks blurry, adjust the lens and increase the shutter speed. Less shutter time is more likely to give sharper images.
Final Thoughts
Lightning photography is fun yet tricky. You must check the lens, shutter, and ISO settings to get the perfect shot. Not only that, but the camera model and the photography location should also be ideal.
With everything in place, you’ll undoubtedly take crispier and sharper lightning pictures and make the most of your efforts.
Jeff is a tech professional by day, writer, and amateur photographer by night. He's had the privilege of leading software teams for startups to the Fortune 100 over the past two decades. He currently works in the data privacy space.
Jeff's amateur photography interests started in 2008 when he got his first DSLR camera, the Canon Rebel. Since then, he's taken tens of thousands of photos. His favorite handheld camera these days is his Google Pixel 6 XL. He loves taking photos of nature and his kids. In 2016, he bought his first drone, the Mavic Pro. Taking photos from the air is an amazing perspective, and he loves to take his drone while traveling.