
Optics Mag is reader-supported. When you buy via links on our site, we may earn an affiliate commission at no cost to you. Read more.
How to Mount a Scope on an AR-15 – Easy Beginner’s Guide
Last Updated on

Finally getting that new scope for your AR-15 is an exciting time. There is nothing better than having something new for your rifle, but now you have to attach it. Sure, you could go to the shop and have them do it, but they are likely to make it right for them, not you. You are the one using the rifle after all. Learning how to set up your rifle can be daunting, but it is an easy task with a few steps.
Don’t worry, we walked you through everything you need to do in order to have your scope mounted perfectly. Follow the steps and you will get your scope mounted in no time.

Tools You Need
No matter the job, you are going to need tools. Mounting a scope is the same way, and there are tools you need or you can’t do the job. They are easy to get your hands on and are made to make this task as easy as possible.
- Torque Wrench: The job cannot be done without this tool. This is what you are going to use to mount the rifle scope to the AR-15 and keep it steady.
- Scope Mount: This is the link between the gun and the scope.
- Screwdriver: Depending on your scope, you may need a certain type of screwdriver. Check your scope to make sure you have the right kind before starting. One of the most popular is the hex bit screwdriver.
- Bubble Level: This tool simply is used to ensure that your mount is level during the installation.
- Riflescope: Your chosen optic for your AR-15.
- Scope Rings: Not every mount comes with them, you may have to buy your own. Keep them labeled.
- Gun Rest: This holds your rifle in place. Having a way to move freely around your rifle is key, and it keeps it sturdy and in place for the installation.
Preparation Before Mounting
While it is tempting to just jump right on into installing your new scope, there are a few steps you need to take. The very first step, and the most critical, is you must make sure your rifle is empty, unloaded, and the safety is on. There have been countless gun owners who thought their gun was unloaded, only to find out that it was not by accident.
Once you know the rifle is safe, place it on your gun rest. Use the bubble level to make sure your rifle is level and adjust if not. Checking the level here sets you up for successfully mounting your scope on the first attempt.
Make sure your rifle is secure in the gun mount, and the mount is secure on the table you are working on.
Your scope rings need preparing too. Most rings come in pairs, and those pairs are made to fit each other perfectly. Take them apart and label them so you know which ring goes with which, and which is the bottom and which is the top. By keeping the pairs together, it allows for the best possible fit for your scope.
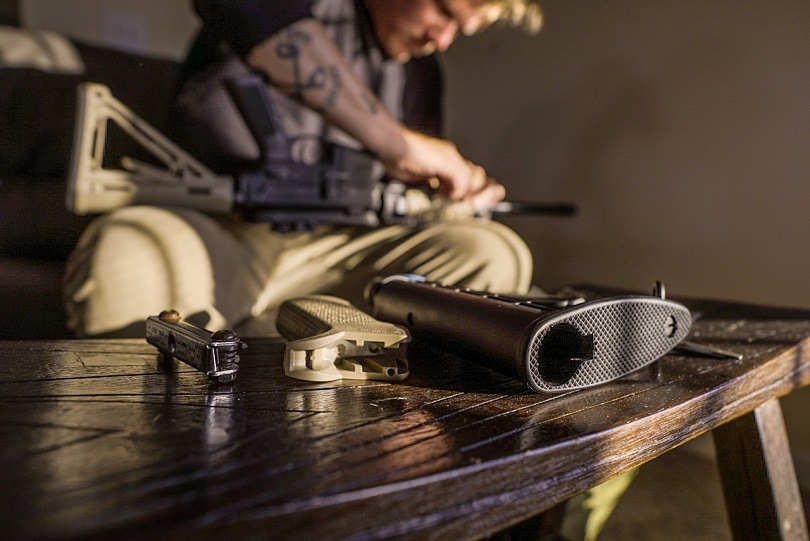
Attaching the Mount
Once your rifle is stable, take the mount and place it on the rifle. All mounts come with an instruction guide on how to place it on the rifle. Take the screws that come with the mount and screw them into place by hand until the mount can no longer fall off. Once you do that, take the torque wrench and tighten the screws into place. Make sure to not go above the torque limit or the mount could break.
The instructions on your mount will tell you the torque limit on your screws. Once you have the mount tightened, take your bubble level and check both the parallel and perpendicular levels. Adjust the screws as necessary to achieve the proper level. It may take some fiddling, but it is important before heading to the next step in the process. This is where you will add in the bottom half of the mount rings that come with your mount. Just the bottom half, the top is for the next step.
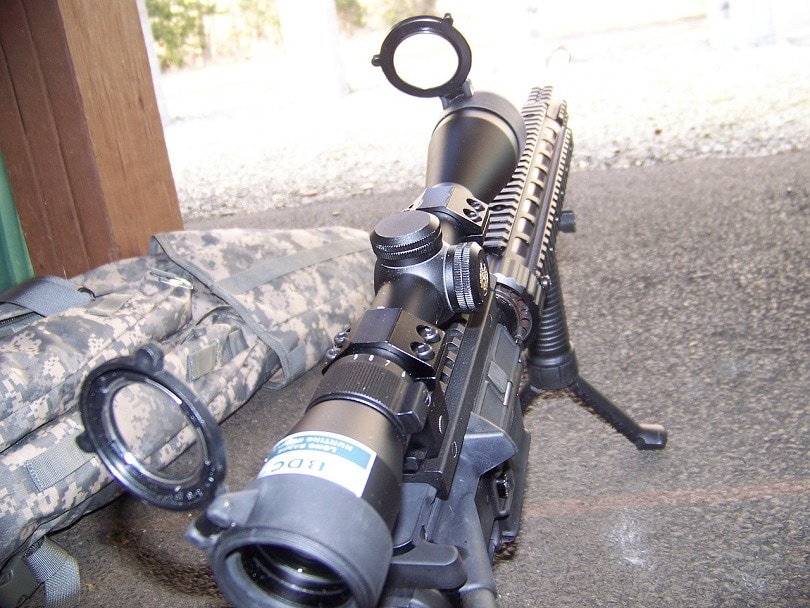
Attaching the Scope
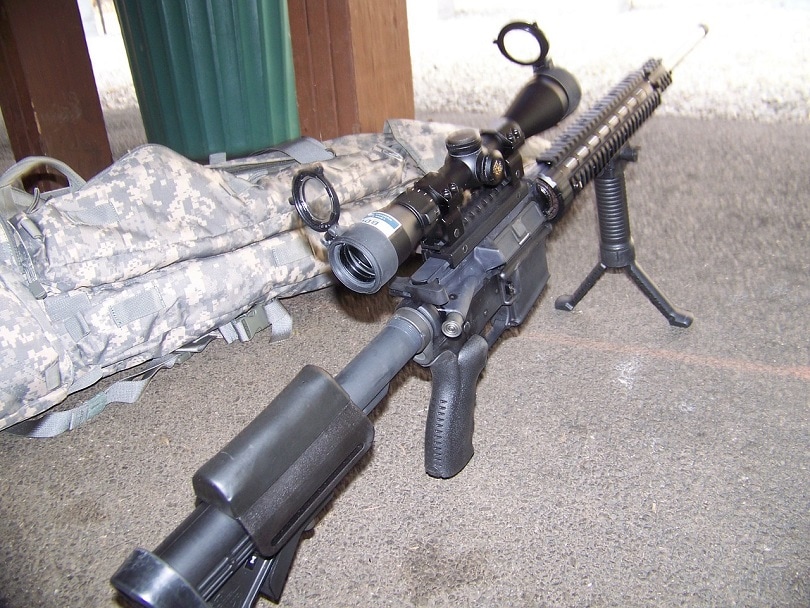
You can now mount your scope. Place the scope on the mount rings you set up in the previous step. Make sure the scope is even a flat on both rings before placing the top rings on. From there use your screwdriver to tighten the screws to about 80% in an X pattern. Like attaching a tire to a car, you don’t go around clockwise as it can mess up the level.
This is where you are going to have to check to see if your eye relief is in the correct spot. Take the gun off the mount if you need and check the relief. If it is off, place the rifle back and adjust as necessary. Making sure your scope is where it needs to be is critical.
Finalizing and Leveling
Take your bubble level for the last time and check both the parallel and perpendicular levels. Adjust the screws as needed to ensure that your scope is level. Once you have it where you need, tighten the screws in the same X pattern as before. Re-check the level to ensure nothing went amiss during the process.
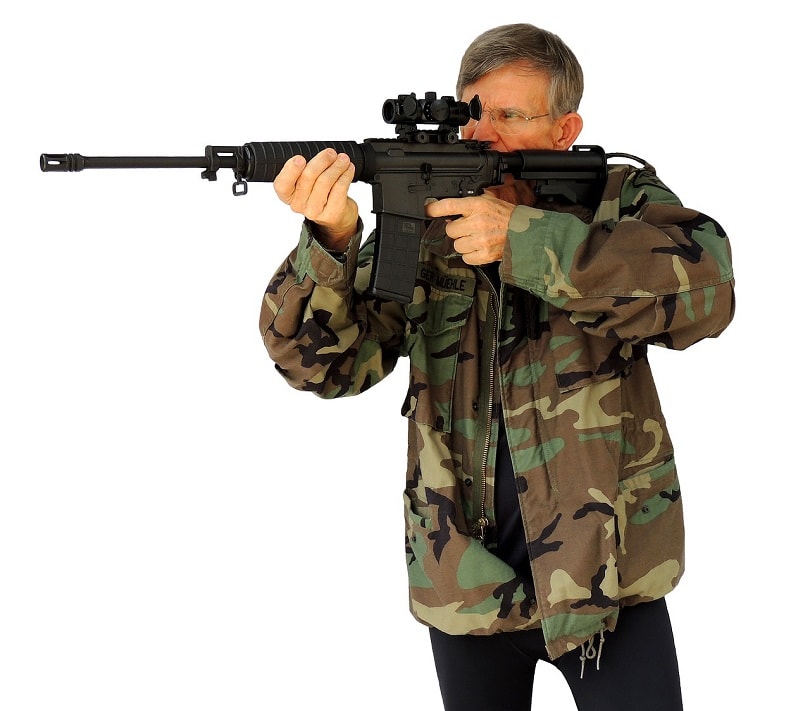
Your scope is now mounted securely onto your AR-15. From here you will check the alignment of the reticle and adjust as needed.
In Conclusion
There you have it. A straightforward way on how to mount a scope on an AR-15 without worry. All that is left is to go out and enjoy your new scope. Make sure to keep it level, and if it gets loose go back to the attaching stage, and make sure everything is set where it should be.
You might also be interested in some of our most favorite posts:
- How to Take Photos Through a Spotting Scope (Digiscoping)
- How To Mount a Rifle Scope: 5 Easy Steps (With Pictures)
- Prism Scope vs Red Dot Sight: Which Is Better?
Featured Image Credit: 8089514, Pixabay
About the Author Robert Sparks
Robert’s obsession with all things optical started early in life, when his optician father would bring home prototypes for Robert to play with. Nowadays, Robert is dedicated to helping others find the right optics for their needs. His hobbies include astronomy, astrophysics, and model building. Originally from Newark, NJ, he resides in Santa Fe, New Mexico, where the nighttime skies are filled with glittering stars.
Related Articles:
How to Collimate Binoculars: 9 Expert Tips
How to Clean a Refractor Telescope: Step-by-Step Guide
How to Clean a Telescope Eyepiece: Step-by-Step Guide
How to Clean a Rifle Scope: 8 Expert Tips
Monocular vs Telescope: Differences Explained (With Pictures)
Can You Use Binoculars to Look At Stars? How to Choose the Right Pair
How to Choose Binoculars for Bird Watching: 10 Expert Tips
What Is a Monocular Used For? 8 Common Functions