
Optics Mag is reader-supported. When you buy via links on our site, we may earn an affiliate commission at no cost to you. Read more.
How To Mount a Rifle Scope: 5 Easy Steps (With Pictures)
Last Updated on
Mounting a rifle scope can be tricky. If you have a rifle that already has a Picatinny or Weaver rail, it’s easier, but still requires patience and precision, at least if you do it right. Getting your scope mounted correctly can allow you to consistently get tight groupings at long range out of your rifle.
That remains true whether you’re mounting a 1-6x LPVO or an 8-40x long-range precision scope.

Why Precision Is Important
The entire purpose of a scope is to make it possible to shoot more accurately at targets than you can with your naked eye. Even a short-range shot with only a 2x or even 1x magnification will still be at least 20-25 yards, and that’s plenty of distance for a projectile to go a little astray if your scope isn’t accurately showing where your bullet is going to hit.

When you get out to the hundreds of yards, the effects of even slight errors in the mounting and sighting process become more obvious.
Fair Warning: This Can Be Difficult
If you bought a scope that came with mounting rings and it’s going straight onto a modern sporting rifle with a rail already attached, then this will be a simple process and you can thank the manufacturers for doing a lot of the work for you.
If, however, you purchased a high-end scope, bought rings separately, and bought a base (or bases) separately to mount to a rifle that does not have a rail, the process can be intimidating if you are unfamiliar with it.
That said, there’s no time like the present to learn how so let’s jump right into it.
1. Get the Right Rings and Base
Think of your set-up as four different components: the rifle, the scope, the rings, and the base. The base mounts to the rifle, the rings mount to the base, and the scope rests inside the rings. If your rifle came with a Picatinny or Weaver rail already affixed, then congratulations: you don’t need to worry about finding a compatible base.
Otherwise, you’ll want to look up bases for the rifle you have and make sure to purchase the right one(s). Next, you’ll want to get scope rings that are compatible with the base(s) you want for your rifle. That’s not the only thing you need to worry about with the rings, though.
The rings need to fit snugly around the scope, which means you need to know the diameter of the scope tube and purchase rings to match. The most common tube diameters are 1 inch and 30 mm, but there are others. Make sure to double-check the specs on the scope you have before you purchase rings for it. If you purchase rings that are not compatible with the base(s) or are for the wrong tube diameter, they will not work.
2. Attach the Base and Lower Rings

The base most likely attaches with some short screws. Use Blue Loctite or similar on the threads to keep the screws tight and snug and be careful not to over-tighten the screws as they will strip out if you’re not careful. It should be clear just by looking at your rifle and the bases how they go together, but you can always check the documentation for your base(s) and rifle if you’re not sure.
If your rifle already has a rail affixed, you can skip that part, and go straight to attaching the lower rings.
The scope rings will have a top half and a lower half. You’ll need to mount up the lower halves first and do a little math either on a notepad or in your head to get them in roughly the right spot. Your eye will need to be a certain distance from the ocular lens of the scope to see properly (usually between 3 and 4 inches), so make sure you mount the rings at the correct distance to accommodate that.
Also, keep in mind the length of the tube on your scope. You want your rings as far apart as they can be while staying clear of where the scope starts to widen out and giving you enough room to slide the scope to a comfortable position before tightening it down. More on that in the next steps, but it’s important to plan ahead or you might have to do this twice.
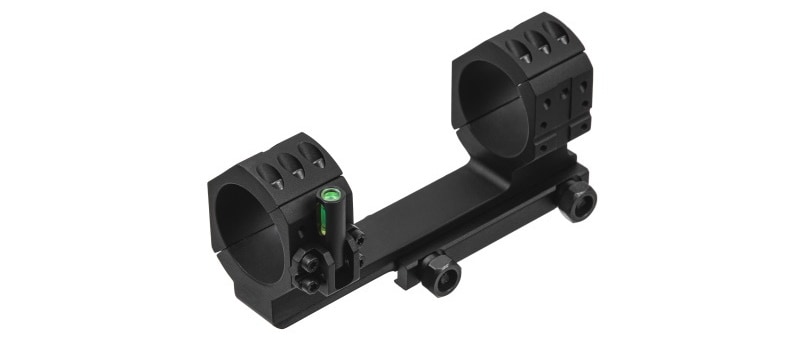
3. Adjust the Rings Until Straight and Level
https://www.instagram.com/p/CMBC3o8JTqx/
How much a ring will adjust once mounted depends on the manufacturer and the design of the rings. Your main goal here is to make sure that the rings are lined up perfectly straight and that the scope will rest snugly against the full surface of the insides of the rings.
If a ring is even slightly off, it might still let the scope fit in, but there will be higher pressure points poking into the scope which can make it lose zero or even break. If you can get a dowel that is the same diameter as your scope tube, it can be helpful in this process, and you can even use it to turn the rings into position.
If you want to take things to the next level, you can purchase alignment rods that will fit inside the scope rings like the dowel but taper to a point so that you can place one in each ring, point them towards each other, and adjust the rings until the two points touch.
4. Insert Scope and Adjust Position
https://www.instagram.com/p/CL-DKlvpq0V/
This step is fairly straightforward; place the scope into the rings that you have adjusted to perfection and properly secured with screws and more Blue Loctite. You can put the top rings on now, but don’t tighten them all the way yet because you still need to make adjustments to your scope.
Make sure the rifle is perfectly level, then turn the scope to make sure the reticle is perfectly straight up-and-down. A scope level is an optional tool that can increase your precision here beyond what your eyes can detect. Once done with that, you can either move onto the next step or, if you have a bore sight, you can adjust the positioning of the scope to center the reticle where the bore laser is hitting.
If you don’t have a bore sight, that’s fine, you just may have to sight in your rifle at a closer distance first before sighting in at 100 yards or further.
5. Secure Top Rings
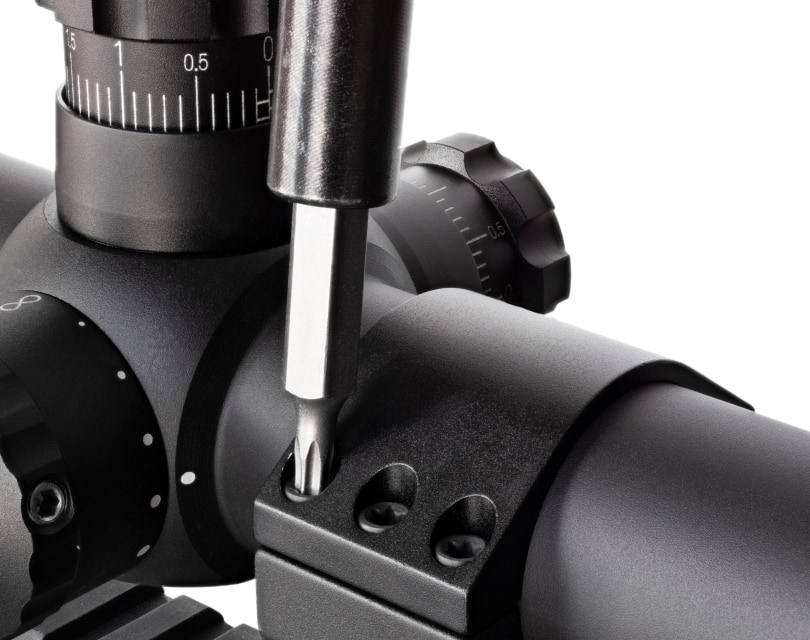
Once your scope is positioned where you need it to be, you can tighten the top rings down the rest of the way. Take care not to over-tighten, and your scope should be ready for the next steps.

Conclusion
After getting your scope properly mounted, the next thing you’ll need to do is sight in your scope. It’s a common mistake for beginners to assume that the scope will automatically be calibrated to properly indicate where the projectile is going to hit. There are too many variables at play for that to be possible just from mounting, even if you mount a rifle scope perfectly.
A scope needs to be sighted in at a specific distance because bullets rise and fall as they travel through the air. If you’re not sure how to sight in a rifle scope, you can check out the guide we wrote to sighting in a scope. Good luck, and happy mounting.
Check out some of our top trending posts:
- How Far Can a Telescope See? (2021 Guide)
- 13 Proven Ways to Attract Crows to Your Yard & Feeders (2021 Guide)
- 8 Proven Ways to Keep Squirrels Out of Bird Feeders (2021 Guide)
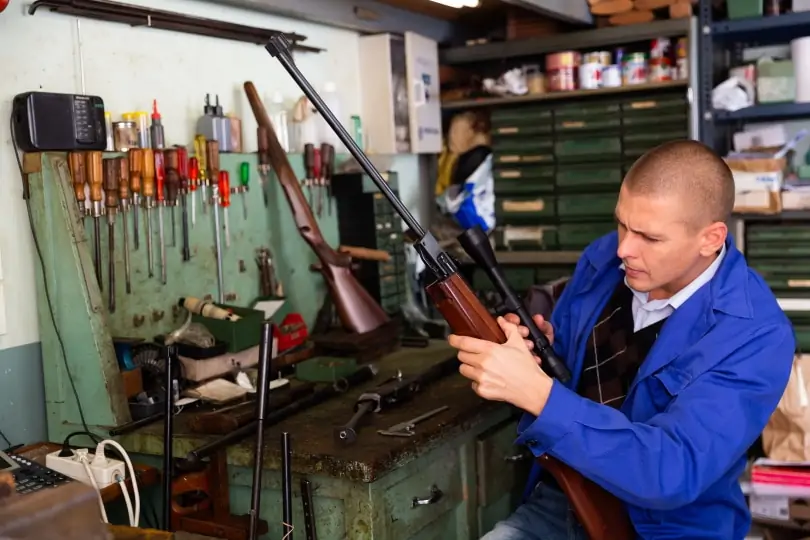
Featured Image Credit: Iakov Filimonov, Shutterstock
About the Author Robert Sparks
Robert’s obsession with all things optical started early in life, when his optician father would bring home prototypes for Robert to play with. Nowadays, Robert is dedicated to helping others find the right optics for their needs. His hobbies include astronomy, astrophysics, and model building. Originally from Newark, NJ, he resides in Santa Fe, New Mexico, where the nighttime skies are filled with glittering stars.
Related Articles:
How to Collimate Binoculars: 9 Expert Tips
How to Clean a Refractor Telescope: Step-by-Step Guide
How to Clean a Telescope Eyepiece: Step-by-Step Guide
How to Clean a Rifle Scope: 8 Expert Tips
Monocular vs Telescope: Differences Explained (With Pictures)
Can You Use Binoculars to Look At Stars? How to Choose the Right Pair
How to Choose Binoculars for Bird Watching: 10 Expert Tips
What Is a Monocular Used For? 8 Common Functions