
Optics Mag is reader-supported. When you buy via links on our site, we may earn an affiliate commission at no cost to you. Read more.
How to Dry Gourds for Birdhouses in 13 Easy Steps (With Pictures)
Last Updated on

Gourds have been a popular plant for culinary and decorative purposes for years. Even today, they are harvested and dried to make utensils, bird houses and feeders, table decorations, musical instruments, and more.
If you’re particularly looking to make a gourd bird house, you need to either buy a dried gourd or dry one at home. It typically takes two to three months for a gourd birdhouse to dry completely.
DIY gourd drying can help you provide the perfect space for birds to come to your backyard. The best part is that it is budget-friendly, and you can customize your gourd bird house however you like.
This 13-step guide will help you dry gourds for birdhouses correctly. So, let’s get started.

The 13 Steps to Dry Gourds for Birdhouses:
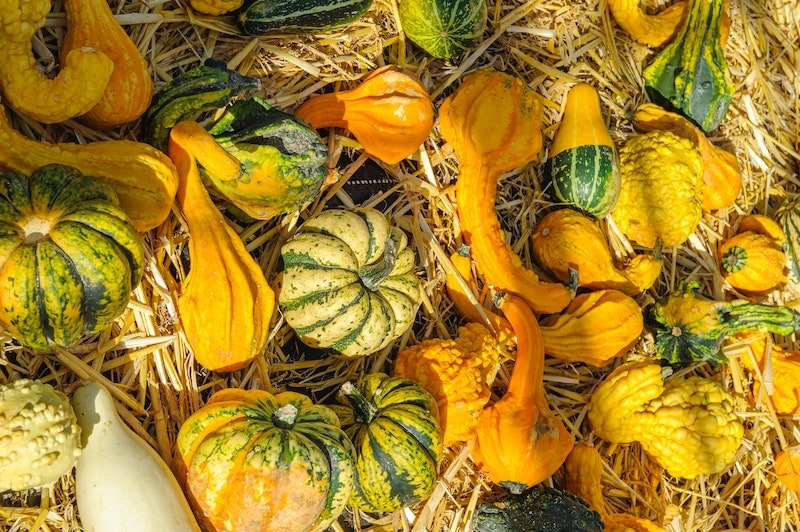
1. Harvest the Gourds
The best time to harvest the gourds is when their stems turn brown and brittle. You must keep examining your gourds to know when they are ready to cut. The ideal season is before the start of the first winter.
Remember these things when harvesting gourds:
- Underripe gourds usually begin to rot in a couple of days. So don’t harvest them until they are fully ripe.
- Overripe gourds have tender spots, so it’s better to avoid them.
2. Cut the Gourds From Their Vine
Once you think it’s the right time for harvest, cut the gourds from their vine with a sharp knife. If you have garden shears, it would be even better. To avoid the gourds from early rotting, leave 3 inches of stem when cutting.
3. Clean the Gourds
Your freshly harvested gourds must be all covered in dirt and debris. So, clean them with soapy water. Take a piece of cloth, dip it in the bowl containing the mixture, and remove all the dirt from the gourds.
Once done, pat dry the gourds. If you still see signs of debris, take a cloth soaked in the rubbing alcohol and wipe the gourds off one last time.
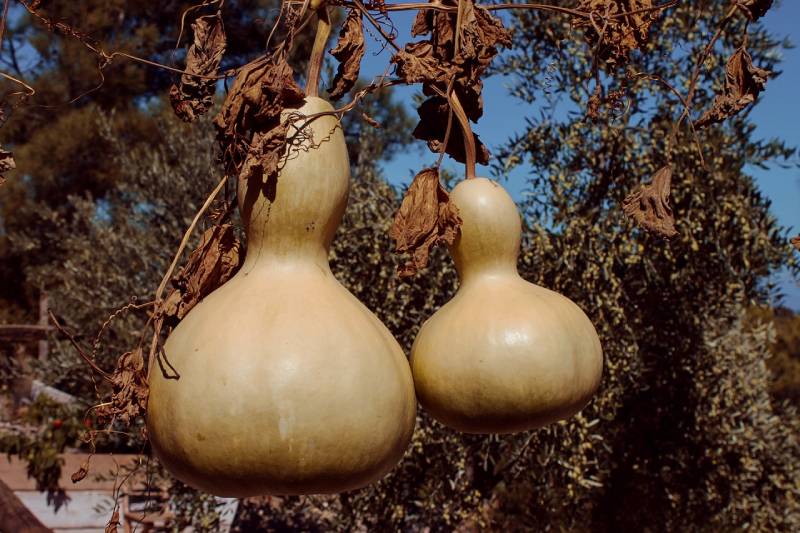
4. Put the Gourds Under the Sun
The next step is to put the gourds in a place where the sun shines the brightest. For example, you can place a bench or a picnic table in your backyard and arrange the gourds on them. Make sure that the gourds have enough space in between.
It’s recommended to leave the gourds under the sun for a week before taking them indoors. Don’t forget to turn them once or twice a day so that every part is exposed to air and sun.
Alternatively, you can hang the gourds with a string. Take one end of the string and tie it tightly around each gourd’s stem and the other end to firm support (a clothesline). This is the easy way to dry gourds since you don’t have to turn them on daily.
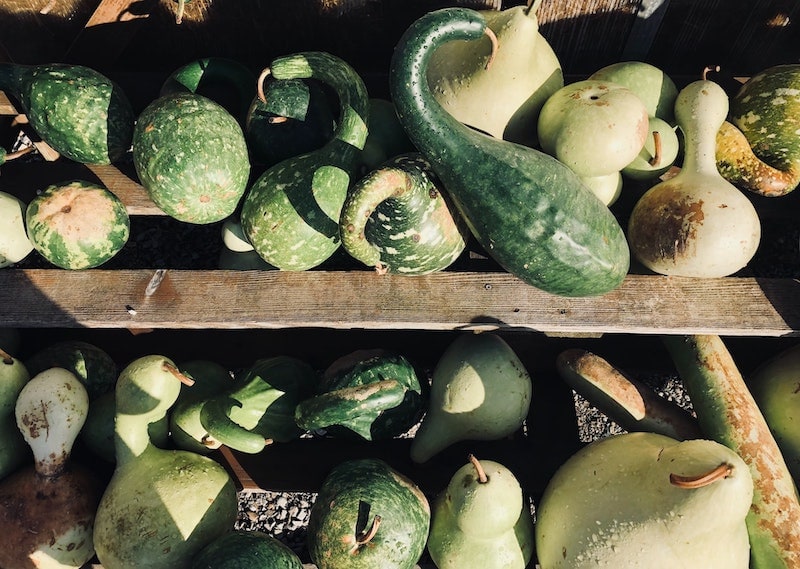
5. Take the Gourds Inside Your Home
After a week, bring the gourds indoors and hang or spread them in the open. The best spot for gourd drying is shelves, workbenches in the garage, radiators, or vents. These places are dry and warm, ideal for the gourds to dry quickly.
Never hang or spread the gourds in damp or cold places like your basement.
6. Spread or Hang the Gourds
Like outdoors, you’ll have to hang the gourds from a hook or a string indoors too. You can also nail the gourds to your wall or spread them on newspaper sheets. Make sure to leave a distance of 1 inch between every gourd and keep turning them regularly.
7. Spot Molds
The next step is identifying the signs of molds and rots in the gourds. Molds appear in white, black, or gray patches that feel flaky when touched. On the other hand, rots show up in the form of seeping fluid and mushy spots.
Remember that mold formation is natural during the drying process. So, when you identify rough patches on your gourds, clean them instead of discarding the plant. Mix bleach and water in a ratio of 1:10 and use this mixture to clean the molds.
In case of rots, you’d need to act promptly and immediately remove the affected gourds. This will help you prevent the rot from spreading to the rest of the gourds.
8. Make Sure the Gourds Are Properly Dry
You need to ensure that the gourds are properly dried out before making birdhouses out of them. The drying process can be pretty long, so keep testing the gourds every few weeks to see if they’re completely dry.
Press your fingers against the gourds gently. If they feel soft and tender, you should leave them for more time. But if they look dry and hard, shake them and carefully listen to the rattling of the seeds. This sound means that the gourds are eventually dry, and you can move on to the next step.
Never scratch the gourds with your nails to test if they’re properly dry. Doing so may bruise your gourds and make holes that could allow bacteria or insects to enter.
9. Give the Gourds a Smooth Texture
At this step, you must ensure that the gourds look smooth and refined. You don’t want any rough spots on their surfaces, as these patches may make it hard for you to paint the gourds.
To give your gourds a fine texture, you can take fine grit sandpaper and use it on the gourds’ surfaces to smooth out the scaly patches. Remember to move the sandpaper back and forth on the gourds gently. Doing so will prevent the gourds from getting damaged.
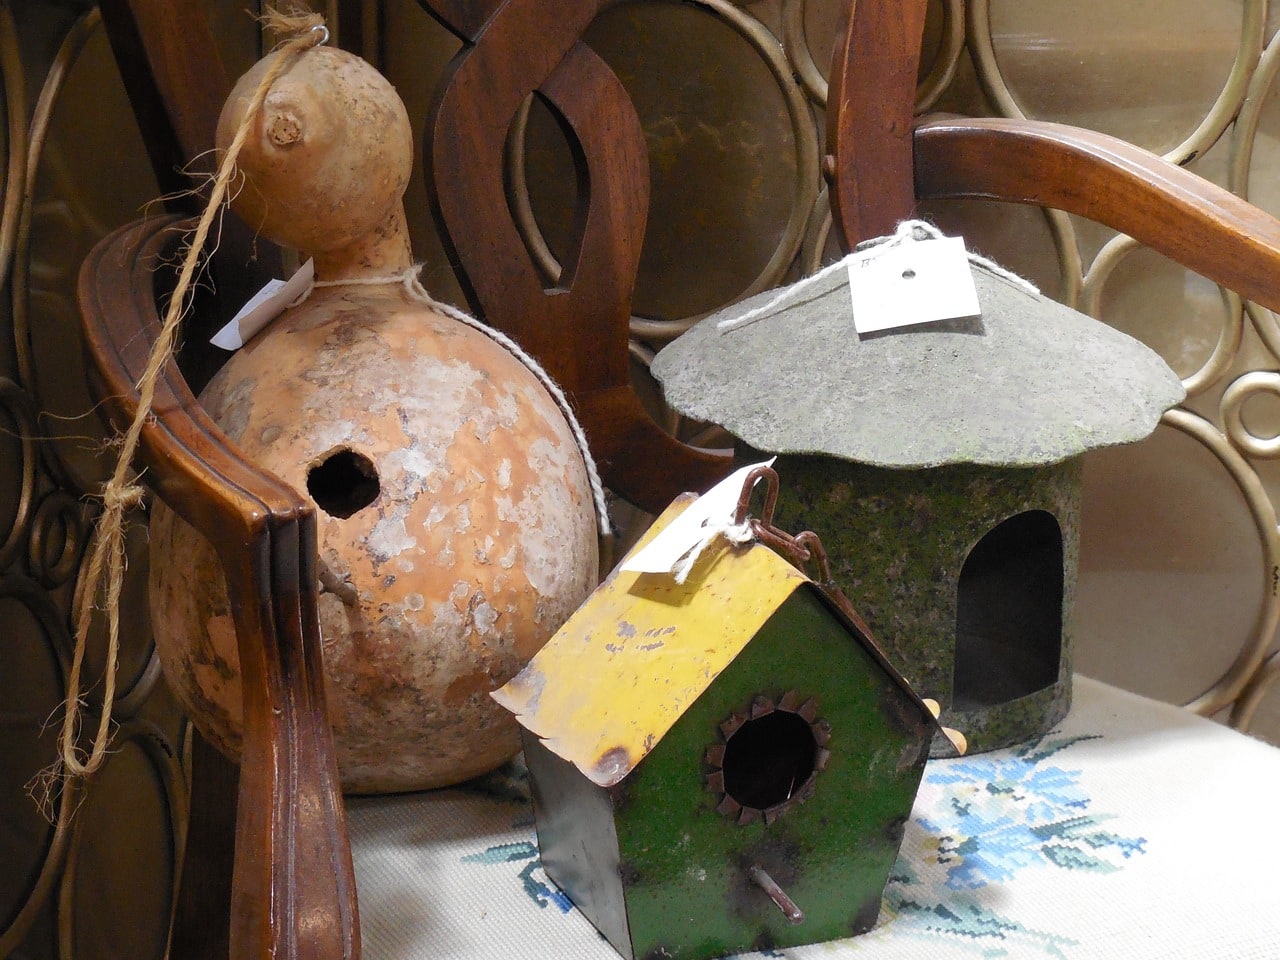
10. Make a Bird House Hole
It is the most fun step, as this is where you begin building a gourd bird house. To get started, you’d need to go to your nearest hardware store and get a knife, jack-o-lantern carver, and drill to make a giant hole in the gourd.
Carve an opening on the gourd big enough for all types of birds to enter their new house. But of course, you can’t adjust every bird species in a single gourd. So, the size of the bird house hole depends on the size of the birds that come to your yard.
The hole sizes for different birds should be:
- House wrens: 1 inch
- Chickadees: 1.25 inches
- Bluebirds or swallows: 1.5 inches
11. Drill Holes for Hanging
Now you need to hang the gourd birdhouse in your backyard. Drill holes in the top part of your gourd bird house and run a string or wire through them.
Don’t forget to make a small hole in the bottom of the gourd to make way for the rainwater to drain out quickly. Water accumulation can damage the bird house and cause mold or rots.
If you don’t have any idea about the measurements of the holes, here is how they should be:
- Make two 0.125 inches holes at the top of the gourds. Keep them about 1 inch below the stem base.
- Insert a 6-inch string or wire in these holes and tie both ends. This will help you hang your gourd bird houses with a tree branch.
- Drill a 0.25-inch hole in the bottom of your gourds to make way for the drainage. Doing so will drain rainwater from the gourds, preventing them from rotting.
12. Customize the Gourds
This step requires you to bring your creativity out. First, put the dried gourds on a newspaper and spray white primer on them. Make sure to cover every side of the gourds with the spray.
Then, paint the gourds with your favorite colors. You can even sketch a design on your birdhouse and then paint it with a brush.
13. Seal the Gourds
Finally, you must seal your gourds with quality polyurethane spray paint to secure their smoothness and color for a long time. Make sure to spray multiple coats of the sealant for maximum protection.
One good thing is that these sealants come with a matte and glossy finish. So, choose the type of finish you like, spray it evenly over the gourds, and wait for them to dry.

Final Thoughts
Gourd bird houses are an excellent way to attract different bird species to your home. They are super fun to build, but their drying process can take several weeks.
You’d need to wait for the right time to harvest the gourds. Then, dry them, smooth out their rough patches, remove the molds, and make appropriate holes for the birds to enter and spend time in their new home.
The best part is that you can paint your gourd birdhouses with your favorite colors. Don’t forget to seal the bird houses with a quality sealant!
Featured Image Credit: L.A. Faille, Shutterstock
Table of Contents
- The 13 Steps to Dry Gourds for Birdhouses:
- 1. Harvest the Gourds
- 2. Cut the Gourds From Their Vine
- 3. Clean the Gourds
- 4. Put the Gourds Under the Sun
- 5. Take the Gourds Inside Your Home
- 6. Spread or Hang the Gourds
- 7. Spot Molds
- 8. Make Sure the Gourds Are Properly Dry
- 9. Give the Gourds a Smooth Texture
- 10. Make a Bird House Hole
- 11. Drill Holes for Hanging
- 12. Customize the Gourds
- 13. Seal the Gourds
- Final Thoughts
About the Author Jeff Weishaupt
Jeff is a tech professional by day, writer, and amateur photographer by night. He's had the privilege of leading software teams for startups to the Fortune 100 over the past two decades. He currently works in the data privacy space. Jeff's amateur photography interests started in 2008 when he got his first DSLR camera, the Canon Rebel. Since then, he's taken tens of thousands of photos. His favorite handheld camera these days is his Google Pixel 6 XL. He loves taking photos of nature and his kids. In 2016, he bought his first drone, the Mavic Pro. Taking photos from the air is an amazing perspective, and he loves to take his drone while traveling.
Related Articles:
Monocular vs Telescope: Differences Explained (With Pictures)
10 Types of Hummingbirds in Arkansas (With Pictures)
8 Types of Hummingbirds in Nebraska (With Pictures)
5 Types of Hummingbirds in Idaho (With Pictures)
3 Types of Hummingbirds in Mississippi (With Pictures)
8 Types of Hummingbirds in Kansas (With Pictures)
5 Types of Hummingbirds in West Virginia (With Pictures)
5 Types of Hummingbirds in Ohio (With Pictures)