Indoor Sports Photography – 7 Tips to Get the Best Shots
Last Updated on
Indoor photography is tricky, as you have to deal with various lighting conditions, backgrounds, and reflections. On top of that, if you have moving objects characteristic of sports photography, capturing the action can get complicated if you don’t have a few tricks up your sleeve.
Having said that, it’s not impossible to get stellar shots of indoor sports, whether it’s in a school gym or closed court. So, here are a few tips to help you capture action-packed pictures at an indoor sporting event.

The Top 7 Indoor Sports Photography Tips to Get the Best Shots
1. Arrive Before It Starts

While the audience doesn’t get there until the action begins, photographers must be in place well before the whistle. When you get to the venue before time, you can walk around and check different angles and lighting conditions. It gives you time to adjust your camera settings instead of fidgeting with the game already in action. Also, players tend to do warm-ups before the actual game.
During this time, they’re moving much slower, allowing you to capture the motion properly. You can also get closer to them since there are no coaches or referrers on the sidelines. It’s an excellent opportunity to get some nice shots. If you’re lucky, you might even be able to get individual shots of players.
- Arrive at least an hour before the game begins.
2. Use a Fast Camera
It shouldn’t come as a surprise that most sports are fast paced. Whether you’re capturing pictures at a basketball game or photographing a hockey game, the action unfolds in split seconds. If you’re not prepared, you’ll miss the shot.
This is where a fast camera comes in handy. A camera with a faster shutter speed will be able to freeze the action, allowing you to get the ”money shots.” Your camera should have the following:
- Interchangeable Lenses: Opt for a DSLR or a mirrorless camera so you can change lenses according to the sport you’re photographing.
- Continuous Shooting Speeds: Your camera should have a continuous shooting speed of at least 8–10 frames per second.
- Deep Buffer: A camera with a deep buffer lets you take bursts of shots without the camera slowing down.
- Fast Autofocus: Opt for a camera with eye autofocus tracking since it’s one of the quickest and most accurate ways to focus on a moving subject.
Besides these features, make sure your camera also has low-light capabilities. It’s best to use a camera that can take photos at high ISO without creating any noise in the picture. It will let you push the ISO to the highest setting, even when shooting in dim-lit areas, such as a school gym.
- If you have the budget, you can buy a sports photography camera. These tend to be expensive but are excellent for professional sports photographers.
3. Use a Fast Shutter Speed
With the action taking place at blazing speeds, you need to use a shutter speed that can freeze the motion. Of course, depending on the sport, the ideal shutter speed will differ. For example, if you’re photographing a game with larger objects, such as football or rugby, 1/500th of a second should be enough. But, if you’re photographing a game with smaller objects, such as golf or tennis, adjust the settings at 1/1000th of a second. If the shutter speed is not enough, you’ll end up with blurry photos.
Using the correct shutter speed will let you capture the very last detail of the game. For example, you’ll be able to capture everything from a ball going through the hoop to a hand slamming the basketball. You can also try to take creative pictures by lowering the shutter speed. For example, if you set the shutter speed at 1/30th of a second, you’ll get a blurry background with the subject in focus.
Focus on a moving player and pan the image to capture them in motion. You might not get the sharpest image quality, but the shot will undoubtedly be very out-of-the-box.
- Set the shutter speed at 1/1000th of a second for games with smaller objects and 1/500th for sports with larger objects.
4. Use a Wide Aperture Lens
Even if you’re shooting in a high-end venue, you won’t get the same lighting as an open-air venue. That’s why you need to use a wide-aperture lens since it can capture sufficient light to lower noise and get a clear shot.
- If you’ve been hired to photograph a professional event, use an aperture of f/2.8. However, these lenses can be costly. You should try to use a lens with at least an aperture of f/4.
5. Find a Good Spot
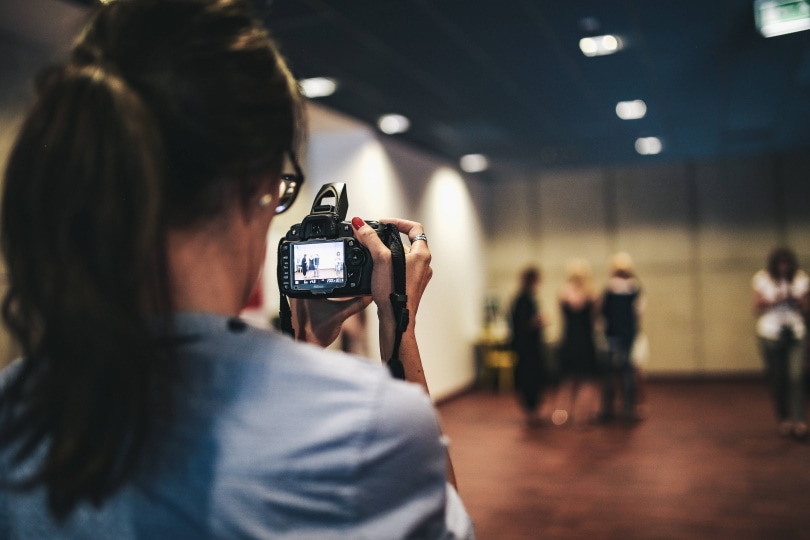
Where you’re standing on the court or on the ground will play a massive role in the type of pictures you take. If you’re too close to the action, getting a full-body shot of the player will be hard. Likewise, if you’re too far, you might not be able to see the player’s face.
The best way to find a good spot is by arriving a bit early and taking test shots from different places in the venue. Doing so will give you a good idea of where you can capture the best photos.
Keep in mind that the venue will be filled with reporters, coaches, and referees when the actual game begins. So, you won’t have all the room you need to get the best shot. Instead, you’ll have to be a little more creative with your angles and use the environment around you. For example, if a net or fence is in front of you, use it to frame the player in your shot.
If you cannot find a place on the sidelines and have to take pictures from the stands, try to find a seat as low as possible. Also, ensure you’re seated in a place where you can get a good view of the court or the ground.
- You can also position yourself according to the main points in the venue, such as the basket, end zone, or scoring area. For example, if you’re at a basketball game, try to sit where you can get a good view of the hoop.
6. Shoot in RAW

The best way to get good shots at an indoor sports event is to shoot in RAW. Unfortunately, while JPEG files are compressed and thus take up less space on your memory card, they also lose some image quality. Meanwhile, RAM images are high-quality photos that you can edit as you want without any blurriness or noise.
When you edit JPEG images, you risk losing quality. The more you edit, the more quality you lose. On the other hand, RAW images have more detail. Thus, you can recover shadows, highlights, and further details of the picture. Also, when you shoot in RAW and increase the shutter speed, you need to crank up the ISO. If you’re not changing settings other than the shutter speed, you’ll get too much light in the camera, underexposing your images.
Again, you can take shots with different ISO settings if you arrive at the venue before the game begins. Then, you can determine which setting gives the best pictures.
- Use a high ISO with a high shutter speed. This way, you will get the proper brightness for the image. Go for a 1,600 ISO since that seems to do the trick. However, if you have a high-end camera, you can increase the ISO to 6,400 or 12,800.
7. Know the Game
If you want to take ”wow” pictures, you must learn to anticipate the action. The more closely you can predict what’s going to happen, the more likely you are to capture a magazine-cover-worthy shot.
However, anticipating the action requires research. First, you should know the rules of the games, such as what happens during a penalty, where the players are supposed to be during different game situations, etc.
If you’re shooting a sport that’s new to you, read the rule book. Then, maybe watch a few previous games. If you don’t have time for it, ask someone who knows the game to explain its flow to you.
- Besides the game’s rules, you should also be familiar with popular strategies. For example, know who is the star player of the team and what their standard gameplay is. If you observe the players keenly, you’ll soon be able to understand what will happen next.

Proper Etiquette for Indoor Sports Photography
When you take pictures at an indoor sporting event, know that you’re not the only person here for a job. The coaches, players, and officials also have their roles.
As a photographer, you need to respect these people and not get in the way. Introduce yourself to the coaches at the game so they know why you are there every game. The coach is responsible for making sure the players are well and undisturbed. Therefore, if the coach instructs you to do or not do something, you should listen to them. If they tell you to move from a spot, you move. They’re in charge there.
Similarly, some indoor venues have a no-flash rule. While it may affect your photos, you need to follow the rules. If you’re not sure about something, always ask. The staff will be more than happy to let you know the rules and guidelines for taking pictures at the venue.
Most importantly, you should put your camera down if there’s an injury during the game. Be respectful of the players, no matter what.

Conclusion
If you want to take good pictures at an indoor game, arrive early to gauge the lighting conditions and camera settings before the game begins. Then, if you can afford it, get a camera made for sports photography.
Otherwise, use a camera with up to 10 continuous shooting speeds and autofocus. Crank up the shutter speed and ISO to take clear pictures in low-lit indoor venues. If you’ve got a prime spot to take pictures and follow the tips above, you’ll take some fantastic photos.
Featured Image Credit: Tom Pumford, unsplash
About the Author Jeff Weishaupt
Jeff is a tech professional by day, writer, and amateur photographer by night. He's had the privilege of leading software teams for startups to the Fortune 100 over the past two decades. He currently works in the data privacy space. Jeff's amateur photography interests started in 2008 when he got his first DSLR camera, the Canon Rebel. Since then, he's taken tens of thousands of photos. His favorite handheld camera these days is his Google Pixel 6 XL. He loves taking photos of nature and his kids. In 2016, he bought his first drone, the Mavic Pro. Taking photos from the air is an amazing perspective, and he loves to take his drone while traveling.
Related Articles:
How to Clean a Refractor Telescope: Step-by-Step Guide
How to Clean a Telescope Eyepiece: Step-by-Step Guide
How to Clean a Rifle Scope: 8 Expert Tips
Monocular vs Telescope: Differences Explained (With Pictures)
What Is a Monocular Used For? 8 Common Functions
How to Clean a Telescope Mirror: 8 Expert Tips
Brightfield vs Phase Contrast Microscopy: The Differences Explained
SkyCamHD Drone Review: Pros, Cons, FAQ, & Verdict
