
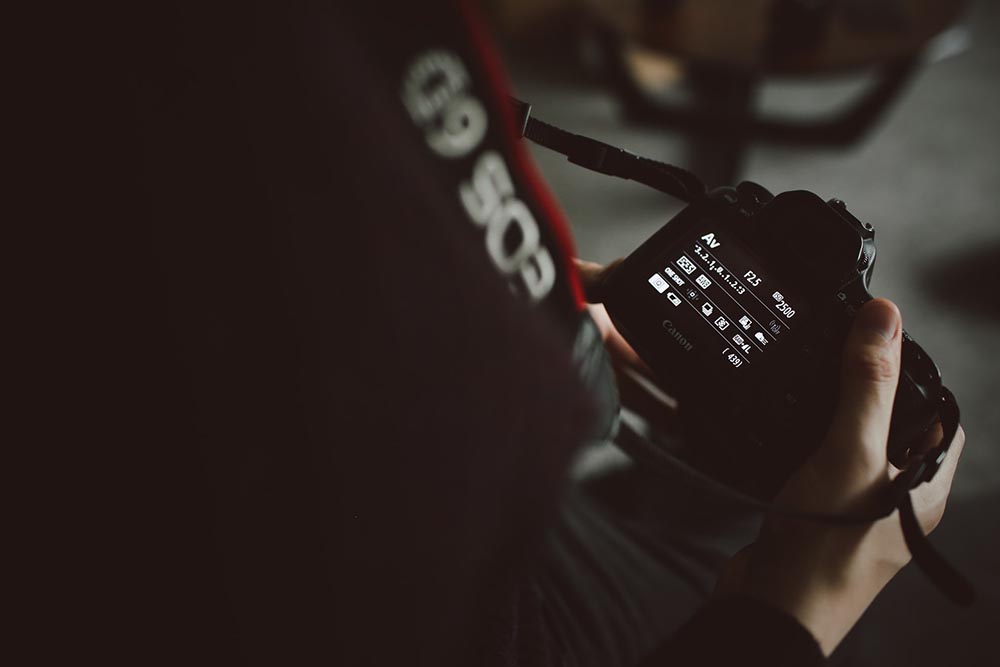
Optics Mag is reader-supported. When you buy via links on our site, we may earn an affiliate commission at no cost to you. Read more.
How to Do Light Painting Photography: 6 Tips & Tricks
Last Updated on

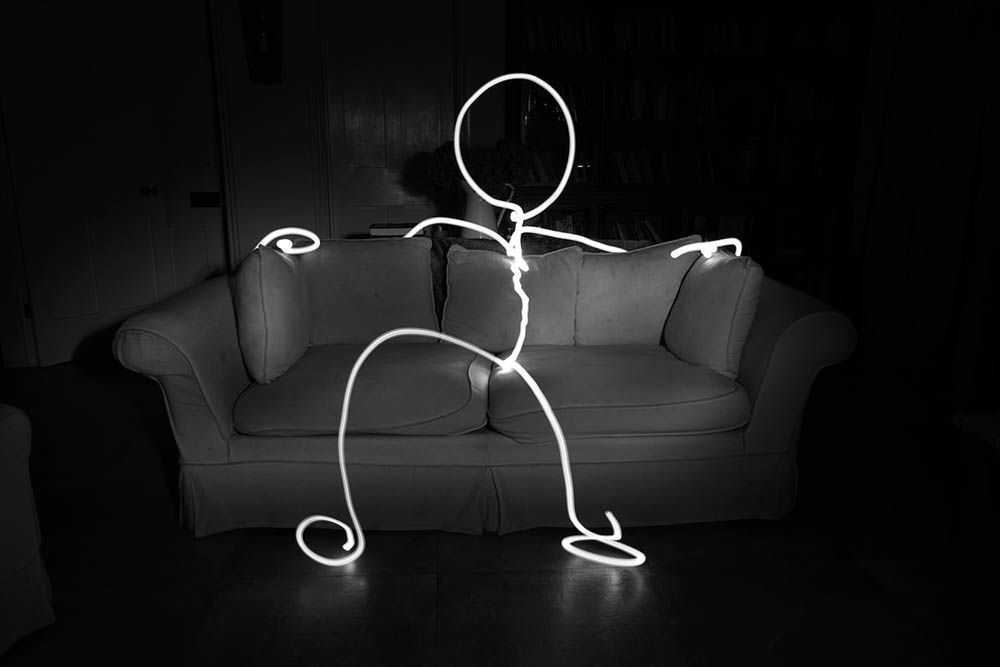
What is light painting photography? If you’ve ever picked up a sparkler and tried to spell your name in the air, you’ve painted with light. Since the times of burning sticks in caves, humans have been fascinated with the way light seems to stretch. Today, we can use modern photography techniques to capture the most gorgeous light paint displays in history. Let’s check out some of the best tips to prepare yourself for light painting photography.

Light Painting Photography: 6 Tips and Tricks
1. Gather the Right Equipment

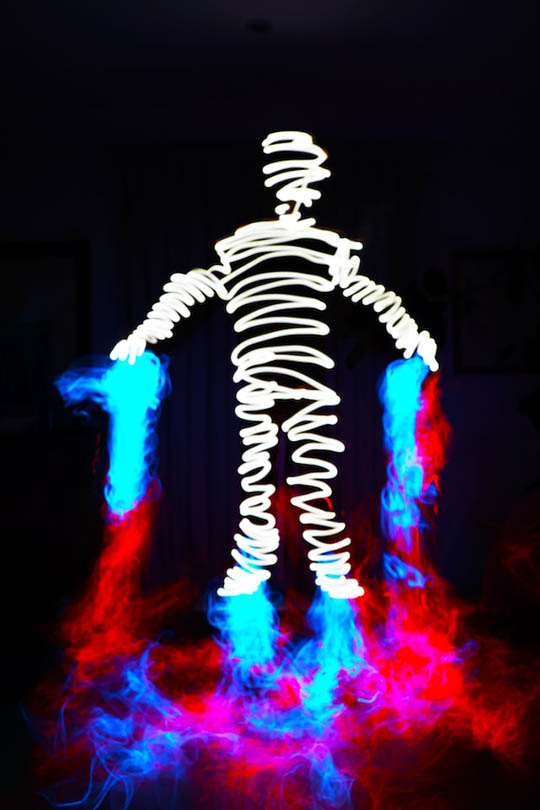
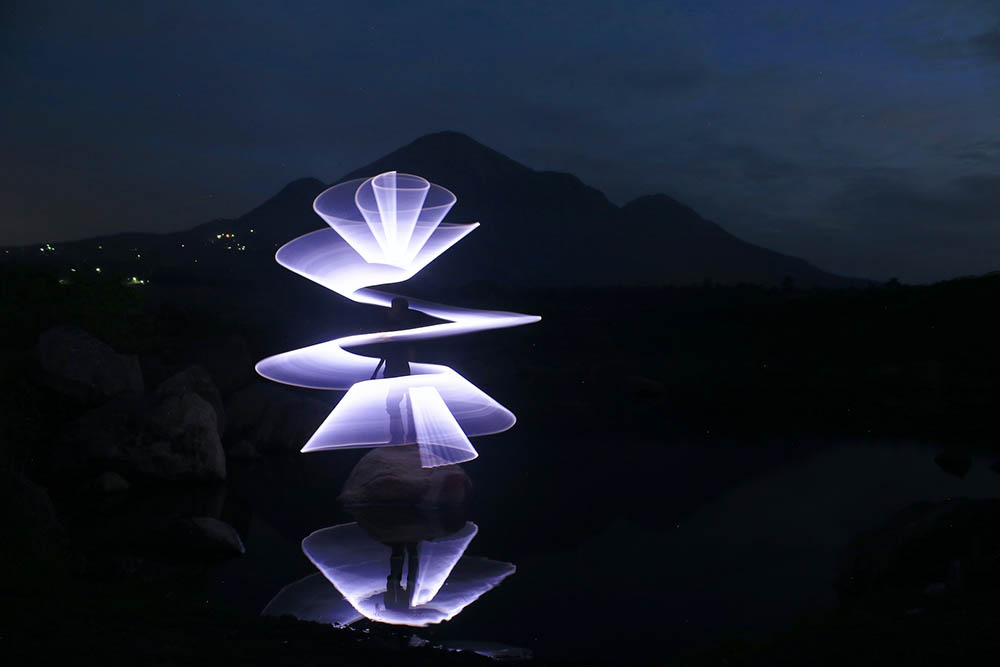
You don’t need a lot to get started with light painting photography. To start, you’ll need a camera, tripod, and light source. The light can be virtually anything you imagine, from sparklers, torches, glowsticks, and more. For most forms of light painting, a tripod is a must because you need the camera stationary while you create your light art.
2. Change Your Camera Settings
Light painting photography requires special camera settings to achieve the “painting” effect. Let’s go over the settings you need to dial in for the best chances of success.
Light Painting Photography Camera Settings:
- Mode: Manual, for maximum control over your photos.
- Aperture: Shallow apertures work better for scenes, while deeper apertures are preferred for relatively close-range photography. Start from F5.6 and experiment with the setting until you achieve the effect you’re looking for.
- Shutter Speed: This also varies, but we’d suggest starting with a 30-second shutter speed to start. You’ll probably speed this up a bit because it’s a really slow shutter speed that blurs humans in photos.
- You need a remote shutter release or a timer setting like those found on smartphone camera apps.
- ISO: keep your ISO at 100 or as low as possible. This will prevent overexposure in (presumably) dark settings and let your light art shine.
3. Dress Appropriately

Light art is usually made in the dark, so you want to dress in black or dark non-reflective clothing. Metal adornments like jewelry and zippers will prominently show in light art photography, so keep that in mind. The brighter your clothing is, the more translucent and wraithlike you’ll show up in the photo. In most cases, that’s not a good thing, so try to avoid bright clothing altogether.
4. Experiment With Angles
While shooting head-on is perfectly fine, try playing with camera angles to see how it affects your light art photos. In many cases shooting from the side of a subject can yield interesting new textures and perspectives. Add light to areas you want to focus on, like adding light at ground level to add interesting textures and shadows to grass. For a more distant look, try tying your camera to a tree branch or placing it at a high angle from your scene.
5. Protect Your Night Vision
While you’re setting up your scene and props, you’ll need to be able to see. Unfortunately, regular flashlights absolutely ruin your night vision, so what can you do? Try a red-light filter! Red is scientifically proven to affect night vision the least of all colors, so strap a red-light filter on your flashlight before your next light art photoshoot.
6. Play With Various Materials
Reflective surfaces like mirrors and metal can add stunning dimension to any light art photo, while wetting grass can make it reflect light as well. Various types of thin fabric can be used as light filters to dull or change light effects on the fly, which is invaluable if you just can’t find the right shot. Start with one or two items, see how they affect your photos, and then try different objects. Once you have an idea of how they interact with your light art, you can combine them to create complex light effects.

Conclusion
Light painting photography is one of the most interesting and fun ways to expand your photography repertoire. By keeping the tips above in mind and experimenting a bit, you could capture a true masterpiece on film for eternity.
Featured Image Credit: Elliot Wilkinson, Unsplash
About the Author Codee Chessher
Codee Chessher is a freelance writer with extensive knowledge on a variety of subjects that include travel, sound engineering, automotive, optics, DIY, pets, and more. He has a colorful past that includes building schools and commercial driving, but the written word was always his first love and continues to be his passion. He believes there's nothing a well-worded sentence can't accomplish.
Related Articles:
How to Collimate Binoculars: 9 Expert Tips
How to Clean a Rifle Scope: 8 Expert Tips
How to Choose Binoculars for Bird Watching: 10 Expert Tips
How to Clean a Refractor Telescope: Step-by-Step Guide
How to Clean a Telescope Eyepiece: Step-by-Step Guide
Monocular vs Telescope: Differences Explained (With Pictures)
What Is a Monocular Used For? 8 Common Functions
How to Clean a Telescope Mirror: 8 Expert Tips