
Optics Mag is reader-supported. When you buy via links on our site, we may earn an affiliate commission at no cost to you. Read more.
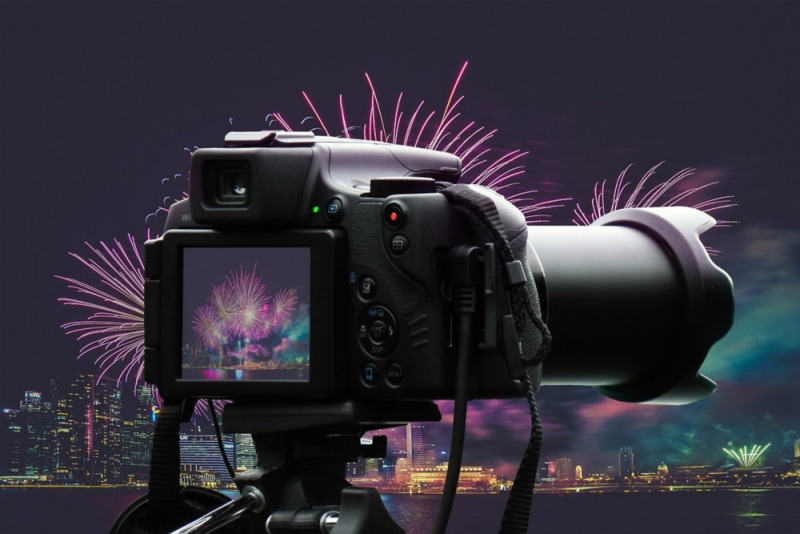
How to Do Double Exposure Photography: 5 Tips & Tricks
Last Updated on

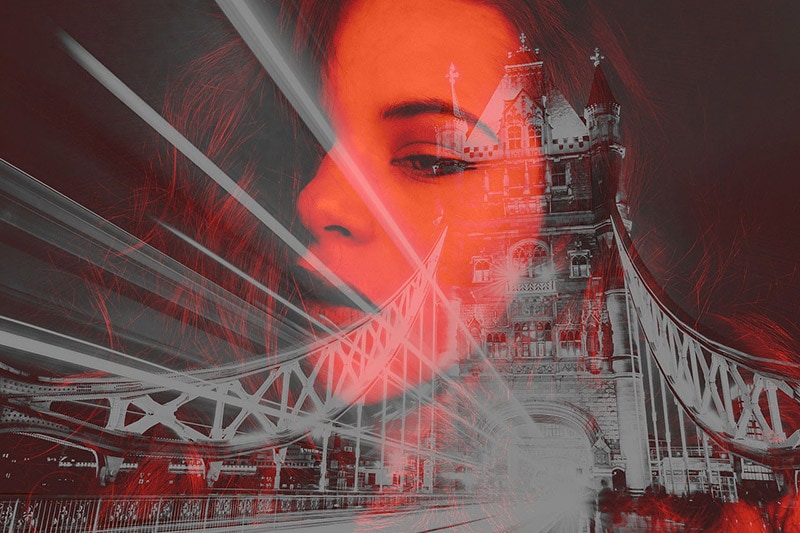
Double exposure photography involves taking two pictures on top of each other to create a single composite image. It is a technique that can create some truly stunning results.
You can use it to create some fantastic effects, like superimposing one image on top of another or even creating a ghostly effect. But how do you accomplish these results? Here are some tips and tricks on how to do double exposure photography.

Before You Start
Before taking a double-exposure photograph, you need to think of a theme. What story do you want to tell? What two images would work well together? Once you have an idea, you can gather your materials and find a good location. As for how to get the idea, you can look for inspiration online or in magazines.
Look for images that have a lot of contrast or complement each other well. For example, if you want to create a double-exposed self-portrait, you could use a picture of your face in front of a landscape. Or you could use a close-up image of your eyes and overlay it with an image of the night sky.
There are many ways to give your photo a conceptual touch. For example, you could use two images that symbolize opposing concepts, such as good and evil.
A Step-by-Step Guide to Double Exposure Photography
If you have a camera and a theme in mind, you’re all set to go. Here are the steps to take a double-exposed photograph.
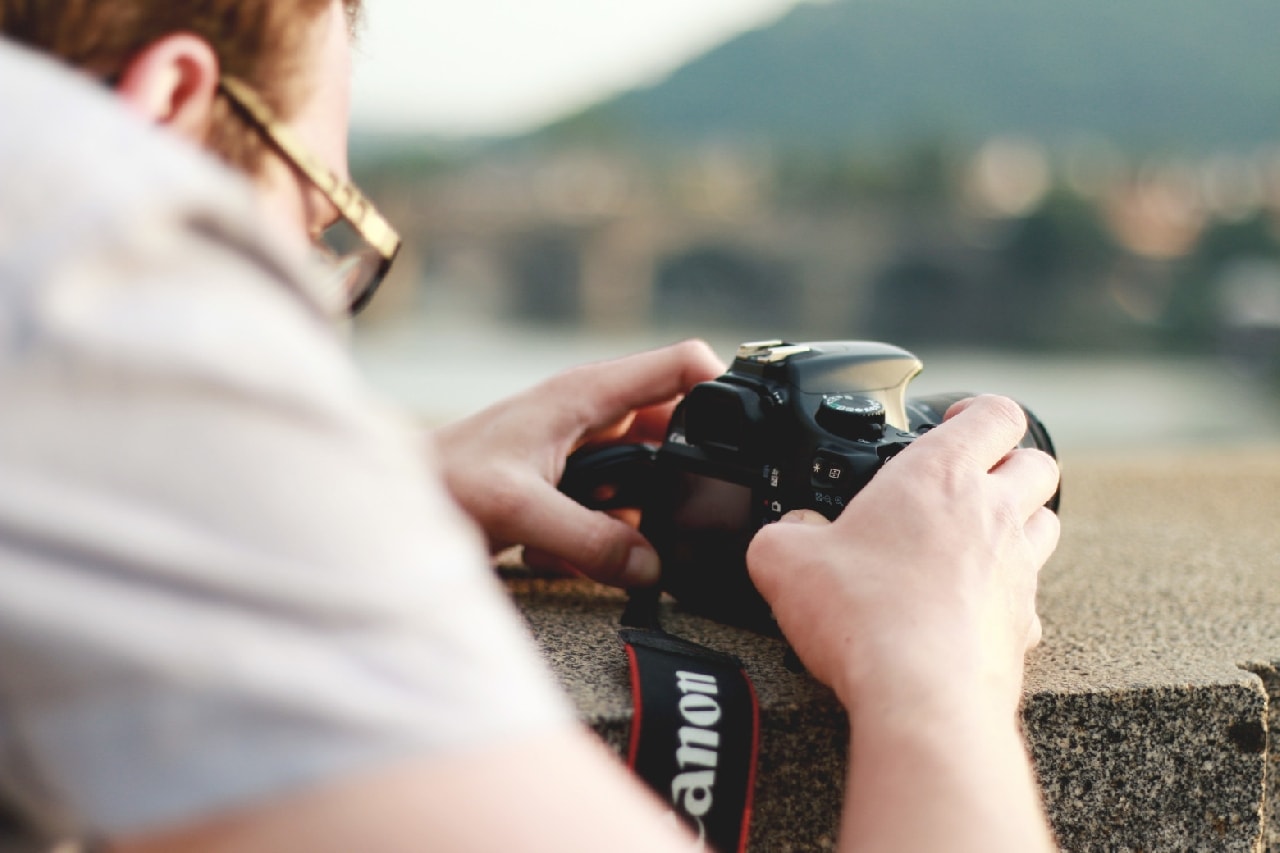
1. Prepare Your Camera
Set your camera to manual mode to fully control the exposure settings. You can also use your camera with a “Multiple Exposure” mode.
Go to the Menu and find the “Multiple Exposure” setting. Set the number of shots you want to take.
2. Compose the Shot
Since you’ll be taking two (or more) shots, keeping the first subject in the same spot for each exposure is important. Otherwise, you’ll have a hard time when you’re editing later.
For example, if you’re shooting a person against a cityscape, have the person stand still while taking the first exposure. Then, for the second exposure, pan the camera to capture the cityscape.
3. Take the First Exposure
It will be your base exposure, so take care to make it perfect. This exposure will show through most prominently in the final image. When taking the first exposure, ensure the shutter speed is slow enough to capture the action of the second exposure.
A good rule of thumb is to use a shutter speed that’s at least twice as long as the reciprocal of the focal length. So, if you’re using a 50mm lens, use a shutter speed of 1/100th of a second or slower.
4. Take the Second Exposure
Now it’s time to get creative. First, the second exposure should be taken without moving the camera to make a successful double exposure.
If you’re shooting a person and want them to appear as a silhouette, use a very fast shutter speed so they’ll be captured as a dark shape against the background.
Try underexposing the image by one or two stops to make the silhouette more visible. If panning the camera, as in the cityscape example, use a faster shutter speed to avoid blurring.
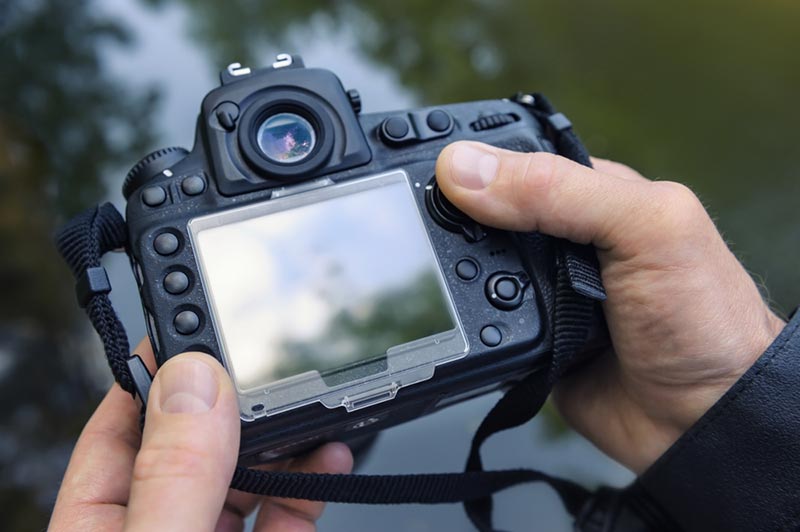
5. Check the Result and Adjust as Needed
After taking the second exposure, check the image on your camera’s LCD screen. If it looks good, you’re all set. If not, make adjustments and take another shot. Digital photography gives you the luxury of being able to check the results after each exposure and make changes as needed.
How to Edit Double-Exposure Photographs in Photoshop
The fun begins when you start to edit your double-exposure photographs in Photoshop. You can do a lot to make your photos look even more amazing. Here are some tips:
Layer Mask Tool
Use the layer mask tool to erase parts of the top layer that you don’t want to show. It’s a great way to eliminate unwanted parts of the image. It can also be used to create interesting effects.
Blending Modes
There are a lot of different blending modes in Photoshop, and each one will give your image a different look. The top layer goes on the base layer. That’s simple enough to understand. But Photoshop lets you use different blending modes to control how the two layers interact.
For example, the Screen layer mode makes the top layer lighter. The Multiply layer mode, on the other hand, makes the top layer darker. You can experiment with different layer modes to see their effect on your image.
Color Grading
Color grading is a great way to make your image pop. You can use it to correct colors or to add a creative touch.
Let’s say you have a photograph of a sunset. You can use color grading to make the colors more intense or to change the overall look of the image.
The 5 Tips & Tricks for Stunning Double-Exposure Photography
Whether a newbie or a seasoned pro, double-exposure photography is a fun and creative way to add an artistic touch to your images. Here are a few tips to ace it.
Use the Flash
To make the second exposure more visible, you might have to underexpose your image when creating a double-exposed photograph. As a result, your subject might appear dark. To avoid this, use the flash when taking the photo.
Select a Plain Background
Your background for a double exposure should be as uncluttered as possible. A busy background will make it difficult to see the details in your second exposure.
Shoot in RAW
Shoot in RAW when taking a double-exposure photograph. It will give you more flexibility in editing later on.
Experiment with Different Subject Matters
There are endless possibilities regarding the subject of your double-exposure photograph. Have fun and experiment with different subjects, techniques, and settings to see what works best for you.
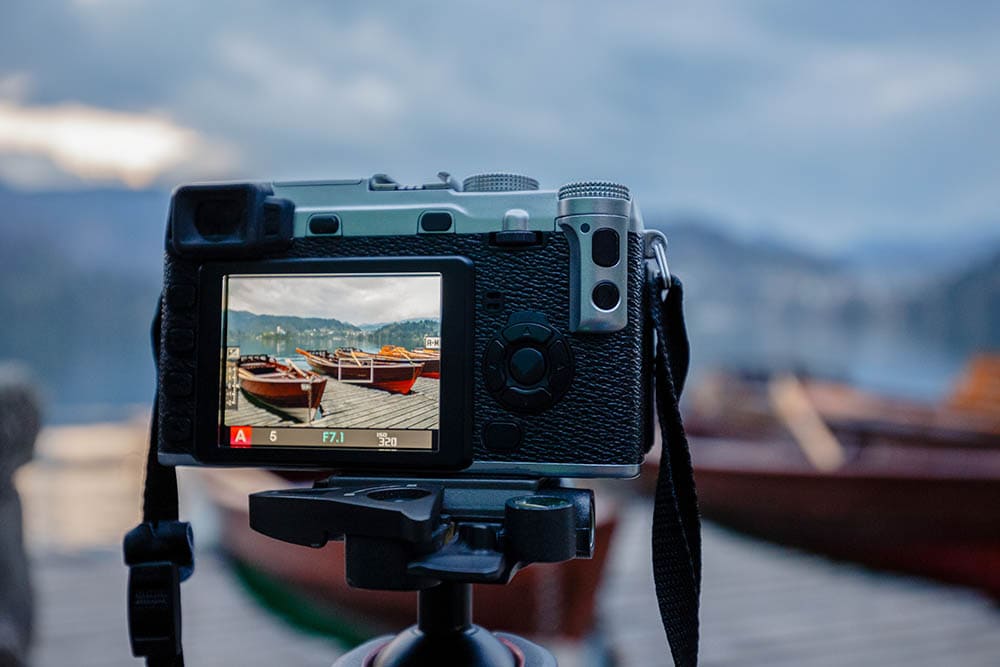
Use a Tripod
If there’s movement in your first exposure, it will be difficult to line up the second exposure perfectly. Use a tripod when taking your photographs to avoid this.
Suppose you want to create a double-exposure photograph with a moving subject, such as a person walking or a car driving. In that case, you can use a long exposure to capture the movement and a shorter exposure for your second image. Again, the tripod will help keep the images steady and blur-free.
Mistakes to Avoid in Double-Exposure Photography
Since it involves combining two images into a single frame, double-exposure photography can be tricky to master. Here are some mistakes most people make:
Overexposing the Subject
Do not overexpose the subject in your frame, as this will make it difficult to see. The best way to avoid overexposing the subject is to use a low ISO setting and a slow shutter speed.
Not Planning the Composition
When taking double-exposure photos, it is essential to plan the composition of both images. It will help you avoid common mistakes, such as:
- Having one image too small or off-center
- Placing the two images on top of each other without any blank space in between
- Having one or both images too exposed
Not Blending the Images Properly
The key to successful double-exposure photography is seamlessly blending the two images together. It can be challenging, especially if you are new to this type of photography. The best way to combine the pictures is to use a soft-edge brush tool in Photoshop.

Final Thoughts
Double-exposure photography can be a whole lot of fun. But it also takes a bit of practice to get things just right. So, keep at it and experiment with different techniques.
Try different compositions, blending modes, and film stocks to see what you can come up with. You never know what kind of incredible results you might create.
Featured Image Credit: Helena Lansky, Shutterstock
About the Author Jeff Weishaupt
Jeff is a tech professional by day, writer, and amateur photographer by night. He's had the privilege of leading software teams for startups to the Fortune 100 over the past two decades. He currently works in the data privacy space. Jeff's amateur photography interests started in 2008 when he got his first DSLR camera, the Canon Rebel. Since then, he's taken tens of thousands of photos. His favorite handheld camera these days is his Google Pixel 6 XL. He loves taking photos of nature and his kids. In 2016, he bought his first drone, the Mavic Pro. Taking photos from the air is an amazing perspective, and he loves to take his drone while traveling.
Related Articles:
How to Collimate Binoculars: 9 Expert Tips
How to Clean a Rifle Scope: 8 Expert Tips
How to Choose Binoculars for Bird Watching: 10 Expert Tips
How to Clean a Refractor Telescope: Step-by-Step Guide
How to Clean a Telescope Eyepiece: Step-by-Step Guide
Monocular vs Telescope: Differences Explained (With Pictures)
What Is a Monocular Used For? 8 Common Functions
How to Clean a Telescope Mirror: 8 Expert Tips