When Is the Golden Hour & What Is It? – Photography Basics Explained
Last Updated on
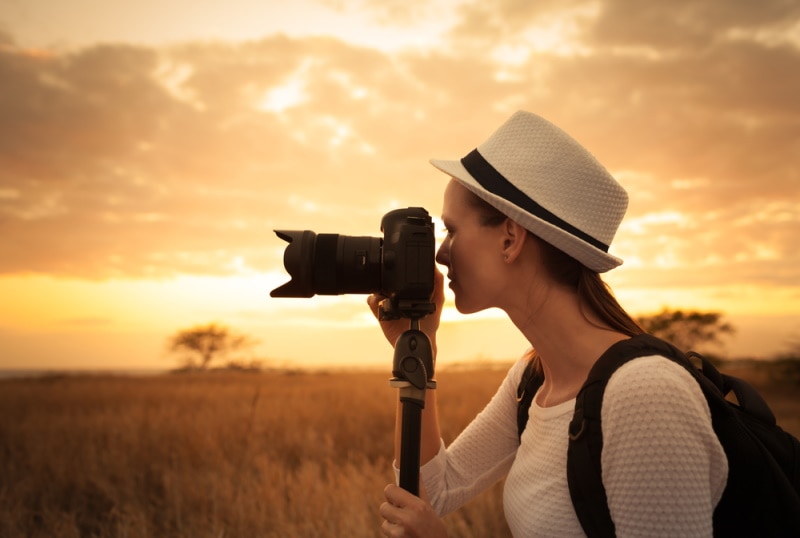
The golden hour is that time of the day when the sky goes orange—sometimes yellow and reddish too. Some photographers prefer calling it the magic hour because it’s the only time nature provides you with everything you need to showcase your talent.
Even if you’ve never handled a camera before, you’ll still be able to generate incredible images, with effects that are very difficult to replicate. If you think we’re exaggerating, go ahead and ask any experienced photographer. They’ll attest to what we already know, and that’s the fact that no filter, action, or texture in this world can reproduce those golden tones and warm temperatures.

How Does the Golden Hour Concept Work?
Characteristics Of the Golden Hour
Each day has two open windows: one in the morning, right after the sun rises, and the other one in the evening, right before it sets. The uniqueness of this time of day is what often enhances your subject’s beauty. Seeing as the light is always so soft, anyone’s able to directly face the sun without squinting.
There’s also the other aspect, which is the color temperature, or the light’s color. As a photographer, you should know just how important it is to master it. Especially because it’s the one thing that dictates how accurate your shots look, or how free they are from unnatural color casts.
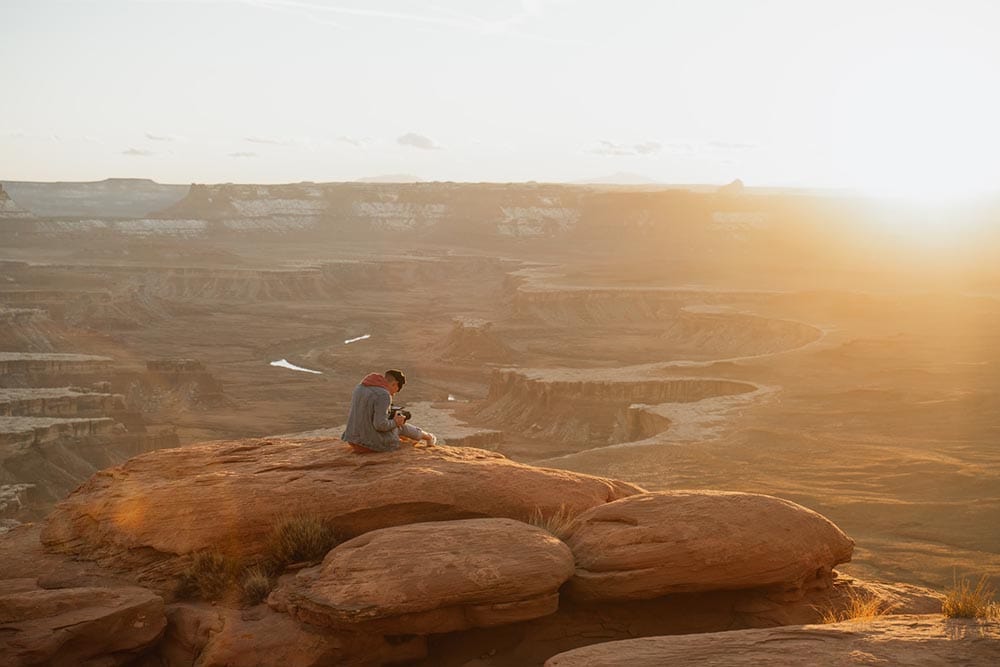
The golden hour has a warm temperature. If you compare the shots taken in cooler colors and those produced from warmer shades, you’ll notice that there’s a subtle difference in how the subjects appear. The latter often makes subjects look more flattering.
The golden nature of that light is the product of the blue wavelengths getting scattered a lot more. These “blues” are what usually cause the images to have cooler tones. But when they keep scattering all over, it’s sort of like some of the colors are being taken out of the spectrum. Subsequently, making the light appear more orange, reddish, or yellow.
The last property that we’d like to talk about is the dimensional aspect. Just before the sun sets, we are all able to see it at an angle. And the wider the angle, the further away its light gets scattered in different directions. That’s why our shadows are always unusually longer and softer during this time of the day. Hence, making the scenes appear more artificial than natural, and magical.
Location, Location, Location
We cannot emphasize this enough. Regardless of how talented you are, even with all those years of experience, if you can’t find the right location, no magic will happen.
Geography will influence the outcome in a major way, so it’s not something to be ignored. For instance, if the location that you have in mind has a massive tree cover, factor in the possibility of the sun’s light being diffused even more. Thus, giving all your shots that spotlight kind of effect.
The golden hour will be different, relative to your location. For example, if it’s going to be at 6 pm in Dallas, Texas, don’t expect it to be at the same time in Washington, D.C. Photographers living in Dallas might have had their window open at around 5 or even 4 pm.
Recalibrate Your Metering
Some people take pictures that they felt were great, only to spend hours post-production trying to achieve the perfect look. All that can be avoided, if you utilize the services provided by spot metering right from the jump. Don’t configure your camera settings to standard mode, because that’s where the issue is.
Assuming you’re working with an advanced camera, like the Digital Single-Lens Reflex (DSLR) camera, it will come with a spot metering feature. Once this feature has been switched on, it will measure the light available in a small area (a spot) of the scene. The said area is usually the center of the shot, spanning three to seven degrees.
Spot metering is not just your typical camera feature. It’s effective in high-contrast situations and guarantees precise reading from the targeted areas. Funny this is, you could still spot-meter your shot, and miss the mark.
In this case, you’re supposed to spot-meter the camera a few inches off the image’s shadowy section, or the main subject’s face. Then when you’re ready, adjust and recompose the exposure compensation by about half a stop. If you still don’t like how the image looks, make a few adjustments, and then give it a second shot.
Shoot Fast
You know, the sun won’t be waiting for you to take that perfect shot. So, if your window closes, you’ll have to close shop and call it a day. The only remedy to this problem is to practice and keep practicing before you go out there.
Besides the harsh time crush, you also have the issue of the aperture. We are cognizant of the fact that most photographers prefer shooting with a narrow aperture. Unfortunately, this time of day demands the complete opposite. For that reason, you’ll have to find a way to also get used to wide apertures.
When Is Golden Hour Photography Applicable?
The main goal of every photographer out there is to tell an incredible story. Photographers are basically artists who feel the need to constantly move their audiences with emotions.
Evoking these emotions in pictures is no mean feat, but there are so many ways of going about it. Things like body language, changing facial expressions, and more importantly light, have a way of making our audience feel what we want them to feel. That’s why the golden hour light is so important to us. You see, unlike artificial light, this one has the ability to tap into that raw emotional pool and draw out the right feelings.
You have to remember, though, that the main piece of this puzzle is the light.
Advantages Of the Golden Hour
- Soft Lighting: That soft glow is what many photographers are chasing. As we’ve said, it cannot be replicated anywhere, even with the help of filters. It will highlight all the amazing features that your subject has to offer, including skin tone.
- Elicits Emotions: What’s the point of taking pictures, if you’re not going to use them to remind yourself and everyone around you of the good times you had? The sun flares and soft golden hour shadows are just the ingredients you need to elicit such emotions.
Disadvantages Of the Golden Hour
- Not Ideal for Beginners: It takes less than an hour for that magic window to close. And that’s not a good thing, especially if you’re a novice in the industry still trying to learn the ins and outs of this type of photography. You’ll need more time to refine your session techniques.
- It’s Unpredictable: This is self-explanatory if you think about it. In the middle of the day, when the sun’s light is too harsh for photography, any cloud that passes by in the middle of your sessions will be your best friend. But in the afternoon, when the sun’s setting, that’s a different story.
Frequently Asked Questions (FAQs)
What’s The Difference Between the Golden Hour and The Blue Hour?
That short period right after the sun rises and before it sets is what’s known as the golden hour—and it’s often characterized by a warm signature glow. But if we’re talking about the blue hour, we’re referring to the short period before the sun rises and after it sets. Or we could put it this way; the blue hour is the direct opposite of the golden hour, as its signature tone is cooler.
How Long Is the Golden Hour?
The period is usually approximately an hour long. Or why else do you think it’s being referred to as “The Golden Hour?” But then again, it all depends on several factors, mostly the weather. Some areas only experience it for 30 minutes, and that’s why you have to be at your location a few hours before the start of your session. This will give you ample time to set up everything.


Final Thoughts
With the right technique and location, you’ll be unstoppable. The shots captured will be magical, and unique. We like to encourage our audiences to invest more time in understanding natural light. Because that’s what will help you win the battle at the end of the day. Don’t give up after a first try. Keep on trying, until you get it right. Determination is what usually defines success.
Featuyred Image Credit: KieferPix, shutterstock
About the Author Robert Sparks
Robert’s obsession with all things optical started early in life, when his optician father would bring home prototypes for Robert to play with. Nowadays, Robert is dedicated to helping others find the right optics for their needs. His hobbies include astronomy, astrophysics, and model building. Originally from Newark, NJ, he resides in Santa Fe, New Mexico, where the nighttime skies are filled with glittering stars.
Related Articles:
Binocular Magnification Chart: Numbers & Distances Compared
What Is the Best Binocular Magnification for Hunting? Optical Features Explained
When Were Binoculars Invented? History, Today & Future
How to Clean a Refractor Telescope: Step-by-Step Guide
How to Clean a Telescope Eyepiece: Step-by-Step Guide
How to Clean a Rifle Scope: 8 Expert Tips
Monocular vs Telescope: Differences Explained (With Pictures)
What Is a Monocular Used For? 8 Common Functions
