
Optics Mag is reader-supported. When you buy via links on our site, we may earn an affiliate commission at no cost to you. Read more.
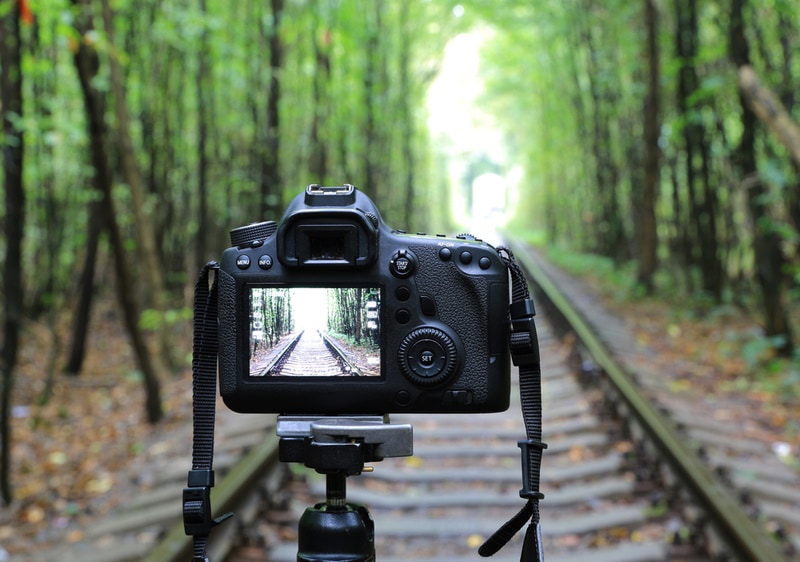
What Is Metering & Metering Modes: Photography Basics Explained
Last Updated on

When shooting with different aperture priorities, using the perfect metering mode will settle the exposure settings for the perfect shot. Since all the latest DSLRs feature metering modes, it’s crucial to learn how to use them.
Essentially, they help you control your shot from every minimal aspect. The right metering mode can help you take over the exposure and earn the best shot, even in unusual lighting situations.
Working with different metering modes enables you to focus on your chosen part of the scene evaluated by the camera. It’s worth noting that there isn’t just one metering mode, so it’s essential to know when each mode works best.
Different DSLRs have different metering modes, so it’s best to get the hang of the most common ones. Keep reading to learn everything there is to know about metering and how you can utilize different metering modes in different situations.

What Is Metering?
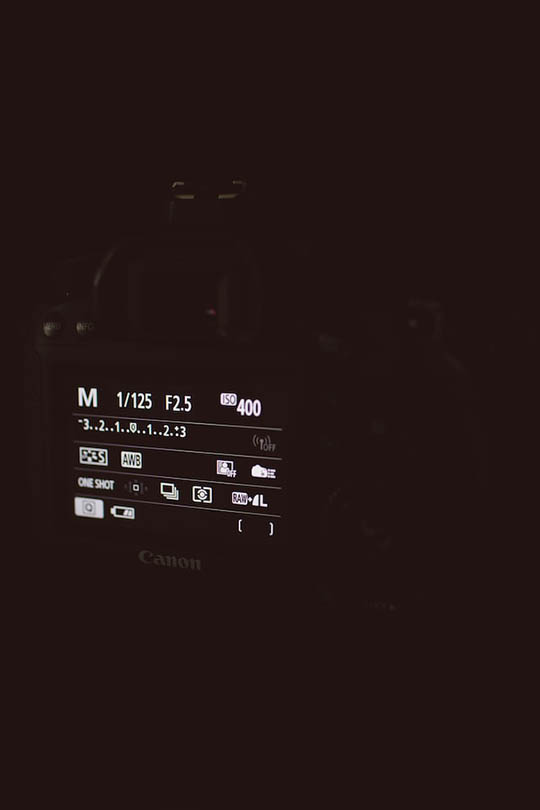
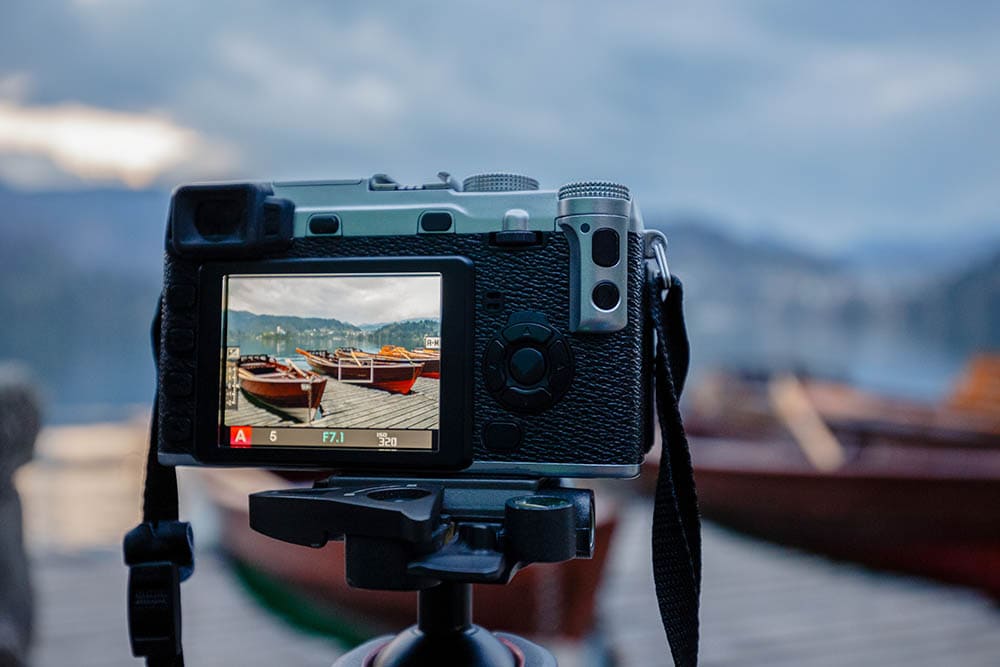
Metering is a basic process that a camera undergoes to determine the amount of light reflected in the scene. This information lets the camera calculate the right exposure settings, including aperture, shutter speed, and ISO sensitivity, to gain an appropriate shot.
Through your camera, 18% of the middle gray reflectivity will be referenced as normal exposure. This reflectivity will adjust the exposure adjustments so that the final shot will reflect the normal exposure. Your camera fulfills this calculation automatically when dealing with difficult lighting issues.
Metering comes in handy in most scenes and photography aspects, but there are a few situations where metering is not the best method to get the desired results. For example, an overwhelmingly dark scene might not turn out as you hoped if the camera tries to enhance the darker values to middle gray.
When cameras did not feature metering, photographers struggled with hand-held light meters to get optimal exposure. Modern cameras offer different metering modes for hassle-free control over your scene and shots.
What Are the Different Metering Modes?
Different cameras come with different metering modes. Here are some of the most common metering modes in modern cameras and when you can utilize them to make the most out of your shot.
1. Evaluative Metering
Evaluative metering, also known as multi-zone metering, is a versatile metering method that photographers can apply in most scenarios. It is one of the most used metering modes as it improves the ambiance in everyday photography, mostly helping in shooting with low-contrast subjects and front lighting.
This mode takes the scene and divides it into multiple small squares and evaluates these squares according to the required factors, such as the presence of gray or other colors. Instead of giving every square equal focus, the camera highlights the area chosen by autofocus to determine the exposure setting.
The average of the squares is used to determine the exposure, which results in proper prioritization of the main subject. Evaluative metering is often the default metering mode in most cameras since it analyzes the scene based on both light and dark tones.
2. Center-Weighted Metering
Considering the whole frame to find the right exposure isn’t always helpful, which is why center-weighted metering is another way to utilize different metering modes. This metering mode is specified for capturing subjects that are nearby or right in the middle of the frame.
The center-weighted metering mode lets the camera set the exposure based on the subject in the middle of the frame, ignoring the corners. As a result, it only considers the tones in the center region instead of focusing on the gray around the edges.
This mode is best for shooting in crowded places, in darker surroundings with an illuminated subject, or for portrait photography to get that enhancing touch of definition in your shots.
3. Spot Metering
Spot metering only considers the focal point and evaluates the lighting according to that area, ignoring the surroundings. It calculates the exposure settings based on that singular zone, regardless of whether the background is bright or dark.
It is best for shooting smaller subjects or subjects far away, only taking up a small area in the frame. In this case, the spot metering method helps expose the subject properly.
Spot metering is typically used for nature photography. Still, it may also help you get breathtaking shots with backlit photography since it greatly focuses on the subject and adjusts the surrounding exposure accordingly. You can capture any high-contrast situation beautifully once you get the hang of spot metering.
With the spot metering mode, the camera only measures a small area of the shot, which is approximately 1-5% of the viewfinder. This is why spot metering is the ideal option for photographers hoping to capture minute details the Manual Mode won’t allow them to emphasize.
Some of the best instances to utilize spot metering are headshots, family photography, actors in a theater setting, or street photography portraits.
4. Partial Metering
The partial metering mode enables the camera to measure the subject’s brightness. This gives the photographer better control over the exposure according to the lighting situation.
Although spot metering and partial metering are quite similar, the exposure can differ. For example, while spot metering measures the brightness by 2.5% of the scenario, partial metering chooses the exposure from 6.5% of the subject area.
It results in the best shots when the background is brighter than the subject, so your subject doesn’t become a silhouette. This metering mode can solve all your backlighting issues while maintaining the light source effectively.
5. Highlight-Weighted Metering
Highlight-weighted metering mode enables the camera to evaluate the highlights to ensure that the highlighted areas are properly prioritized and exposed. This mode helps your photography without blowing out or overexposing your subject during uneven lighting.
Whether you’re faced with colorful lighting or normal spotlights, the meter highlights when your subject is in motion to get the outcome you hoped for.
Using this type of metering in spotlights and bright scenarios can capture the best results and perfectly highlight the subject in every shot. Try highlight-weighted metering to improve your shots at weddings or concerts to achieve some innovative captures.
It’s worth noting that only select Nikon DSLR cameras offer the highlight-weighted metering mode, which is a win for Nikon photographers. Photographers struggling with challenging scenes, such as dark subjects and bright backgrounds, can benefit from the adaptable nature of this mode.
6. Entire Screen Average Metering
The entire screen average metering mode is similar to the evaluative metering mode in several aspects. For example, it calculates the average exposure of the entire shot by analyzing each area separately, but it prioritizes the central focus point above all corners and grays.
The main feature that sets this metering mode apart from others is that it helps maintain the same exposure settings between frames. So, the exposure doesn’t increase or decrease even if the subject moves or the photographer changes the composition.
Most metering modes change the exposure setting to match the composition and subject, but that’s not the case with the entire screen average metering mode. It maintains a constant exposure level without affecting the overall average of the scene. It’s also worth noting that this metering mode is only available on Sony cameras.

When Is Metering Used?
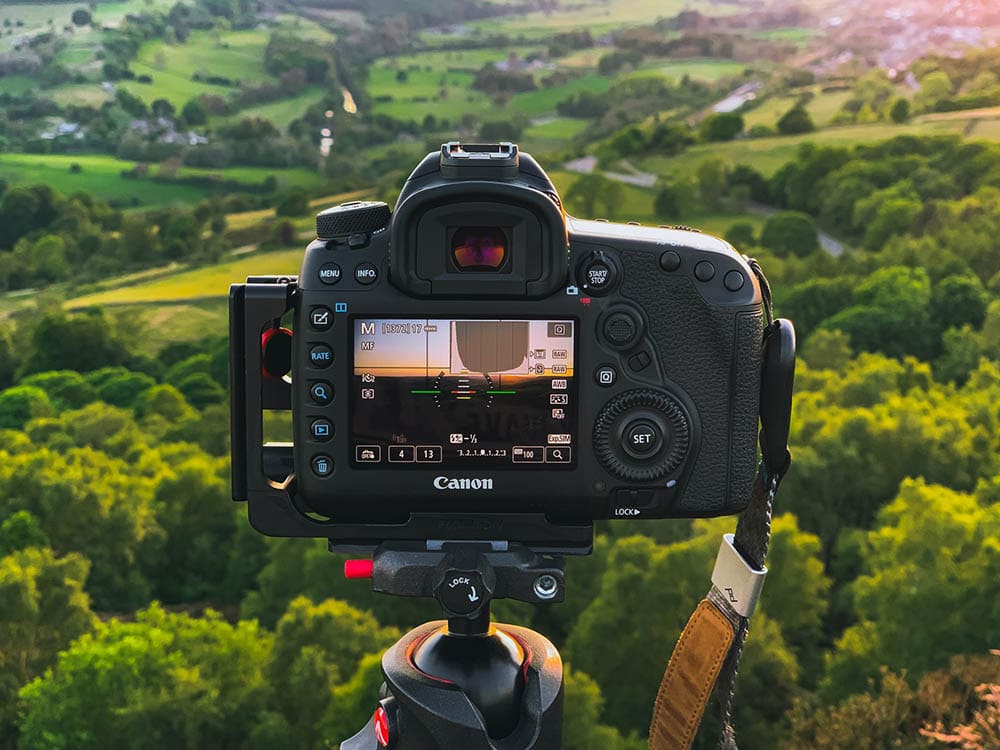
Generally, metering is used when a photographer wants to adjust the brightness of their subject. Then, the camera automatically optimizes the exposure by adjusting several factors, such as the shutter speed, aperture (f-number), and ISO sensitivity.
Before adjusting these settings, the camera considers the original exposure of the subject, which it measures with the help of its built-in metering sensor. Since various metering modes are available, they’re used in different instances to achieve the desired results.
- Evaluative Metering: Evaluative metering is used when a photographer wants to shoot low-contrast subjects with front lighting or low-contrast landscapes. This is the default metering mode on most cameras since it works ideally in most situations and considers the entire frame.
- Center-Weighted Metering: Center-weighted metering is used when the light source is displaced, for example, when you’re trying to photograph a person with the sun behind them. It’s ideal in this case as it completely ignores the background and corners and only focuses on the middle of the frame where the subject is.
- Spot Metering: Spot metering is used when a photographer wants to correct the exposure in high-contrast situations. With this mode, they can ensure that the camera correctly exposes the subject instead of the background. Most photographers utilize the spot metering mode for portrait photography.
- Partial Metering: Partial metering is used when a photographer wants quality exposure to an overly backlit subject. In this case, this mode will enable the correct exposure for your subject while keeping the background overexposed.
- Highlight-Weighted Metering: Highlight-weighted metering is used when a photographer wants to bring attention to an obvious subject in front of an unassuming background. For example, it works for photographing a dancer or singer on stage or a spot-lit bride in her wedding dress. This mode helps correct uneven lighting and overwhelmingly dark backgrounds.
- Entire Screen Average Metering: Entire screen average metering is used when a photographer wants to keep the exposure settings the same between frames. In this mode, the exposure settings remain constant even when the composition changes or the subject moves.
Advantages of Metering
Undoubtedly, there are endless advantages to utilizing the various metering methods on your camera. Mainly, it helps with adjusting the shot’s exposure according to the desired results. Other than that, metering is helpful because it’s always present.
Even when a photographer uses their camera in full manual mode, they can still check the meter to see if the shot is underexposed or overexposed. This helps photographers realize the relationship between aperture and shutter speeds.
Photographers utilize the meter to know how they should alter their shots with quick and easy indications. In addition, Aperture or Shutter Priority modes require that the meter works with settings you haven’t prioritized so that it can match the appropriate shutter speed or aperture.
Disadvantages of Metering
Metering is a great way to quickly adjust the brightness according to the shot, but it does have disadvantages. For example, when metering modes are confronted with areas of changing light or harsh, contrasting exposures, they might have difficulty adjusting accordingly.
In some cases, metering can let photographers down, such as when they’re shooting a backlit subject that ends up completely silhouetted. Moreover, it’s not helpful when shooting a dark space with minimal light, resulting in blown-out or overexposed shots.
Simply put, metering only proves helpful with correcting the exposure when the original exposure is already somewhat even. In cases when light isn’t working in the photographer’s favor, metering can end up disappointing them.
FAQs
Here are the answers to the most frequently asked questions about metering.
How Do You Change the Metering Mode?
The method for changing the metering mode is different for every camera, but most cameras follow these steps:
- Turn on the camera.
- Press the WB button with the camera icon.
- Look at the LCD screen or in the viewfinder and turn the dial.
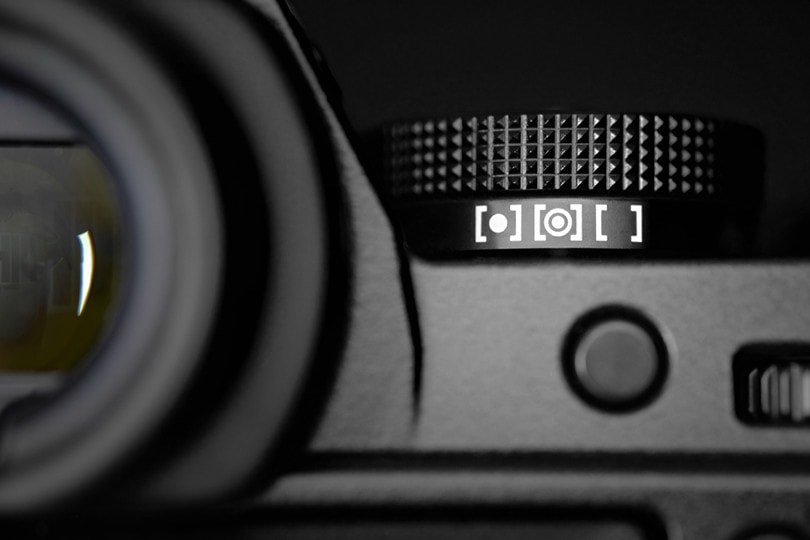
- The evaluative metering mode has a camera icon.
- The partial metering mode has a camera icon without the lens.
- The spot metering mode has a camera icon with only the lens.
- The center-weighted average metering mode has a rectangle icon.
- Select the desired metering mode and start shooting.
What Is the Best Metering Mode?
The matrix/multi-metering mode is generally considered the best metering mode due to various reasons. First, this popular metering system is easy to understand, which is why most beginners utilize this method.
This mode is also known as zone metering, multi-segment, and evaluative metering. The matrix/multi-metering mode evaluates the light and divides the frame into different areas or zones.
It analyzes the brightness of each area and calculates its average to provide the final exposure value. The zones and algorithms of this process depend on the camera, which considers factors such as light and shadows, colors, distance, etc. However, the common factor is the focal point, allowing them to calculate the average.
What Is the Best Metering Mode for Street Photography?
The center-weighted metering mode is the best mode for street photography. This mode allows photographers to ensure that their subject is exposed properly during street photography, ignoring the light sources in the background.
This mode only considers the tones in the center region instead of focusing on the gray around the edges. It’s best for shooting in crowded places, in darker surroundings with an illuminated subject, or for portrait photography to get that enhancing touch of definition in your shots.
Conclusion
If you’re a photographer and haven’t already been utilizing metering modes, you must start now. Metering modes help photographers adjust the image’s brightness with special attention to what the final shot is supposed to be.
Once you start utilizing metering modes to their potential, you’ll realize how much they simplify all aspects of photography, regardless of the type of shot you want. It’s much better than Manual Mode, which leaves you responsible for adjusting the shot’s shutter speed, aperture, and ISO sensitivity.
Metering modes automate all these aspects, allowing photographers to focus on other aspects of their shot. So, what are you waiting for? Get out there, experiment with different metering modes, and add some breathtaking shots to your portfolio!
Featured Image Credit: Finn Mund, Unsplash
About the Author Jeff Weishaupt
Jeff is a tech professional by day, writer, and amateur photographer by night. He's had the privilege of leading software teams for startups to the Fortune 100 over the past two decades. He currently works in the data privacy space. Jeff's amateur photography interests started in 2008 when he got his first DSLR camera, the Canon Rebel. Since then, he's taken tens of thousands of photos. His favorite handheld camera these days is his Google Pixel 6 XL. He loves taking photos of nature and his kids. In 2016, he bought his first drone, the Mavic Pro. Taking photos from the air is an amazing perspective, and he loves to take his drone while traveling.
Related Articles:
Binocular Magnification Chart: Numbers & Distances Compared
What Is the Best Binocular Magnification for Hunting? Optical Features Explained
When Were Binoculars Invented? History, Today & Future
How to Clean a Refractor Telescope: Step-by-Step Guide
How to Clean a Telescope Eyepiece: Step-by-Step Guide
How to Clean a Rifle Scope: 8 Expert Tips
Monocular vs Telescope: Differences Explained (With Pictures)
What Is a Monocular Used For? 8 Common Functions