
Optics Mag is reader-supported. When you buy via links on our site, we may earn an affiliate commission at no cost to you. Read more.
How to Use a Polaroid Camera – 6 Tips & Tricks
Last Updated on

A polaroid camera is a perfect tool for capturing photos for instant development. So, whether you’re looking to entertain friends, capture special moments, or express your creative side, a polaroid camera should be at the top of your shopping list.
Working with a polaroid camera is quite simple. All you have to do is load the film, point the camera at your subject, snap the picture, and wait for it to develop.
In this guide, we’ll go over a few tips and tricks to help you get the most out of your polaroid camera. Let’s get started.

How to Use a Polaroid Camera
We’ve covered the brief working mechanism of a polaroid camera above. But let’s go further into detail now.
1. Learn About Your Camera’s Parts
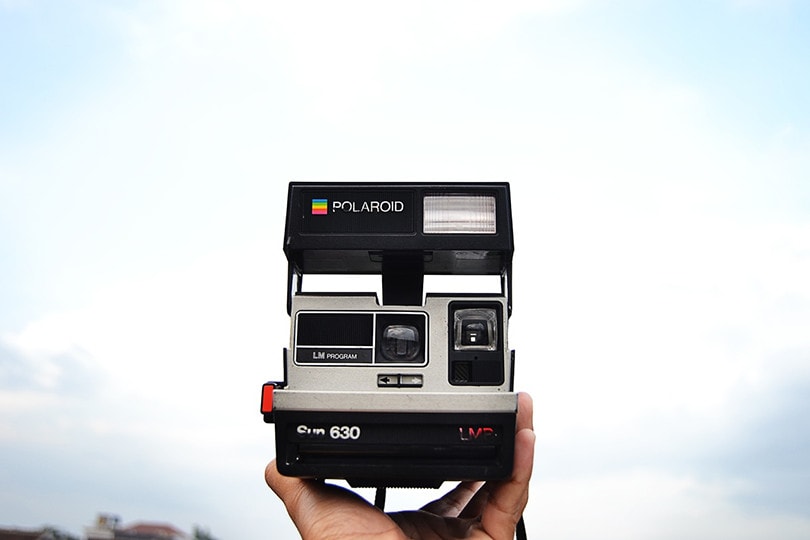
Before taking pictures with your polaroid camera, it’s essential to get familiar with its parts and functions. It will help you understand how the camera works and what each button does. Most Polaroid cameras will have the following parts:
- Lens: The lens is responsible for focusing the light onto the film. It’s located at the front of the camera.
- Shutter Button: The shutter button is used to take pictures. When you press it, the shutter will open and allow light to enter the camera and expose the film.
- Viewfinder: The viewfinder is the window you look through to frame your shot. It’s where you can see what your camera sees, so you must adjust it until it matches up with what you’re seeing with your own eyes.
- Film Cover: The film cover protects the film from light exposure and accidental damage while not in use.
2. Load the Cartridge
The cartridge is the cylindrical container that holds the film. Each cartridge can develop around ten pictures. To load it, simply insert it into the camera and follow the instructions in your user manual.
Typically, the container for the cartridge is at the bottom of the camera. Pull the switch to expose the container. Then, insert the cartridge into this container in a way that the metal part faces down.
If you’re using an old camera that already has a cartridge, you can take it out and replace it with a new cartridge. First, however, make sure you put the old cartridge in a container or a box that’s not exposed to light.
If you’ve inserted the cartridge properly, a dark slide will pop out of the camera. This is an indication that the polaroid camera is ready to take pictures.
However, if the dark slide doesn’t pop out, it means there’s an issue with the camera or the cartridge. You can try to insert a different cartridge to see if the problem lies in the camera or the cartridge.
3. Turn the Camera On
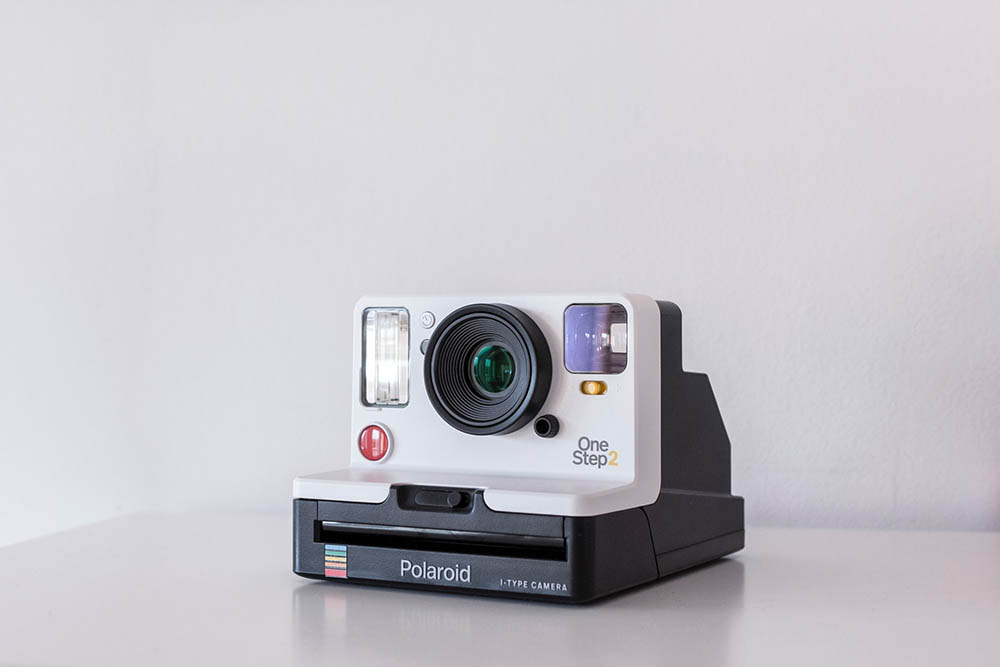
Once the cartridge is loaded, you can turn on the camera by flipping the switch usually located on the top of the camera. A red light will appear on the viewfinder when you turn on the camera.
It means that the film is ready, and you can start taking pictures. However, keep in mind that polaroid cameras normally turn off quickly. So, you’ll have to turn them on again when you want to take a picture.
4. Fix the Exposure
The exposure determines how much light is entering the camera. If your picture appears underexposed, you can adjust it by moving the exposure slider beside the viewfinder.
The longer you hold down the shutter button, the more time light will have to enter and expose the film properly. So, experiment with different exposure settings to see which one works best for you.
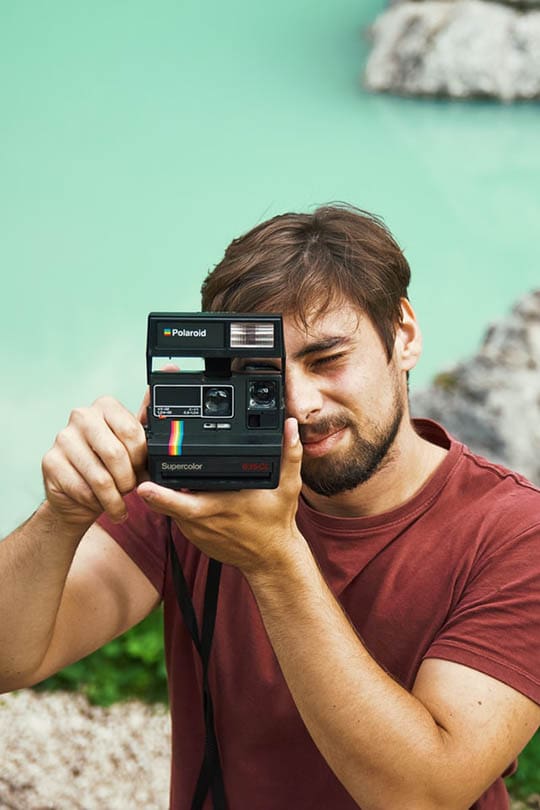
5. Stand at a Distance
When taking pictures with a polaroid camera, you don’t have to stand too close to the subject. In fact, if you’re too close, there’s a risk of your pictures appearing blurry.
Therefore, it’s best to stand at least 2 feet away from your subject. It will help create sharp and clear pictures that capture the details of the scene well.
6. Frame Your Shot
Point the camera at your subject and look through the viewfinder. Make sure everything that you want in the frame is inside it.
You can adjust the distance between you and your subject or move to a different angle to get the perfect shot. For example, if you want to take a picture of a group of people, make sure everyone is facing the camera and that there’s enough space between them.
It will help ensure that everyone is visible in the frame and there’s no risk of them being cut off.
7. Take the Picture
Once you’re happy with the way your picture looks, press the shutter button to take the picture. The camera will make a clicking sound to indicate that the picture has been taken.
The dark slide will also pop out, and a timer will start counting down to let you know how much time you have before the picture develops. Then, after the picture has developed, you can take it out of the cartridge and enjoy your printed photo.
The 6 Tips and Tricks to Taking Amazing Polaroid Pictures
Using a polaroid camera isn’t the same as using your phone or digital camera. Therefore, knowing a few tips can help you get the right shot every time.
1. Keep the Cartridge in a Cool Place
Extreme heat or cold can damage the cartridge and ruin your pictures. So, it’s best to store the cartridge in a cool and dry place.
You can even put it in the fridge for a few hours before using it. It will help keep the film fresh and prevent any issues with taking pictures. However, you should bring the film back to room temperature when you want to take pictures.
2. Give the Photos Time to Develop
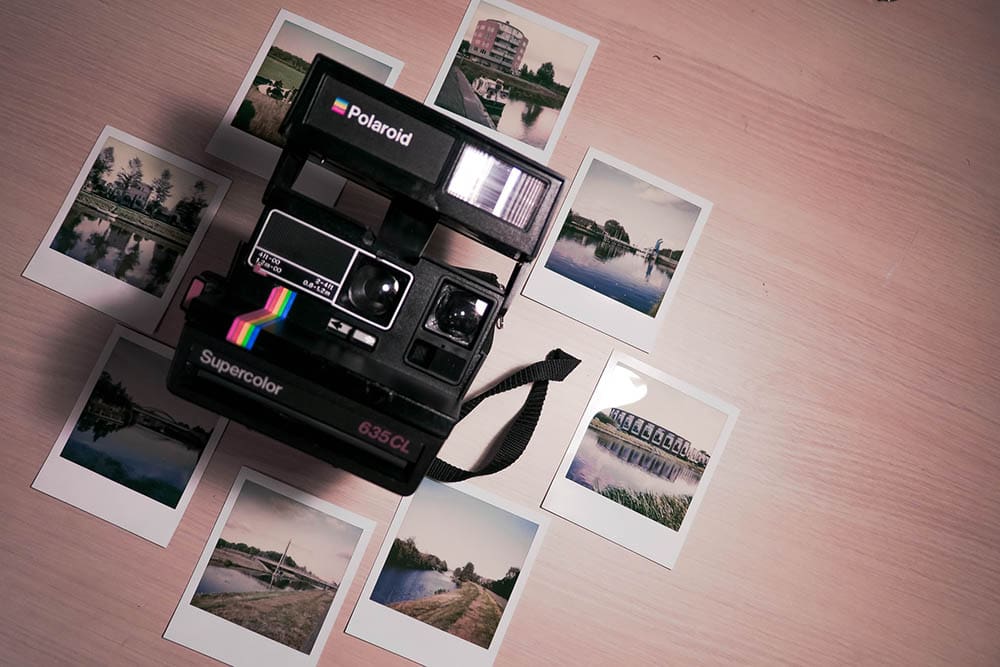
Colored photos take around 15 minutes to develop. You’ll have to be patient and wait for them to finish developing before looking at the pictures.
The best way to do this is by placing it in a box and putting it aside. It will allow you to watch your photos develop without being too tempted to take them out immediately.
3. Use the Golden Hour
It’s no secret that the best time to take pictures is during the golden hour. The golden hour is the first hour after sunrise and the last hour before sunset.
The lighting during these times is softer and more flattering. If you want to take amazing polaroid pictures, schedule your photo session during the golden hour.
4. Experiment With the Flash
The flash on a polaroid camera is different from your phone. It’s not as powerful, and it doesn’t have a rangefinder. Therefore, you’ll have to experiment with it to see how it works best.
You can try taking pictures with and without the flash to see which one gives you the best results. If you’re having trouble getting the right exposure, try using the flash to see if it helps.
5. Shoot Outdoors
Polaroid cameras work best in natural light since they were designed for it. It will help you capture vivid colors and a great contrast in your photos.
You can also play around with different angles and shooting positions to experiment with composition and lighting.
When shooting outside in the heat, it’s best to keep the film away from the sun until you’re ready to take a picture. Polaroid says the pictures develop best when the temperature is between 55°F and 82°F.
If the temperature exceeds 82°F, the colored photos will develop with a red or yellow tint. Therefore, if you’re shooting in high temps, let your photos develop in a cooler place, such as an insulated bag or an air-conditioned room. If you have nothing else, keep the photo face side down under a cold beverage.
6. Cover the Flashbar With a Piece of Paper
Older models of Polaroid cameras have a permanent flash. Thus, you cannot turn off the flash manually. Instead, you can try covering the flashbar with a piece of paper.
It will help reduce the amount of light when you take a picture and prevent your photos from being overexposed.
•You might also like:What Is Exposure? Photography Basics Explained

Final Words
Polaroid cameras can be a whole lot of fun to use, and taking amazing pictures is easier than you think. Follow the instructions in this guide to prepare your camera for taking awesome pictures.
Using these tips can help you take beautiful polaroid pictures that perfectly capture your memories and showcase your creativity. With some practice, you’ll be able to master this unique medium and get stunning results every time.
Featured Image Credit: ian dooley, Unsplash
About the Author Jeff Weishaupt
Jeff is a tech professional by day, writer, and amateur photographer by night. He's had the privilege of leading software teams for startups to the Fortune 100 over the past two decades. He currently works in the data privacy space. Jeff's amateur photography interests started in 2008 when he got his first DSLR camera, the Canon Rebel. Since then, he's taken tens of thousands of photos. His favorite handheld camera these days is his Google Pixel 6 XL. He loves taking photos of nature and his kids. In 2016, he bought his first drone, the Mavic Pro. Taking photos from the air is an amazing perspective, and he loves to take his drone while traveling.
Related Articles:
How to Collimate Binoculars: 9 Expert Tips
How to Clean a Rifle Scope: 8 Expert Tips
Can You Use Binoculars to Look At Stars? How to Choose the Right Pair
How to Choose Binoculars for Bird Watching: 10 Expert Tips
How to Clean a Refractor Telescope: Step-by-Step Guide
How to Clean a Telescope Eyepiece: Step-by-Step Guide
Monocular vs Telescope: Differences Explained (With Pictures)
What Is a Monocular Used For? 8 Common Functions