
Optics Mag is reader-supported. When you buy via links on our site, we may earn an affiliate commission at no cost to you. Read more.
How To Photograph Meteor Showers: 15 Tips & Tricks
Last Updated on

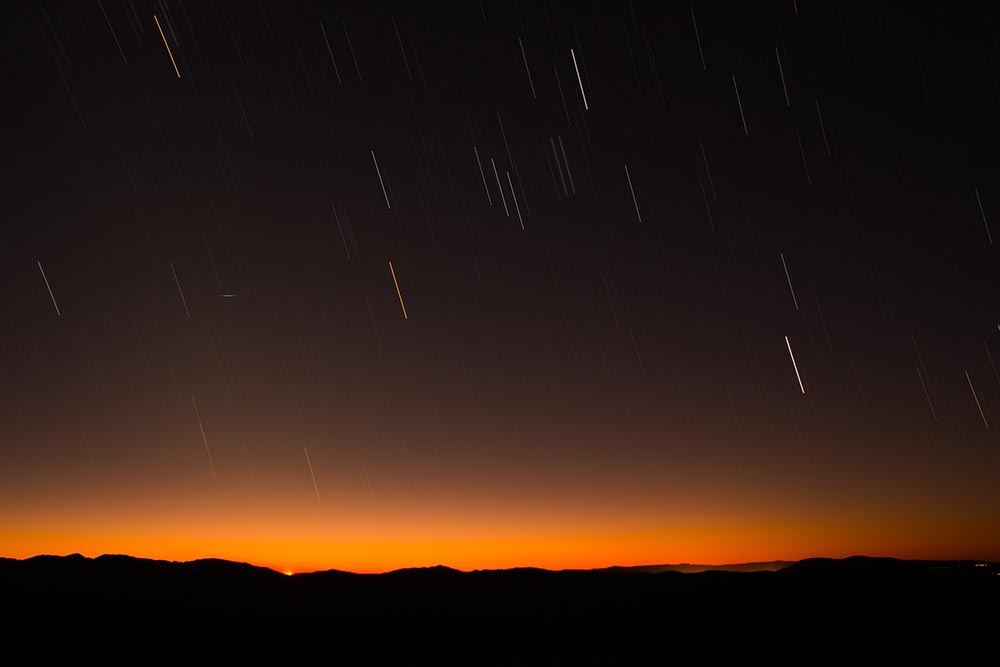
If you get the opportunity to go see meteors flash across the sky, take it. The sight is surreal and will make you appreciate life a little bit more.
Not everyone can successfully capture that whole feeling in an image. It’s difficult as you’ll need a vast wealth of experience, high-grade equipment, unreasonable patience, and a vial of luck.
But we’re not implying that it’s impossible for a beginner. If you’d wish to increase your odds, these tips and tricks will help you do just that.
Top 15 Meteor Shower Photography Tips & Tricks:
1. Camera Type
This will be a matter of preference, rather than a requirement. You can use any camera at your disposal, as long as you are well acquainted with its inner workings, but ideally, you’ll want a camera that permits manual exposure control.
Besides that, you’ll need its sensor to be larger than usual in order to deliver optimal results in a low-light situation. We would not recommend a point-and-shoot camera because it typically comes with a smaller sensor. Go for a mirrorless or DSLR camera that features a full-frame or APS-C sensor.
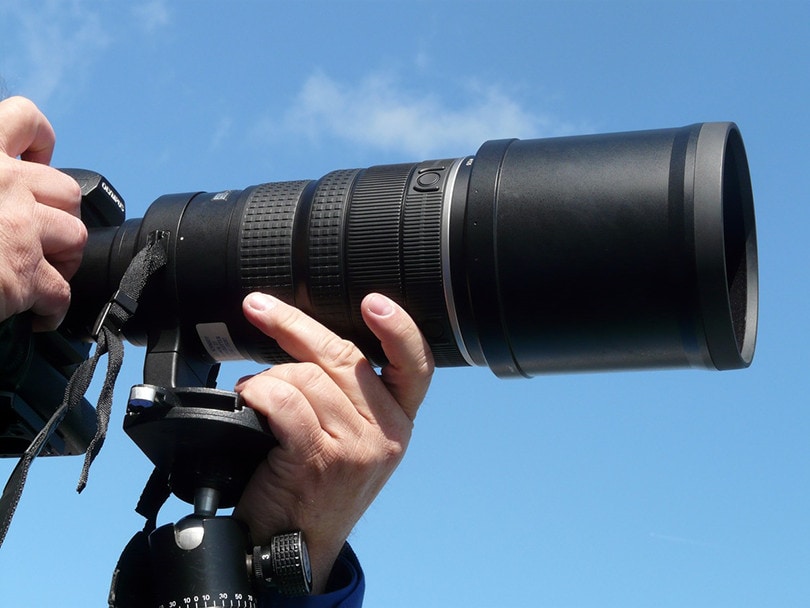
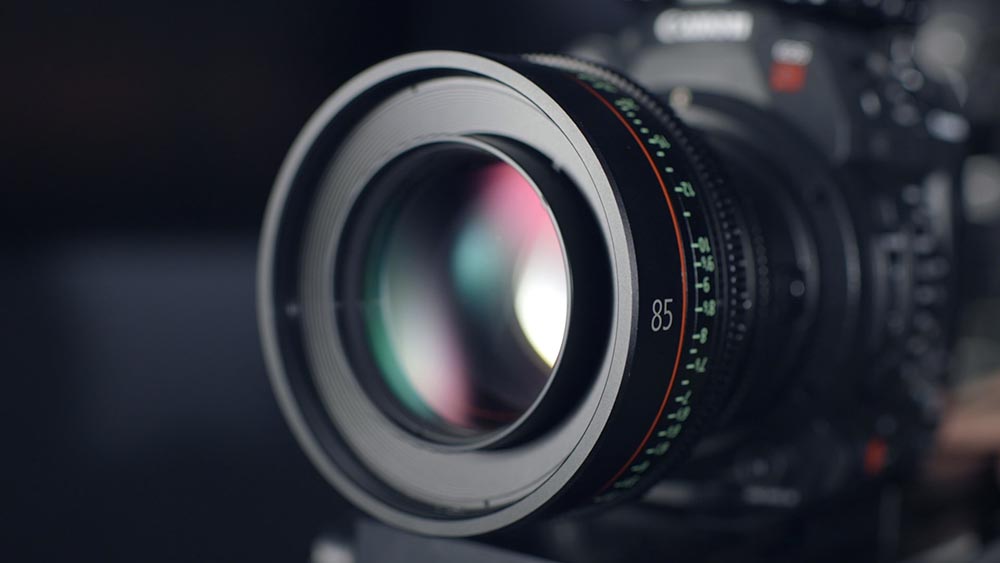
2. Lens
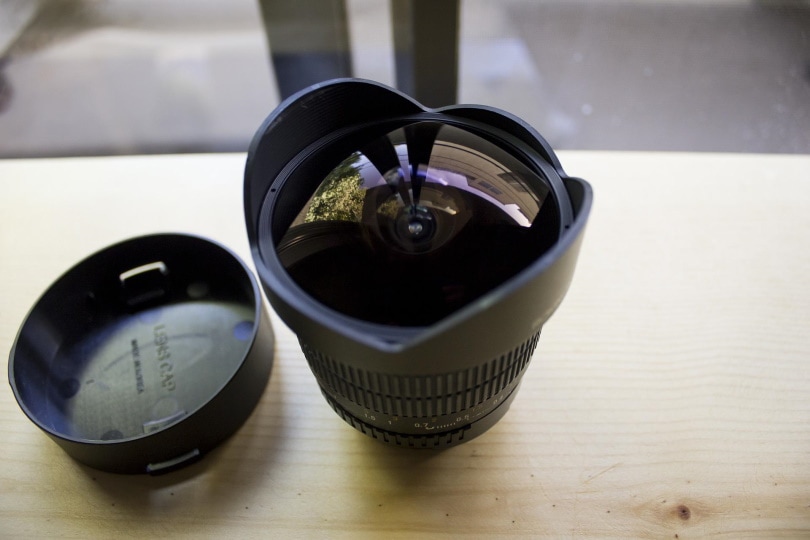
Some lensmen prefer shooting meteor showers using the fisheye lens, otherwise known as the ultra-wide-angle lens. But others still swear by the standard wide-angle glass. If you’re conflicted, or can’t decide which lens will serve you best, think about the field of view.
With the ultra-wide-angle lens, you’ll be able to cover a wide area of the sky, hence working with greater odds of catching the streak. The only downside is, compared to the standard lens, your sky will sort of look distant. Like it’s been pushed back a few miles.
All in all, it’s also a matter of preference. If that’s a compromise that doesn’t bug you, stick to the ultra-wide-angle glass. If it does, get a telephoto or standard wide-angle lens.
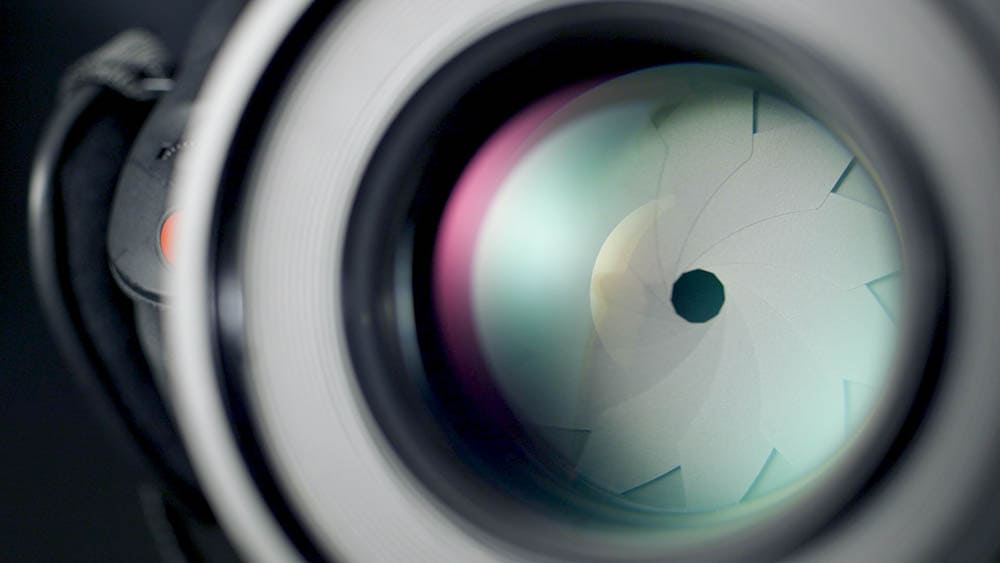
3. Aperture
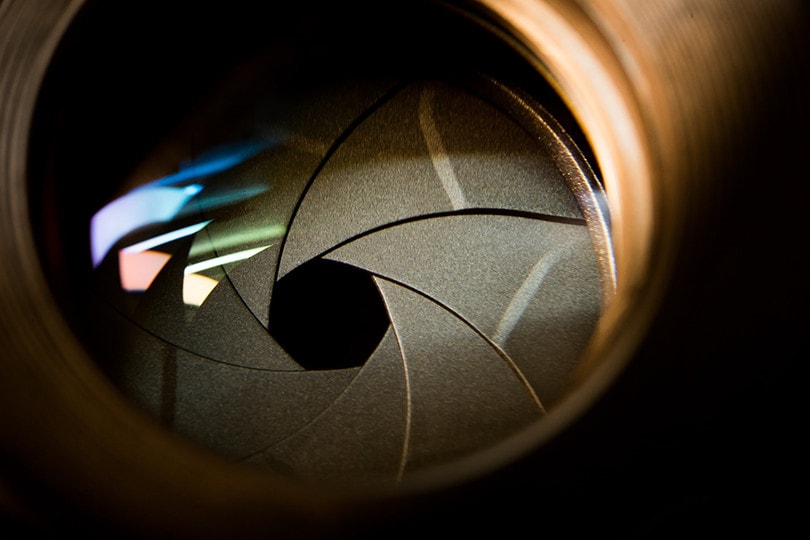
If a camera’s lens is not wide open your light-gathering abilities will undoubtedly be compromised. And the thing about meteor trails is that they are never quite clear. So even if you employ all the tricks in the book, your narrow aperture won’t capture that faint trail.
By the way, a large f-stop number (f/8, f/16, and f/32) does not connote a wider aperture, but a narrow one. Your setting should be at f/1.4, f/2.0, or f/2.8, at least.
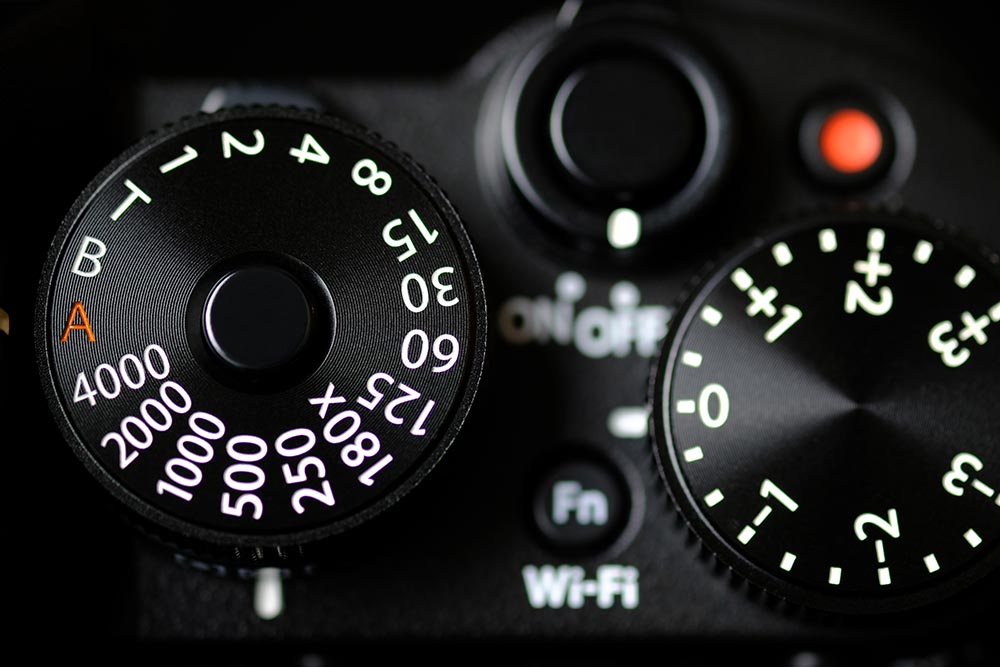
4. Exposure
Taking photographs of the night sky is not the same as taking pictures during the day. You’ll need more light to pass through the opening to get to the lens. Hence, the reason why the shutter has to stay open a little bit longer.
One other thing that you need to take note of is the rotation of our planet on its axis. That rotation is the reason why the shooting stars don’t usually look like points, but trails. The good news is, that you could rectify that.
You see, anytime we’re only interested in capturing the star points, we often apply the ‘600 Rule.’ And the rule says; to get the longest exposure that eliminates the stars’ trails, divide 600 by the lens’ focal length. So, assuming your full-frame camera comes with a lens that has a focal length of 50mm, your exposure will be 600/50mm—which is equal to 12 seconds.
If you’re using an APS-C camera, you’ll use the 400 Rule. Divide the 400 by the lens’ focal length and you’ll have your exposure time.
5. ISO

By the time you get to the ISO setting, your shutter speed and the aperture should be in the correct configurations, ready to shoot. The sole function of the ISO is to compensate for the exposure, and not make much of a difference.
Try to make sure it’s at its lowest setting because, from our experience, that is the best mode for night sky photography.
6. File format
The ideal format is the “RAW” file format. It not only guarantees a better image quality but also provides more image data. However, seeing as you’ll be taking so many shots during that session, you may have to switch to the JPEG format depending on the storage space you have.
7. Memory

Speaking of space, you’ll want to invest in lots of memory cards. This won’t be the usual 2–3-hour session that you’re used to. It might take the whole night, as you’ll be shooting nonstop. Also, try to figure out the total number of shots that can be accommodated in each card.
8. Power
The amount of data that the camera will be processing, coupled with the cold weather, will push your batteries to their limits. On top of that, shooting under the cover of darkness requires longer exposures, forcing the batteries to work overtime to keep the device’s sensor up and running.
So before you leave the house, ensure all your batteries (plus the replacements) are fully charged.
9. Remote Shutter Release
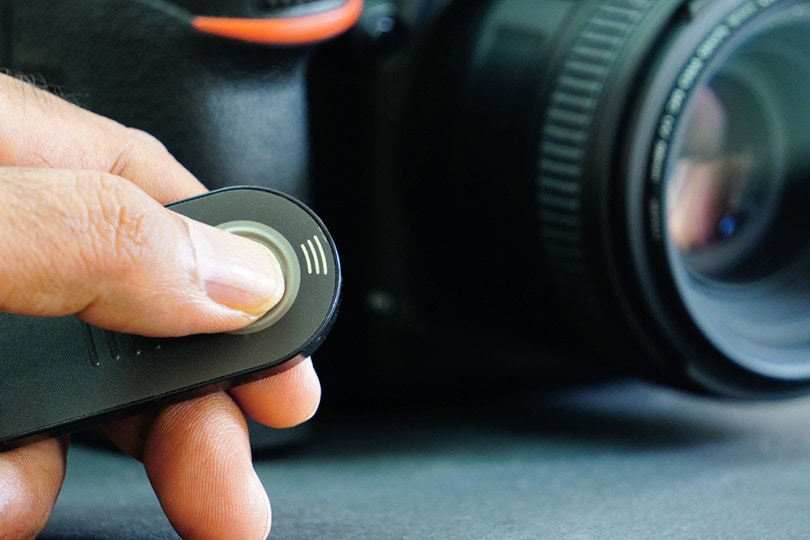
The type of release used with the modern digital camera is way different from what we were used to in the past. People used to work with cameras that had a threaded release that would be attached to the device’s shutter release.
Things are a little different now since we have mobile-app controlled releases, wireless releases, and the plug-in wired. If you can, avoid electronic releases.
Shooting meteor showers is a labor-intensive activity that requires a lot of power. Don’t burden your batteries when there are high-quality batteries-not-required releases on the market.
10. Tripod
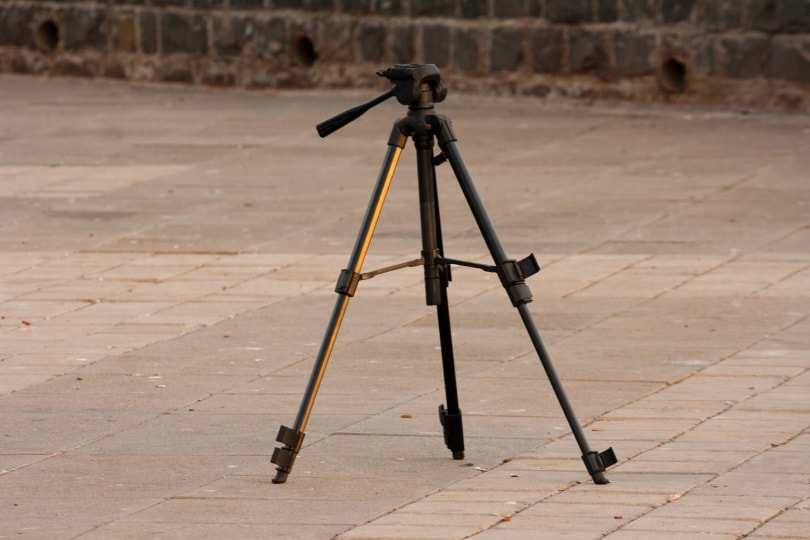
A tripod is a must-have gear in night photography. Don’t let anyone convince you that it’s possible to take long-exposure images without a steady tripod. Moreover, it has to be lightweight, and collapsible. Not too light, though. Because then it won’t be strong enough to support the camera or keep it in a steady position.
11. Meteor Calendar & Planning
Every successful mission begins with a plan. You have to first study the meteor calendar and then plan beforehand, so that you can be prepared for anything. It’s no secret that meteors don’t have a schedule. They’ll hit the upper atmosphere when you least expect it, leaving you confused.
But don’t abort the mission, just because you missed your shot. If you wait a little bit longer, you’ll be able to see some other “showers” as our planet passes through the debris left behind by the passing comets. Those showers might not offer the same level of activity as the meteors themselves, but they’re something.
The Geminids and Perseid showers aren’t the only meteor showers that occur annually. We still have several others, which are also named after astronomical constellations. You can get more information about those showers from various online sources, such as websites and mobile applications.
12. Moon Phases

As a celestial subject, the moon is great for photographers looking to take hypnotizing images of the night sky. Sadly though, when it comes to viewing meteor showers, it’s an enemy of progress.
So if you’re hoping to marvel at what life has to offer, have the best time of your life, and capture incredible images, check the moon calendar. If the skies are not going to be dark, your photos will not pick up meteors clearly.
13. Dark regions
Try and avoid taking pictures of a meteor shower in an urban setting. You’ll never enjoy the show in that environment with all those lights around. If you have an apartment in the city, pack whatever you need and drive to regions that have darker skies. Away from the noise caused by the lights of skyscrapers.
14. Aiming

Before setting up your gear, you have to first figure out where the radiant is. The radiant is what we call the meteor shower’s point of origin. Your camera should be on the right side or the left side of that radiant, at a 45-degree angle. That way, when the star finally shows up, you’ll have a longer meteor trail.
15. Timer
Check the circuitry and learn all there is to know about the timer. Some releases are designed with countdown timers, while others have the interval feature. If you’re lucky, your camera will have the latest technology, which allows users to program the device’s shooting intervals or frequency.
Cameras that don’t come with the timer feature will have the “drive” mode. Just lock it in and you’ll be able to capture images continuously.

Conclusion
Patience is a virtue, and it pays off. You’ll have to be very patient out there, or else you’ll miss out on a great opportunity. As we said, meteors don’t have a schedule. They’ll show up when they want to show up and entertain those who exercise patience.
Use our list of essential tips and tricks to help you get the perfect shot!
Featured Image Credit: Austin Schmid, Unsplash
About the Author Robert Sparks
Robert’s obsession with all things optical started early in life, when his optician father would bring home prototypes for Robert to play with. Nowadays, Robert is dedicated to helping others find the right optics for their needs. His hobbies include astronomy, astrophysics, and model building. Originally from Newark, NJ, he resides in Santa Fe, New Mexico, where the nighttime skies are filled with glittering stars.
Related Articles:
How to Collimate Binoculars: 9 Expert Tips
How to Clean a Refractor Telescope: Step-by-Step Guide
How to Clean a Telescope Eyepiece: Step-by-Step Guide
How to Clean a Rifle Scope: 8 Expert Tips
When Were Binoculars Invented? History, Today & Future
Can You Use Binoculars to Look At Stars? How to Choose the Right Pair
How to Choose Binoculars for Bird Watching: 10 Expert Tips
15 Crucial Facts About Ultraviolet Rays & the Sun