How to Clean Your Microscope: Tips & Tricks
Last Updated on

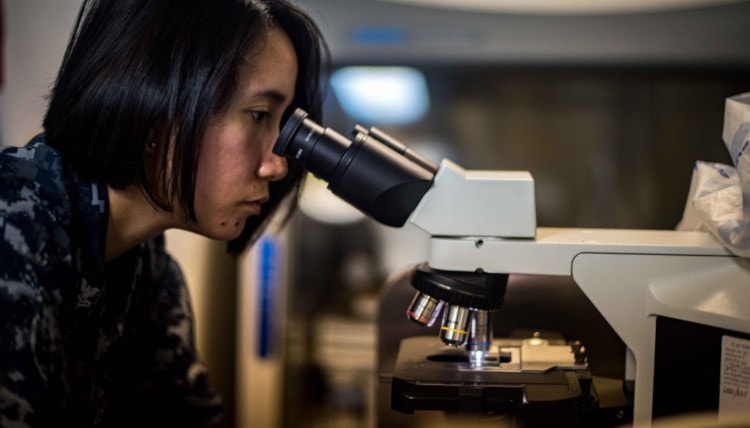
Microscopes attract a lot of traffic, especially in an educational setting. The more hands and eyes that come in contact with your microscope, the more likely it is to suffer from smudges, dust, and residue, which will begin to impact your image quality over time. But there’s a right and wrong way to clean a microscope, so be sure to read carefully before you attempt any scrubbing.

How to Clean Your Microscope
You can keep your microscope in good shape if you follow a proper cleaning regimen. The area around your eyepiece, the knobs, and the stage are most likely to attract oils and other contaminants. But to keep those images sharp, you’ll want your lenses sparkling, too. Below are 5 steps to follow to keep your microscope in peak condition.
1. Remove dirt.
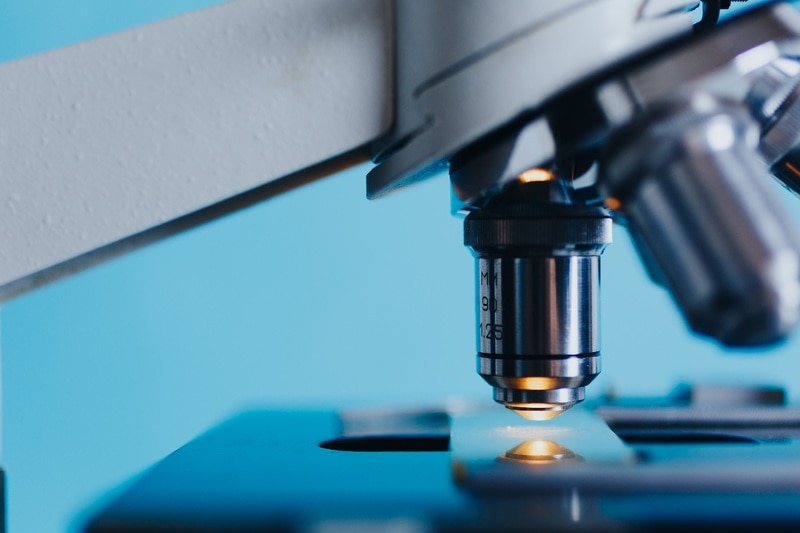
You may be inclined to blow on the lenses and wipe them off with your T-shirt, but these are the worst things you can do. The moisture from your breath will cling to any surface particles, trapping them on the glass and ensuring you’ll grind them in when you go to wipe the glass clean. Microscope lenses are delicate things, and they require delicate cleaning.
Pro Tip
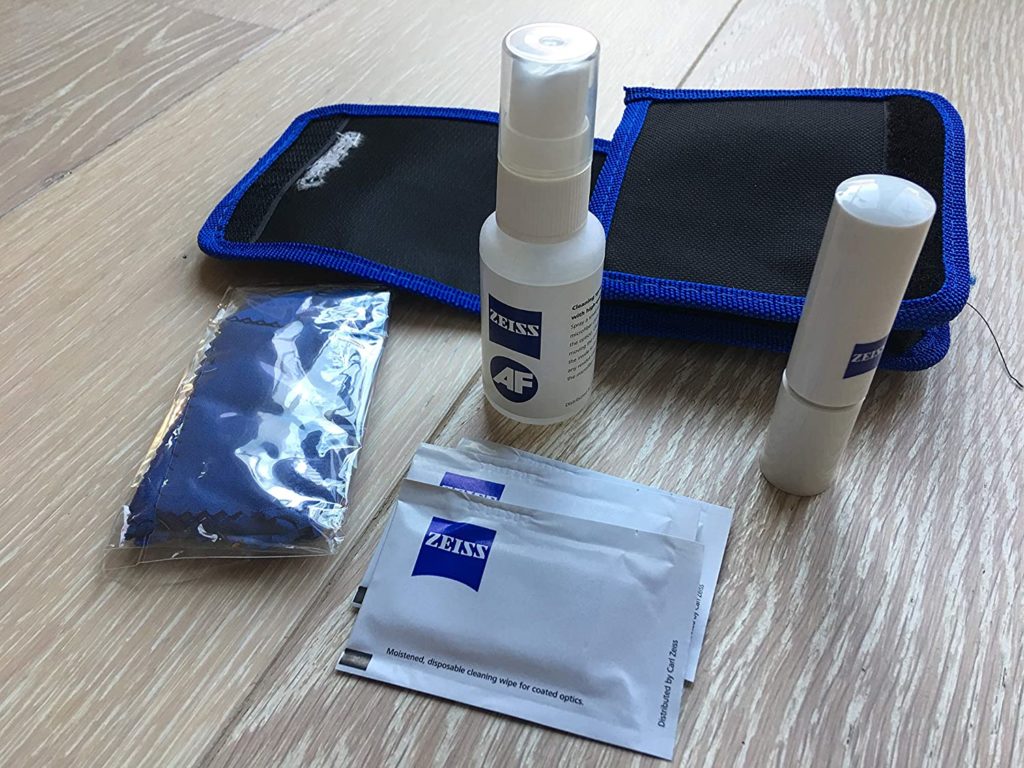
Most lens cleaning kits come with a squeeze blower and a gentle camel hair brush, both of which you can use to remove surface dust while protecting your lenses.

2. Wash the lenses.
Use care with cleaning solutions. Never use solvents like ammonia or acetone, or you’ll erode the coating on your lenses. Distilled water is a gentle option (regular water will leave mineral deposits behind), or a 90% alcohol solution. Apply your solution with a fresh lens tissue by resting it on the lens to dissolve any oils, then gently clean it in a circular motion to cover the lens surface.
3. Dry gently, using a soft, microfiber cloth.
Be sure to keep the cloth clean and store it in a plastic bag between uses. Never use paper towels or facial tissue on your microscope. They will leave fibers on your glass, which will cause scratching.

4. Clean the body & stage.
You can use your squeeze blower to remove any surface dust from the remainder of the microscope, and then use a damp cloth (a gentle soap is okay here) to give everything a final wipe down. Don’t allow dripping water to run down the microscope, as it can soak in and damage internal parts.
5. Store your microscope safely.
As mentioned above, it is imperative to protect your device between uses by keeping the cover slipped over it, avoiding extreme temperatures and humidity, and keeping your scope away from vibrations.
Dos & Don'ts of Cleaning Your Microscope

When to Seek Professional Help
After a thorough cleaning, you might still notice particles when you look through your lenses. If this is the case, your microscope may need some internal cleaning. Never try to take your microscope apart by yourself. Consult the manufacturer first for recommendations or seek out an optics specialist who can disassemble your microscope without damaging it. Over-cleaning isn’t ideal for lens lifespan, either, so try to go for moderation in cleaning frequency.
A microscope is a rewarding device. Keep it in great shape, and you’ll be magnifying the world for years to come.

You might also be interested in:
About the Author Robert Sparks
Robert’s obsession with all things optical started early in life, when his optician father would bring home prototypes for Robert to play with. Nowadays, Robert is dedicated to helping others find the right optics for their needs. His hobbies include astronomy, astrophysics, and model building. Originally from Newark, NJ, he resides in Santa Fe, New Mexico, where the nighttime skies are filled with glittering stars.
Related Articles:
How to Collimate Binoculars: 9 Expert Tips
How to Clean a Refractor Telescope: Step-by-Step Guide
How to Clean a Telescope Eyepiece: Step-by-Step Guide
How to Clean a Rifle Scope: 8 Expert Tips
How to Choose Binoculars for Bird Watching: 10 Expert Tips
Monocular vs Telescope: Differences Explained (With Pictures)
What Is a Monocular Used For? 8 Common Functions
How to Clean a Telescope Mirror: 8 Expert Tips
